Welcome to this step-by-step tutorial on how to draw a rainforest tree, one of nature’s most awe-inspiring creations. Towering high above the forest floor, these trees form a dense, vibrant canopy, sheltering a diverse ecosystem of plants, animals, and fungi. Their massive trunks, sprawling roots, and intricate branches create a breathtaking display of life and complexity.
In this tutorial, we will break down the process of drawing a rainforest tree, helping you capture its grandeur and unique details. From sketching its strong, textured trunk to shaping its twisting roots and sprawling branches, you’ll learn techniques to bring your drawing to life. We’ll also explore how to add rich foliage, vines, and shading effects to enhance the realism of your artwork.
Whether you’re a beginner looking to improve your nature drawing skills or an experienced artist seeking to refine your technique, this guide will help you create a dynamic and detailed rainforest tree. So, grab your sketchbook, sharpen your pencils, and let’s embark on a creative journey into the heart of the rainforest! 
Materials Required
Before we begin, make sure you have the following materials at hand:
- Paper: Choose a high-quality drawing paper that is suitable for the medium you’ll be using.
- Pencil: A set of drawing pencils with varying degrees of hardness (e.g., HB, 2B, 4B).
- Eraser: A kneaded eraser works best for easily correcting mistakes and lightening pencil marks.
- Sharpener: Keep your pencils sharp for precise lines and details.
- Colored pencils (optional): If you want to add color to your drawing, have a set of colored pencils ready.
Now that you have gathered your materials, let’s dive into the step-by-step process of drawing a rainforest tree.
Step-by-Step Guide: How to Draw a Rainforest Tree
Rainforest trees are some of the most fascinating and intricate subjects to draw. Towering high above the forest floor, their massive trunks, sprawling branches, and dense foliage provide shelter for countless species of plants and animals. With their unique bark textures, intertwining roots, and vibrant canopies, these trees make for an exciting artistic challenge.
In this tutorial, we’ll break the process down into simple, easy-to-follow steps, helping you capture the grandeur and complexity of a rainforest tree. Whether you’re a beginner or an experienced artist looking to refine your technique, these steps will guide you in creating a dynamic and detailed drawing. Grab your pencils, and let’s bring a rainforest tree to life!
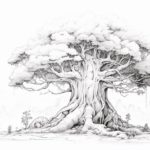
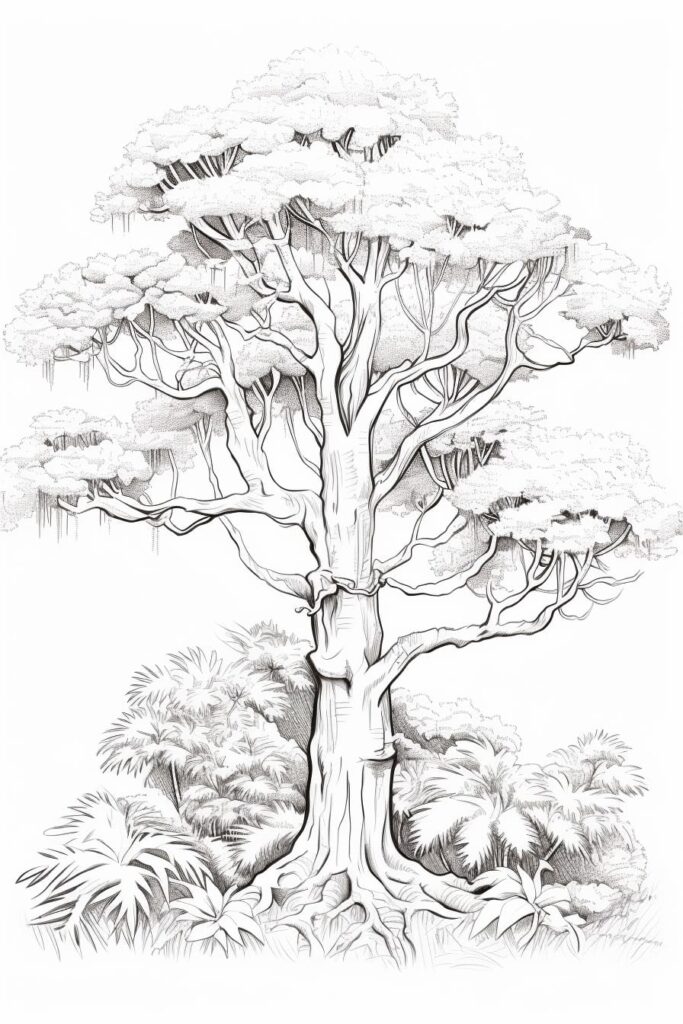
Step 1: Outline the Trunk ️
Begin by sketching the basic outline of your tree’s trunk using a light pencil (such as a 2B). Unlike traditional trees, rainforest trees often have irregular, twisting, and buttressed trunks, so don’t stress about making it perfectly straight.
- Start with a vertical guideline to establish height and proportion.
- Draw the outer edges of the trunk with slightly curved lines to add a sense of organic growth.
- Consider adding buttress roots at the base, as many rainforest trees develop large roots for stability.
Keep your strokes light and loose, as we’ll refine the trunk in later steps.
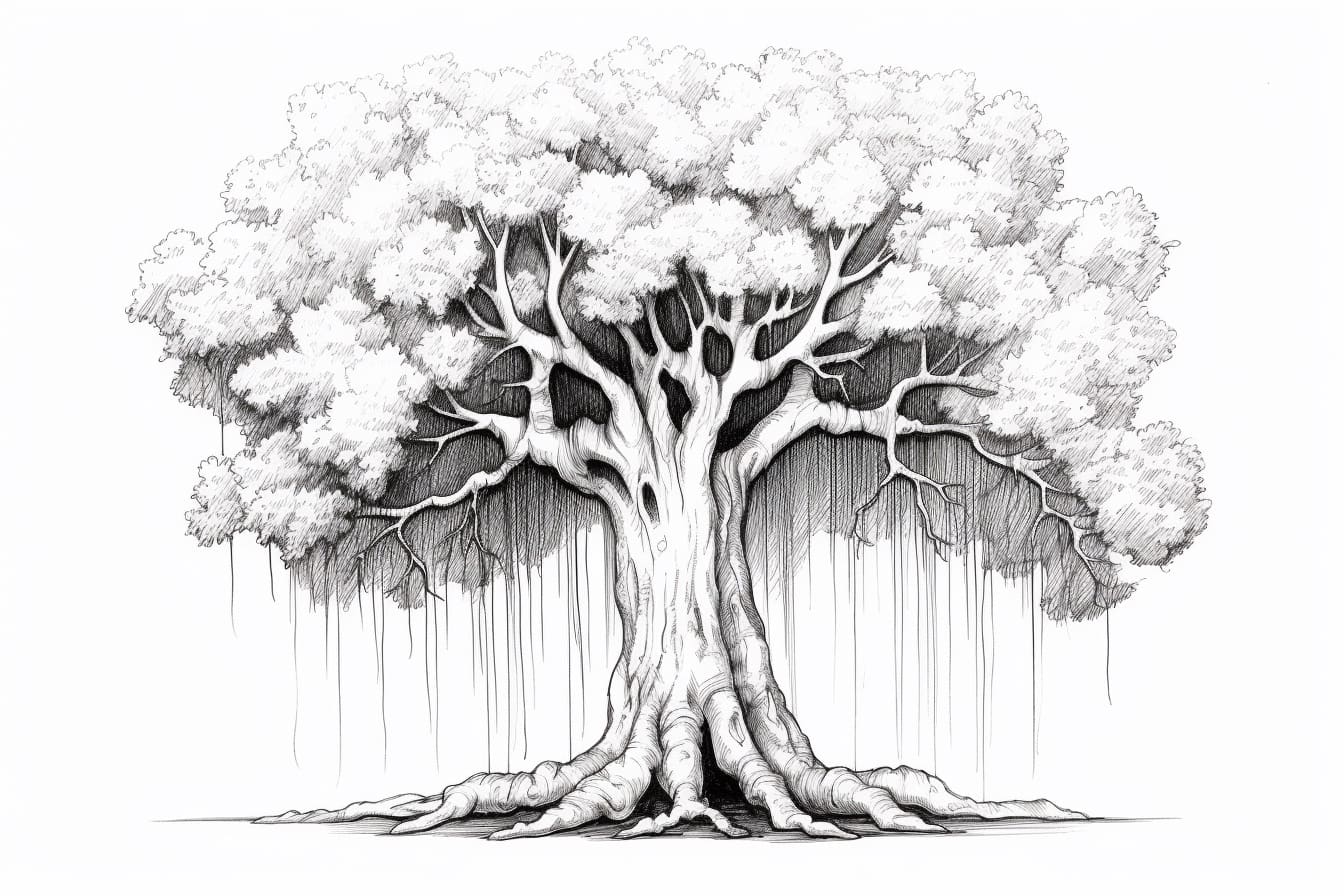
Step 2: Add Branches and Root Structures
Rainforest trees have complex networks of branches that spread far and wide. Some have dense, umbrella-like canopies, while others feature intertwined vines and epiphytes (plants that grow on trees, like orchids and ferns).
- Begin with thicker branches extending outward from the trunk.
- Gradually sketch smaller, thinner branches branching off from the main ones.
- Let the branches flow in different directions—not every branch needs to be symmetrical.
- If you’d like, you can also extend some large roots outward, showcasing their grip on the rainforest floor.
Keep in mind that rainforest trees don’t always look like “storybook” trees—their growth is often unpredictable due to the dense competition for sunlight.
Step 3: Define the Tree Bark and Texture
Now that the tree’s structure is in place, it’s time to add texture and detail to the bark. Rainforest tree bark can be rough, cracked, or covered in moss and fungi, making it an excellent opportunity to experiment with different shading techniques.
- Use short, curved, and slightly jagged lines to create a natural bark texture.
- Vary the line pressure—press harder for darker lines and use lighter strokes for subtle texture.
- If your tree has moss, vines, or fungi, add those details by sketching small organic shapes along the trunk.
- Shade the sides of the trunk slightly darker than the center to create depth and dimension.
The key here is layering—the more variation you add, the more realistic your rainforest tree will appear.
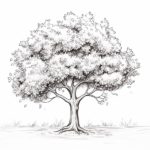
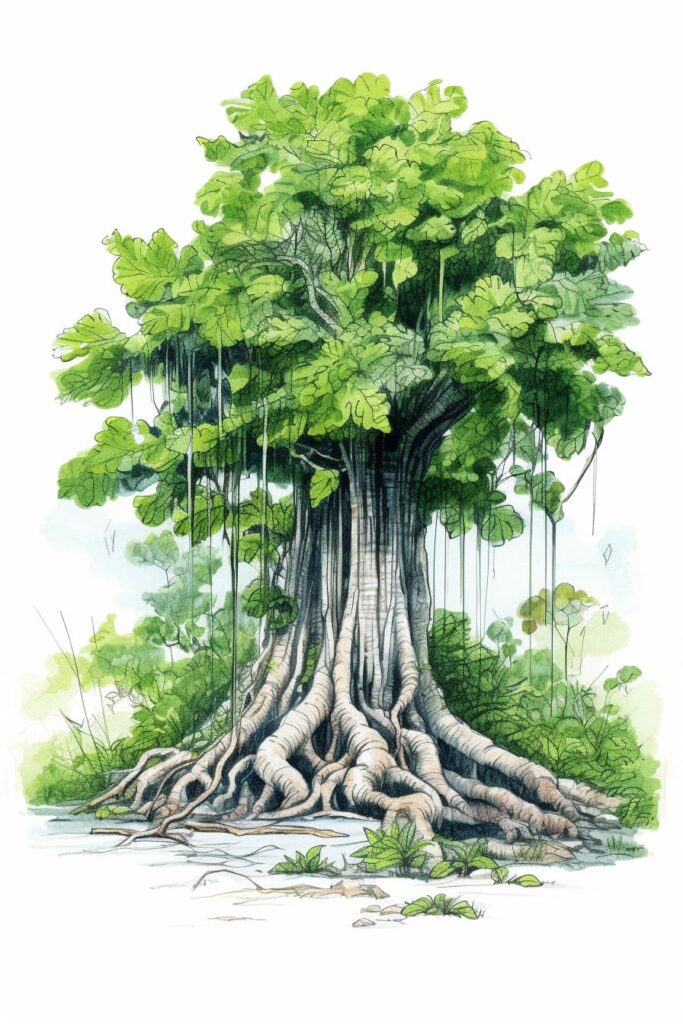
Step 4: Draw the Leaves and Foliage
Rainforest trees are known for their lush, dense canopies that filter sunlight and create a mystical green glow in the forest. Unlike sparse-leaved trees, rainforest trees have broad, vibrant, and overlapping leaves that add to their dramatic appearance.
- Start by sketching the overall mass of the foliage—this can be done with light, cloud-like shapes to indicate leaf clusters.
- Inside those clusters, draw individual leaves with varied sizes and angles. Rainforest leaves often have elongated, jagged, or wavy edges.
- Make sure to layer the leaves, as rainforest trees rarely have perfect symmetry.
- If you’d like, add hanging vines or small epiphytes growing from the branches.
To create depth, use a combination of light and dark shading—darker areas will represent shadows, while lighter spots suggest where sunlight filters through the canopy.
Step 5: Enhance the Details and Shading
Now, take a step back and analyze your drawing. This is the stage where refinements and extra details will bring your tree to life.
- Refine the bark texture, adding extra details like cracks, knots, and shadows to enhance realism.
- Deepen the shading in areas that need more contrast, particularly where branches meet the trunk.
- Add subtle shadows to the underside of leaves and roots, making them pop.
- If your tree is home to birds, insects, or small creatures, consider adding tiny details like perched birds, climbing vines, or tiny flowers.
This step is where your artistic style can shine—experiment with shading techniques like cross-hatching, stippling, or blending to give your rainforest tree an authentic look.
Step 6: Optional – Add Color for a Vibrant Effect
If you want to bring a burst of life to your rainforest tree, consider adding color using colored pencils, markers, or pastels.
- Use various shades of green for the leaves—lighter greens for sunlit areas, deeper greens for shaded areas.
- The bark can be warm brown, deep gray, or even tinged with green if covered in moss.
- If you included flowers, vines, or fruit, add pops of color to make them stand out.
Start with light layers and gradually build intensity, blending colors for a natural effect.
Your Rainforest Tree is Complete!
Congratulations! You’ve successfully drawn a majestic rainforest tree, capturing its grandeur, intricate textures, and dense foliage. Each rainforest tree is unique, and by experimenting with different shapes, shading, and details, you can create a variety of trees, from towering giants to twisted, vine-covered wonders.
Keep practicing, explore different rainforest landscapes, and don’t be afraid to add your personal artistic touch. With time and creativity, you’ll be able to master the art of drawing lush, thriving rainforest scenes!
Now, let your imagination branch out and explore more of nature’s beauty!
Tip: To effectively capture the grandeur of a rainforest tree, start with a light sketch using a soft pencil (like a 2B) to outline the basic shapes of the trunk, branches, and foliage. Focus on the trunk’s texture by using short, varied strokes to mimic the rough bark; layering these strokes will add depth. For the roots, remember that they often twist and spread outwards, so draw them with fluid, curved lines. When adding foliage, use a mix of circular and jagged shapes to represent the dense leaves, and consider varying your pencil pressure to create a sense of light and shadow. Finally, don’t hesitate to refer to real-life images of rainforest trees for inspiration and accuracy in your details—this will elevate your drawing from good to stunning!
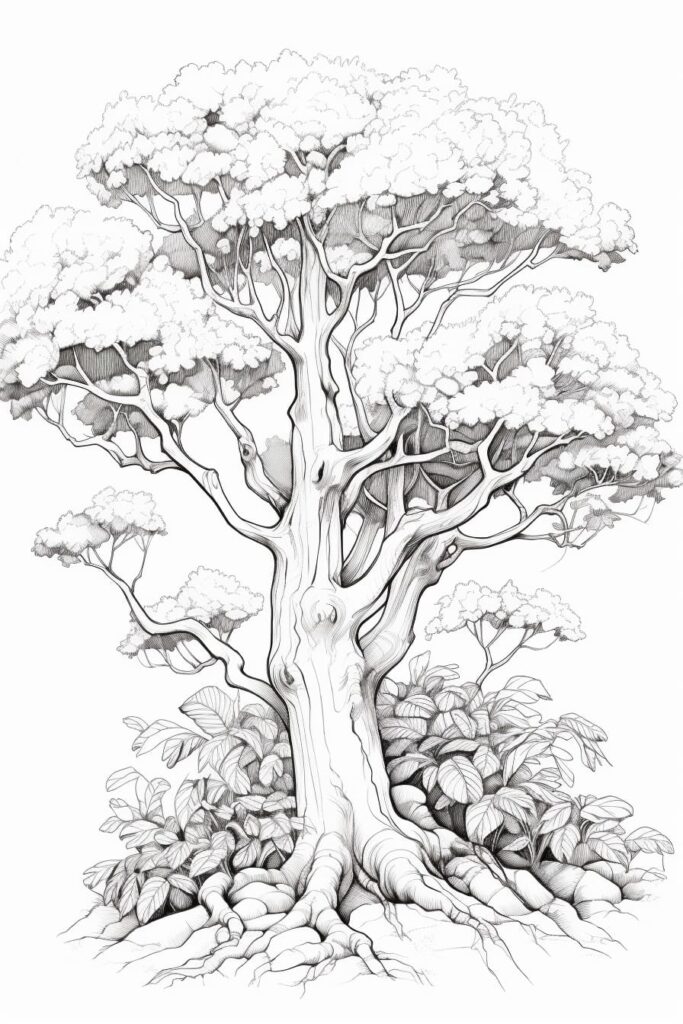
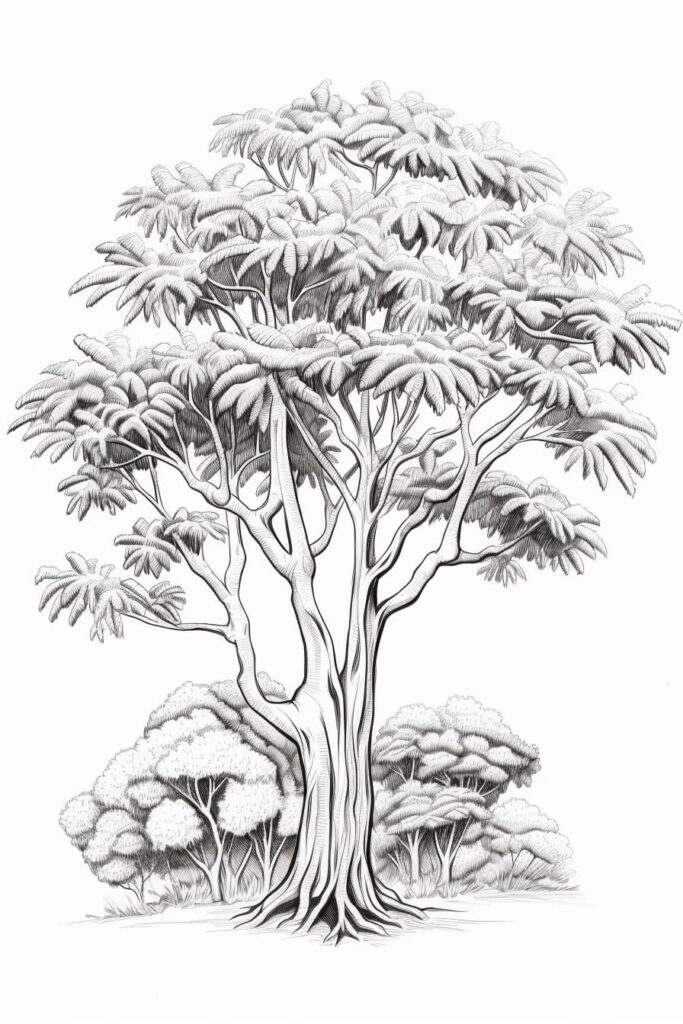
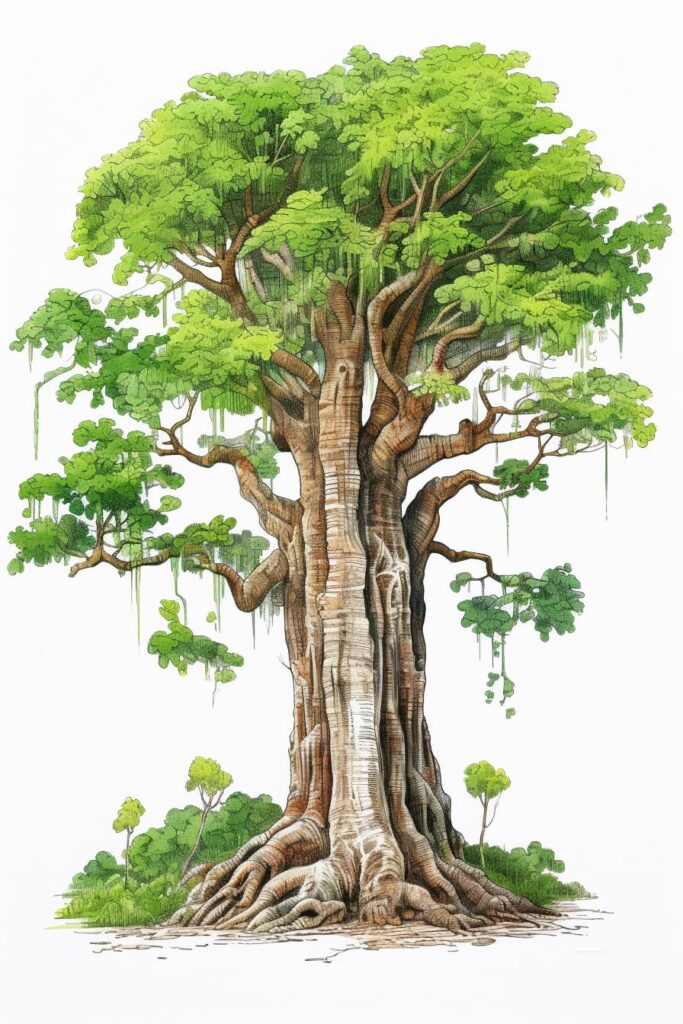
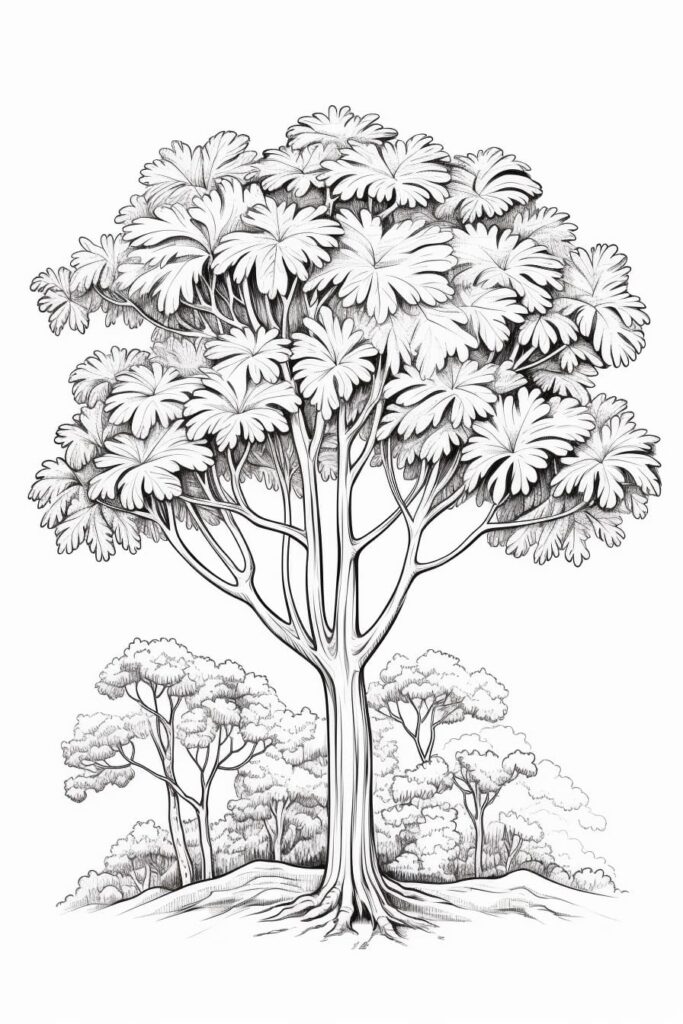
Gallery of Rainforest Tree Drawings