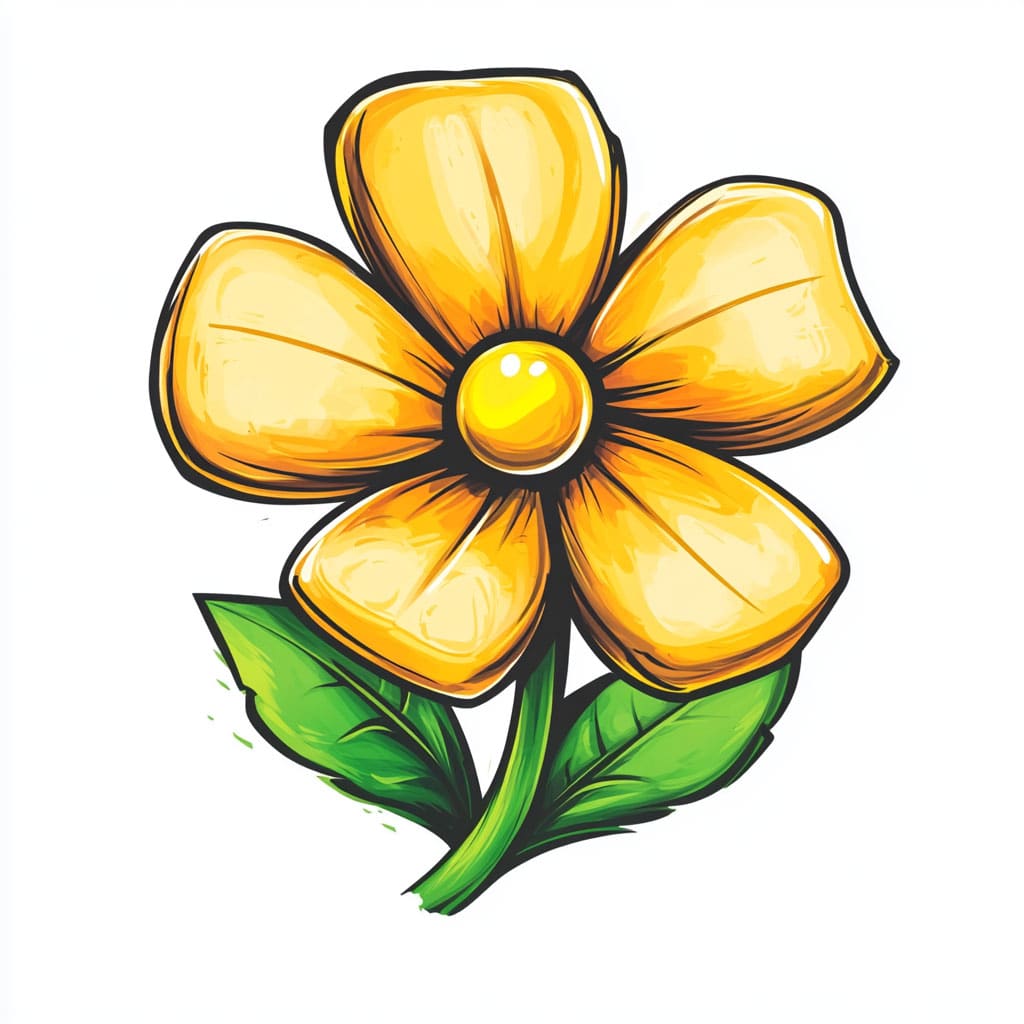
There’s something truly magical about drawing flowers. Their delicate petals, intricate patterns, and vibrant beauty offer endless inspiration for artists of all levels. Whether you’re a seasoned sketcher looking to refine your skills or a beginner eager to try your hand at capturing nature’s elegance, this guide is here to help you every step of the way.
In this tutorial, we’ll explore the process of how to draw a beautiful flower, from sketching basic shapes to adding the fine details that bring them to life. Flowers have long been a symbol of creativity, growth, and expression, making them a perfect subject for anyone looking to enhance their artistic journey.
So, grab your pencils, let your imagination bloom, and join us as we delve into the art of drawing flowers. With a little patience, practice, and your unique creative flair, you’ll soon have a stunning floral masterpiece to be proud of. Let’s get started!
Materials Required
Before we begin, ensure you have the following materials ready:
- Drawing paper or sketchbook
- Pencil (preferably an HB or 2B)
- Eraser
- Fine-tip black marker or pen (optional for outlining)
- Colored pencils or markers (optional for adding color)
Now that you have your materials ready, let’s get started on creating a stunning flower drawing!
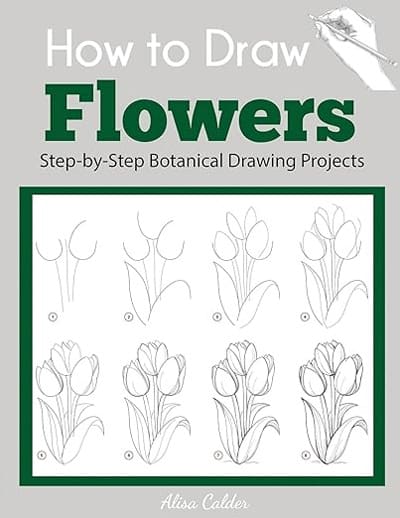
Learn How to Draw Flowers Step-by-Step
This simple and straightforward guide teaches you how to draw many different kinds of flowers with step-by-step instructions. It’s perfect both for total beginners and experienced artists who want to expand their skills.

How to Draw a Beautiful Flower – A Step-by-Step Guide
Step 1: Start with the Bloom’s Foundation
Begin your floral masterpiece by lightly sketching a simple circle in the center of your paper. This circle will act as the core of your flower, a foundation to guide the placement of petals and create balance. Keep your pencil strokes light and loose, as this step is all about laying down the groundwork.
Step 2: Petal Perfection
From the central circle, draw outward-curving lines to shape your first layer of petals. For a daisy-like flower, aim for five to seven petals spaced evenly around the core. Let your strokes flow naturally, mimicking the soft and organic curves of real petals. Don’t be afraid to overlap them slightly for a realistic effect.
Step 3: Shape and Sculpt the Petals
Now, refine each petal by smoothing the lines and adding gentle curves. Pay close attention to the natural bends and folds you’d find in a real flower. Vary the length and width of the petals for added charm, as no two petals are exactly alike in nature.
Step 4: Build Layers of Petals
To add depth and dimension to your flower, sketch another layer of petals slightly behind the first. These petals should peek out between the initial ones, creating a full and layered effect. Use the same techniques as before, but make these petals slightly smaller to mimic how they recede in space.
Step 5: Bring the Center to Life
Turn your attention to the flower’s core. Depending on the type of flower you’re drawing, the center might feature delicate stamens, intricate pollen details, or textured patterns. Use fine, light strokes to illustrate these elements, ensuring they complement the overall design without overwhelming it.
Step 6: Tidy Up Your Lines
Carefully erase any unnecessary guidelines or construction marks that are no longer needed. This step will help clean up your drawing and bring focus to the final structure of your flower. Take your time and ensure your lines are smooth and crisp.
Step 7: Bold Outlines (Optional)
For a striking, defined look, outline your flower with a fine-tip black pen or marker. Trace over your pencil lines with confidence, following the natural flow of the petals and details. Allow the ink to dry completely before erasing any remaining pencil marks.
Step 8: Color Your Creation
Infuse your flower with life by adding vibrant hues. Whether you choose colored pencils, markers, or watercolors, let your palette reflect the essence of the flower you’re drawing. Use shading and blending techniques to create depth and texture, making your flower appear more realistic and three-dimensional.
Step 9: Add Final Touches
Take a step back and admire your work. Are there areas that could use more definition, shading, or texture? Make those final adjustments to elevate your flower drawing to its full potential. You might even consider adding a background or complementary elements like leaves or a stem.
Blossoming to Perfection
Congratulations! You’ve successfully brought a beautiful flower to life on paper. By starting with simple shapes and gradually building layers of petals and details, you’ve captured the natural elegance of a bloom.
This process is a wonderful blend of patience and creativity, and each stroke of your pencil reflects the beauty of nature. With practice, you can experiment with different types of flowers, colors, and techniques to create an entire garden of art.
So go ahead—explore, create, and let your artistic talents flourish. May every flower you draw be a vibrant celebration of your creativity!
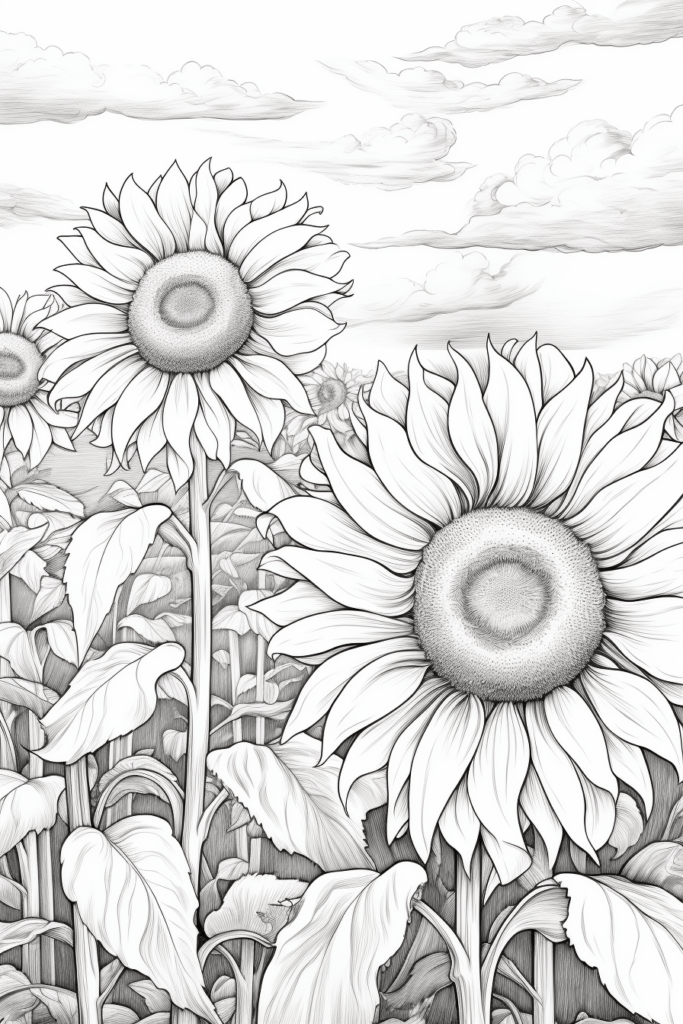
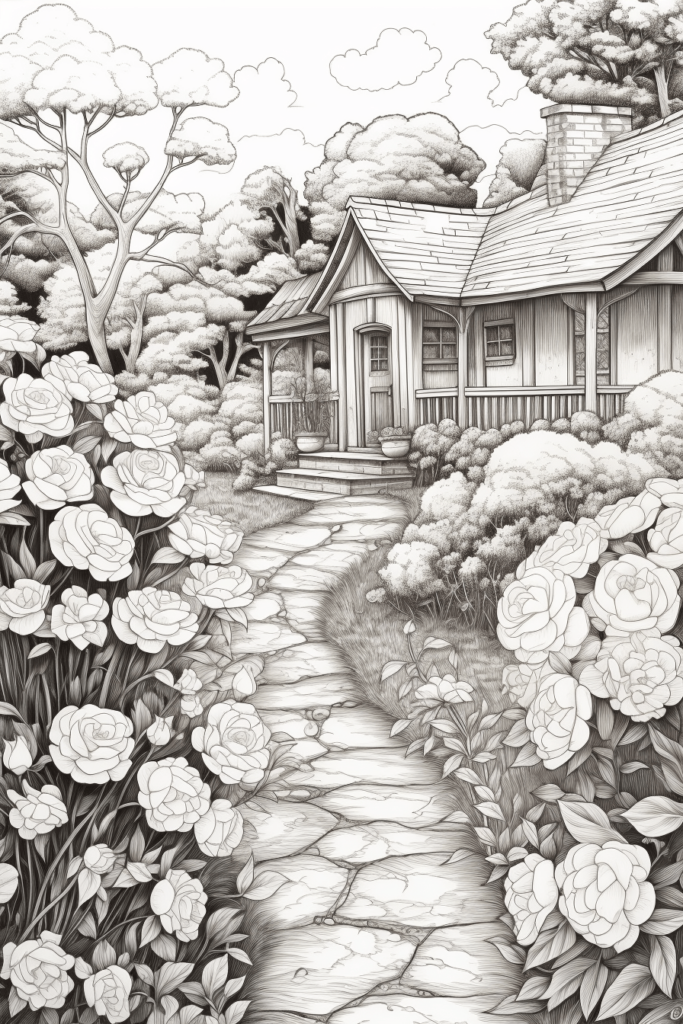
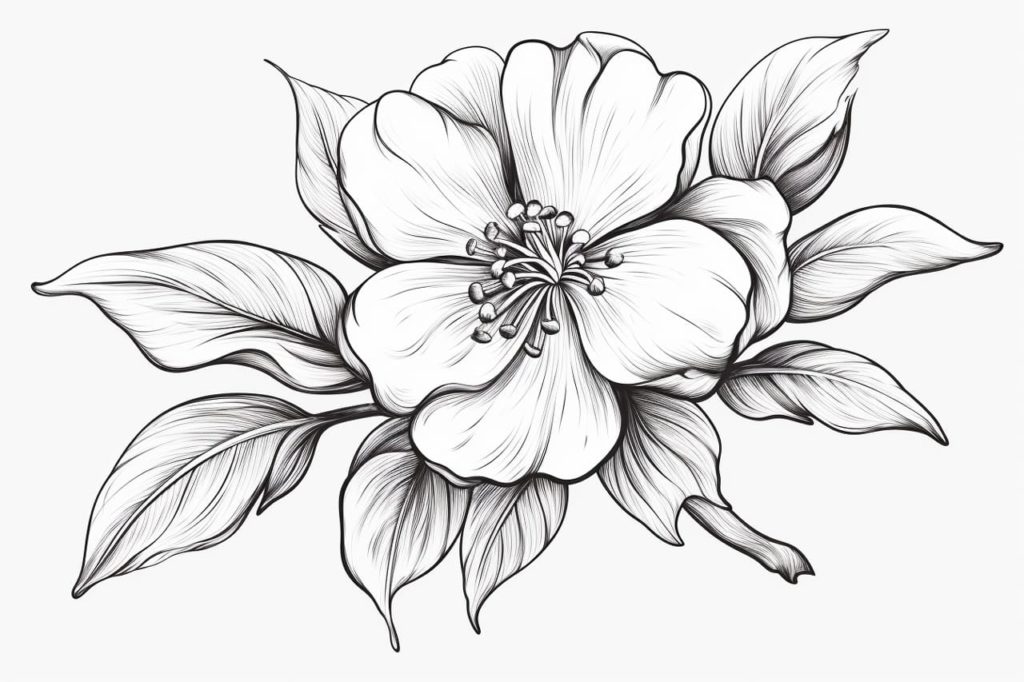
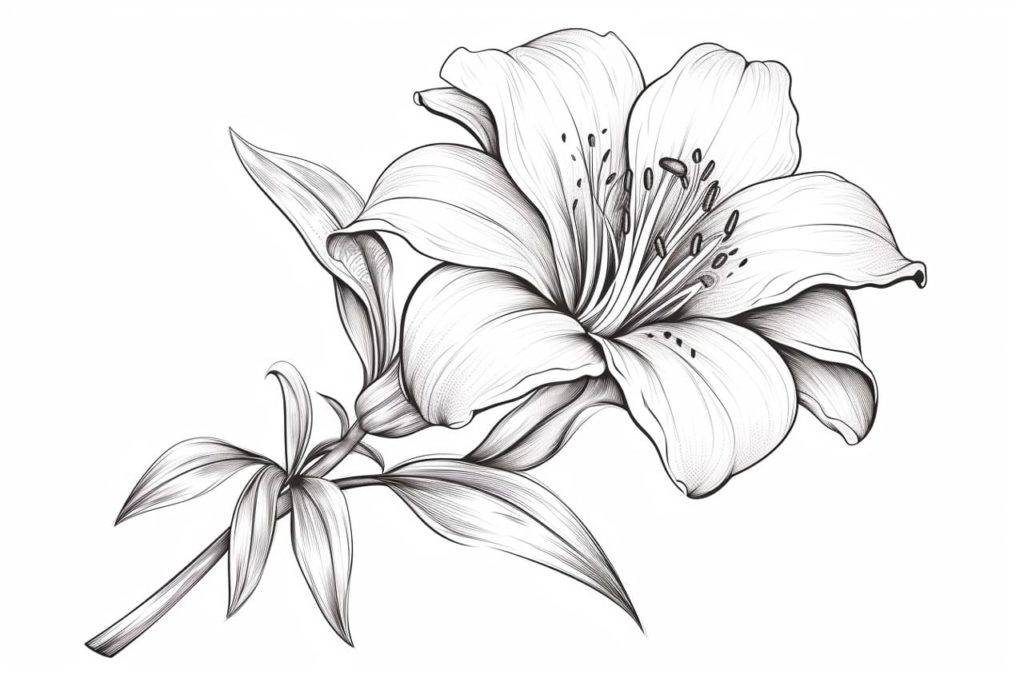
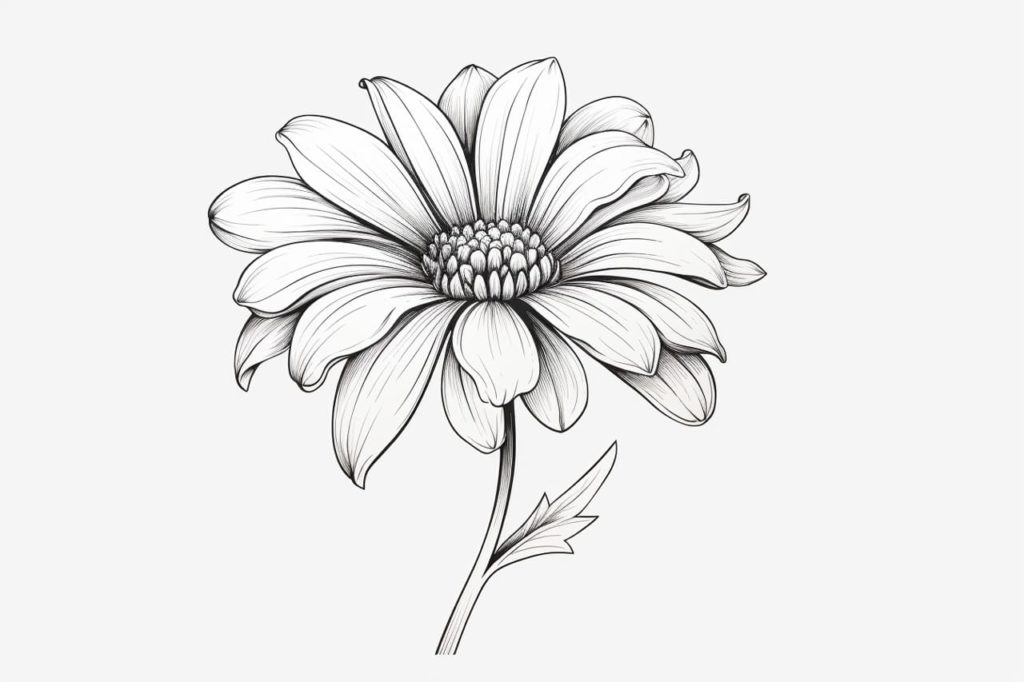
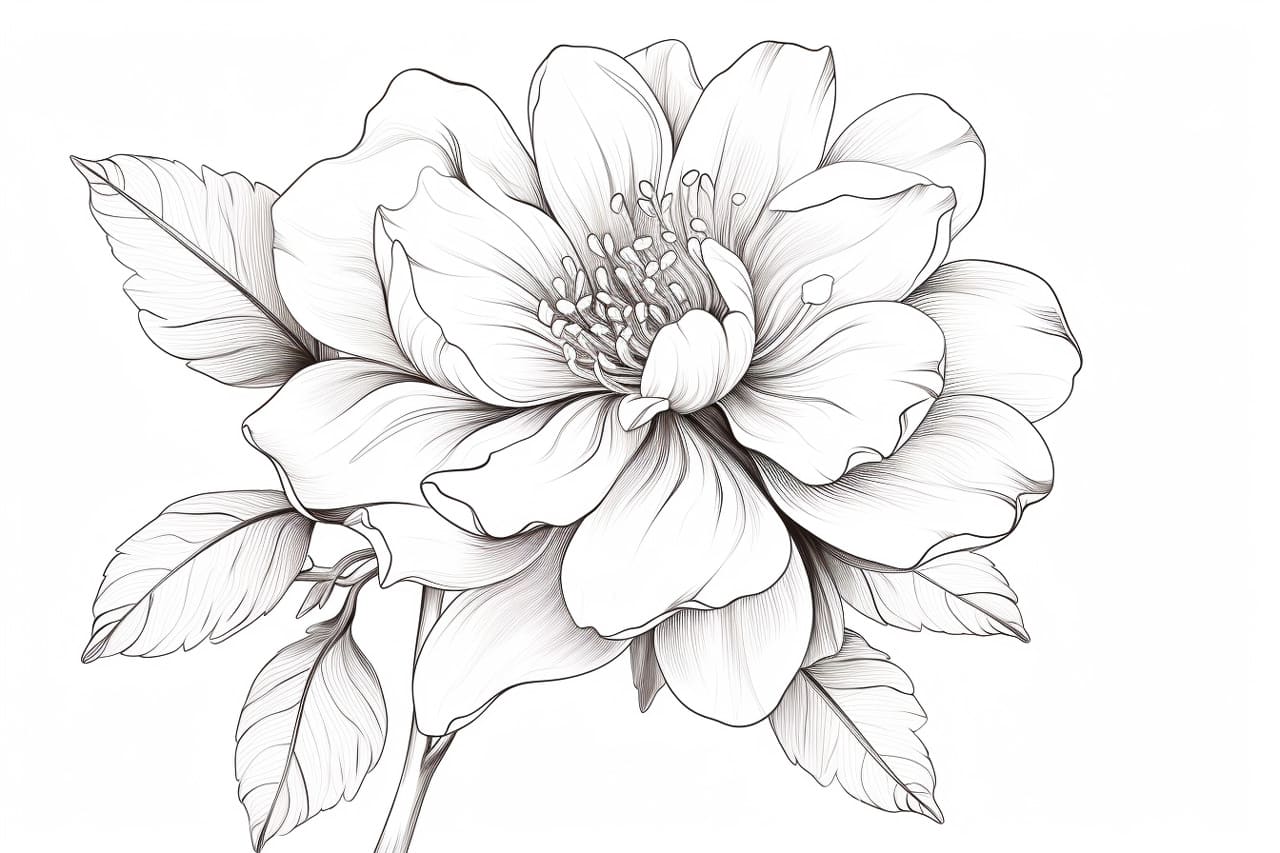
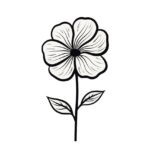
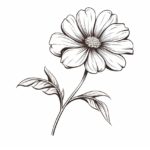
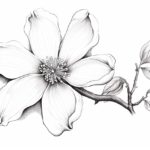
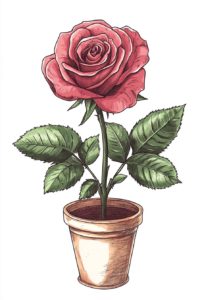
Gallery of Beautiful Flower Drawings






 Flower Power