Whether you’re an aspiring artist looking to hone your skills or someone who simply enjoys the meditative practice of sketching, learning how to draw a surfer can be a thrilling and rewarding creative journey. Surfers embody a unique sense of dynamism and freedom, their movements capturing the essence of riding the waves. As you take on this artistic challenge, you’ll discover a vibrant world of energy and motion, making your drawing experience not only enjoyable but also incredibly fulfilling.
In this article, I will guide you step by step through the process of drawing a surfer. From the initial sketches to the final touches, you will gain valuable insights into techniques that will help you capture the spirit of surfing. Whether you envision a breathtaking wave ride or a relaxed beach scene, this guide is designed to simplify the process and ignite your creativity. So, gather your materials, prepare to unleash your imagination, and let’s dive into the exciting world of surfer art!
Materials Required
Before we dive into the drawing process, let’s make sure you have all the necessary materials:
- Drawing paper: Choose a high-quality paper that is suitable for your preferred medium, such as graphite or colored pencils.
- Pencils: A set of graphite pencils ranging from H to B will allow you to achieve a range of values in your drawing.
- Eraser: A kneaded eraser is ideal for correcting mistakes and making subtle adjustments to your sketch.
- Pencil sharpener: Keep your pencils sharp for precise lines and shading.
- References: Find photographs or images of surfers that inspire you. These references will help you capture the natural pose and flow of a surfer.
Now that you have all your materials ready, let’s move on to the drawing process.
Step 1: Outline the Basic Pose
Start by lightly sketching an oval shape for the head of the surfer. Then, draw a vertical line down the center of the page, which will be the spine of your surfer. Add a horizontal line across the middle of the oval to indicate the eye level. Next, outline the basic shape of the body, arms, and legs using simple lines and circles. Remember to keep these lines light and loose, as they will serve as guidelines for the final drawing.
Step 2: Define the Features
Now that you have the basic pose, it’s time to add more details to your surfer. Start by drawing the facial features, such as the eyes, nose, and mouth. Keep in mind that surfers often wear sunglasses, so consider adding them for an added touch of style. Moving on to the body, sketch the muscles and contours to create a sense of movement and energy. Pay attention to the position of the arms and legs, as they should reflect the action of the surfer riding a wave.
Step 3: Add Clothing and Accessories
Surfers usually wear specific clothing and accessories, which add to their overall look. Draw the surfer’s wetsuit or board shorts, and don’t forget to include any logos or patterns that may be present. Additionally, consider adding a surfboard under the surfer’s arm or riding the wave alongside them. This will bring your drawing to life and highlight the surfer’s connection to the ocean.
Step 4: Refine the Details
Now that you have the basic structure and features of your surfer, it’s time to refine the drawing and add more details. Start by erasing any unnecessary guidelines and defining the lines with more precision. Pay attention to the contours of the body and the flow of the hair to create a realistic and dynamic appearance. Add more details to the face, such as expressions and wrinkles, to give your surfer a unique personality.
Step 5: Shading and Texturing
To make your drawing truly come alive, it’s important to add shading and texture. Use your range of graphite pencils to create different values, from light to dark, to give depth and dimension to your surfer. Pay attention to the direction of the light source and add shadows accordingly. Additionally, consider adding texture to the surfer’s hair, clothing, and surfboard using quick, light strokes. This will enhance the realism of your drawing and make it more visually appealing.
Step 6: Final Touches
Once you are satisfied with the shading and texturing, take a step back and assess your drawing as a whole. Make any necessary adjustments and add final touches to bring out the highlights and details. Use your eraser to lighten areas that need more contrast or to create highlights on the surfer’s hair and clothing. Take your time and make sure every detail is in place before considering your drawing complete.
Congratulations! You have successfully learned how to draw a surfer. With practice and patience, your drawings will continue to improve, and you will be able to capture the essence and energy of surfers in your artwork.
Conclusion
Drawing a surfer can be a thrilling experience, allowing you to express the dynamic nature of the sport and the connection between surfers and the ocean. By following these simple steps and using the right materials, you can create a visually captivating surfer drawing that showcases your artistic skills. So grab your pencils, find inspiration, and let your creativity flow as you embark on your surfer drawing journey!
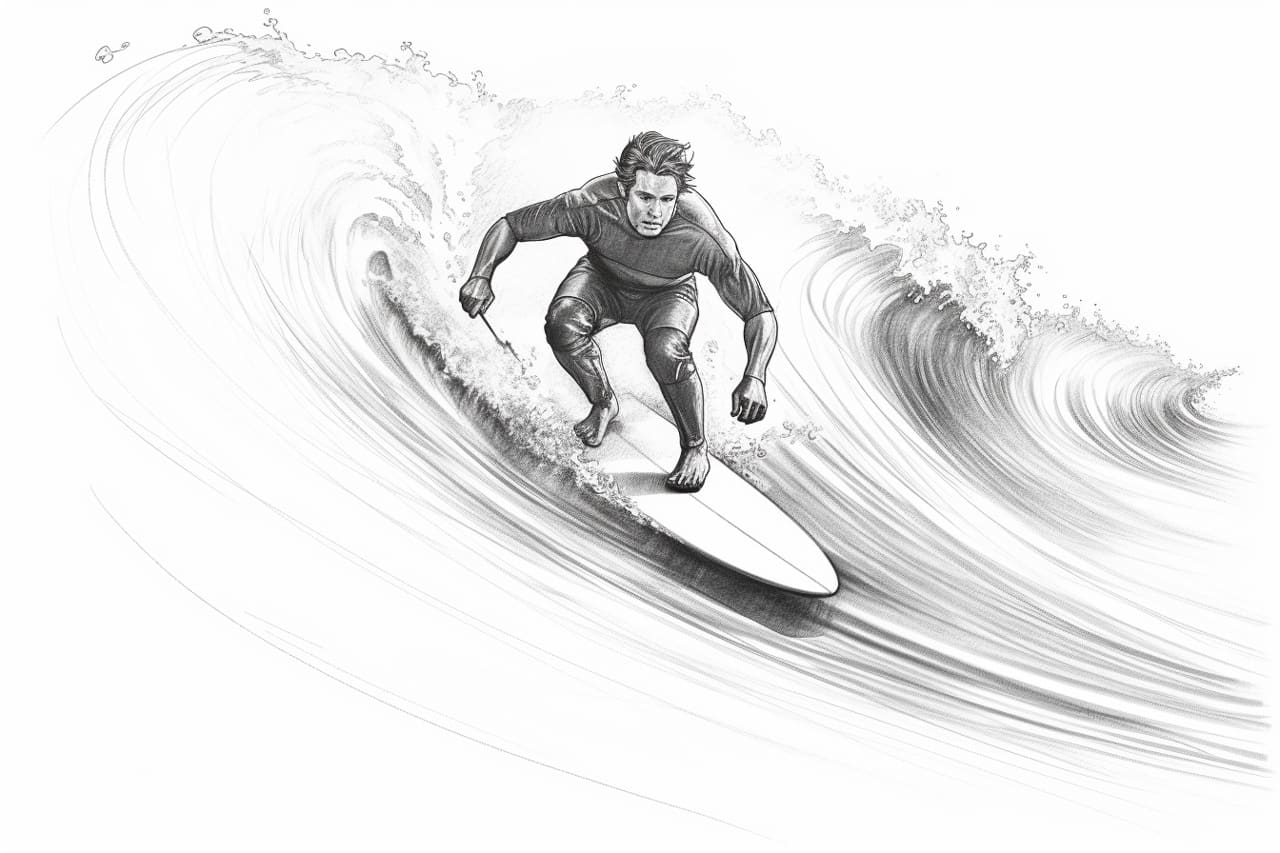
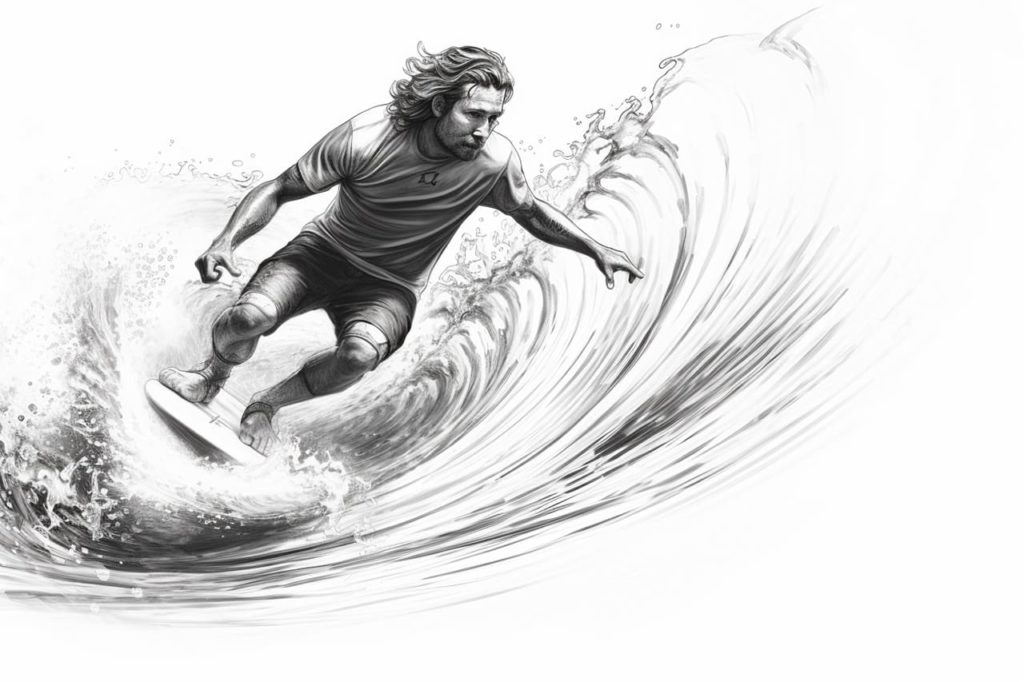
Gallery of Surfer Drawings


Related posts:
 How to Draw an Anime Girl in 8 Simple Steps
 How to Draw a Sunflower in 10 Simple Steps
 How to Draw a Fairy in 8 Simple Steps
 How to Draw a Halloween Witch in 7 Simple Steps
 How to Draw a House in 5 Simple Steps
 How to Draw a Mushroom in 7 Simple Steps
 How to Draw a Siren in 9 Simple Steps
 How to Draw Godzilla in 5 Simple Steps