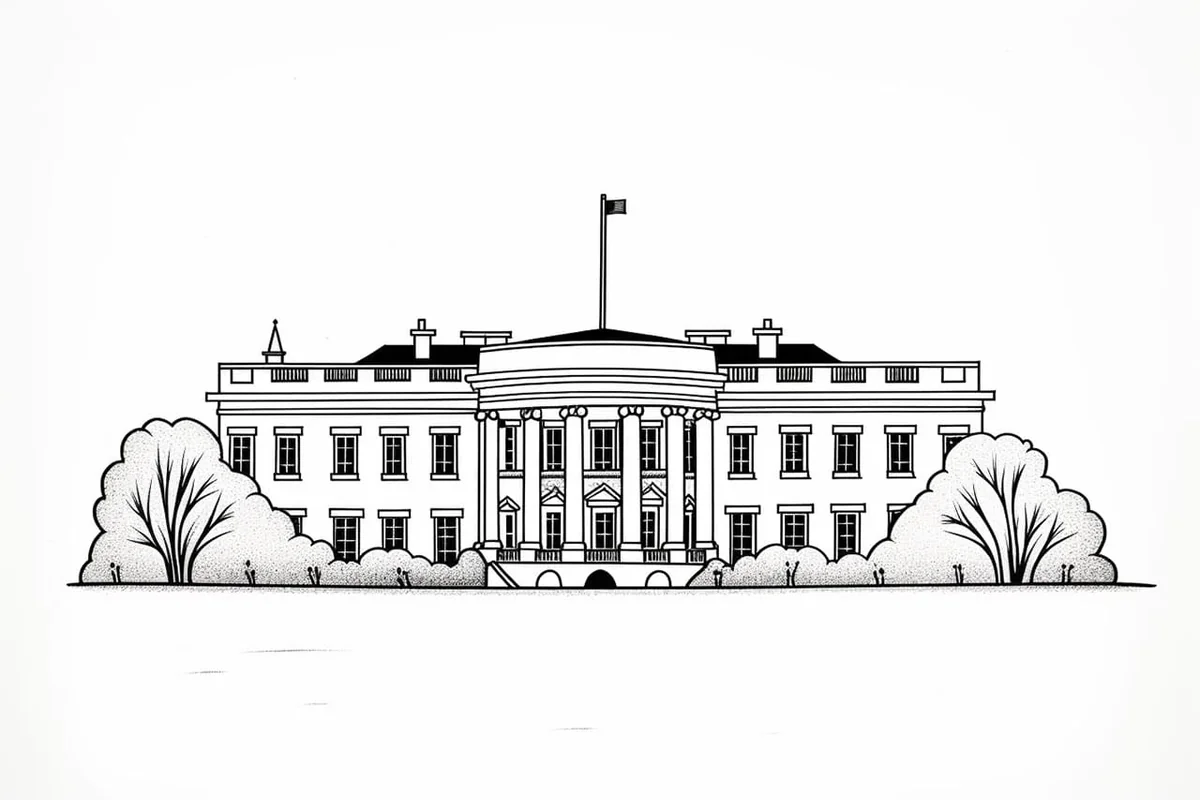
How to Draw the White House
Learn how to draw with this step-by-step tutorial.
Materials You'll Need
- Drawing paper
- Pencil (HB or 2B)
- Eraser
- Markers
- Ruler
The White House stands as one of the most recognizable landmarks in the United States, embodying the nation's history and democratic ideals. Drawing this architectural marvel can be both a rewarding and enjoyable experience, whether you are just starting your artistic journey or are a seasoned illustrator looking to expand your portfolio. In this tutorial, we will unravel the process of capturing the essence of the White House on paper, step by step.
Art has a unique way of connecting us to the world around us. By sketching the White House, you are not merely replicating a building; you are engaging with a symbol that has witnessed countless significant moments in American history. From state dinners to presidential ceremonies, this structure has been the backdrop for events that have shaped the country. So grab your pencils, and let's embark on this creative adventure together.
As we move through each phase of the drawing, you'll find that the techniques involved can serve as a practice for drawing other architectural structures as well. Whether it's the grandeur of the pillars, the symmetry of the windows, or the intricate details of the rooftops, this exercise will enhance your observational skills and artistic finesse. So let's get started and create a stunning representation of this iconic building!
Materials Required
Before we begin, make sure you have the following materials:
-
Pencil (preferably an HB or 2B for sketching)
-
Eraser
-
Ruler (optional)
-
Fine-tip black pen or marker (optional, for inking)
With these materials in hand, let's dive into the step-by-step process of drawing the White House.
Step 1: Outline the Basic Shape of the White House
Start by lightly sketching a rectangle shape in the middle of your paper. This will be the main body of the White House. Don't worry too much about getting the proportions perfect at this stage. We will refine the drawing in the following steps.
Step 2: Add the Roof and Pillars
Using your ruler or freehand, add a triangular roof shape on top of the rectangle. The height of the roof should be approximately half the height of the main body. Then, draw four evenly spaced rectangular pillars in the front of the White House. These pillars will give the building a grand and impressive look.
Step 3: Sketch the Windows and Doors
Next, let's add the windows and doors to the White House. Start by drawing rectangular windows along the sides of the main body. The windows should be evenly spaced and all the same size. Then, sketch the main entrance door in the center of the building. Add details like panels and handles to make it more realistic.
Step 4: Refine the Roof and Pillars
Now, let's refine the roof and pillars of the White House. Add some details to the roof by drawing smaller triangular shapes along the edges. This will give it a more textured and realistic appearance. Next, add some decorative elements to the pillars, such as fluted lines or ornate designs. Take your time and pay attention to the proportions and symmetry.
Step 5: Add the Portico and Steps
The White House features a beautiful portico, so let's add that to our drawing. Extend two lines from the top of the main entrance door to create the roof of the portico. Then, draw a series of steps leading up to the entrance. You can make the steps as simple or as detailed as you like, depending on your skill level and preference.
Step 6: Sketch the Balconies and Flagpoles
Now it's time to add some finishing touches to our White House drawing. Sketch the balconies on the second floor of the building. These balconies have intricate railings, so take your time to capture all the details. In addition, include the flagpoles on either side of the main roof, as the White House is known for flying the American flag proudly.
Step 7: Refine the Details and Erase the Guidelines
Take a moment to review your drawing and make any necessary adjustments. Refine the details of the windows, doors, and other elements to make them more defined and proportional. Once you are satisfied with the overall appearance, use your eraser to carefully remove the light guidelines and pencil marks, leaving behind only the clean and crisp lines of your White House drawing.
Tip: To effectively capture the grandeur of the White House, focus on the proportions and symmetry of the building before diving into the details. Start by lightly sketching the basic shapes with a pencil, using a ruler to ensure straight lines for the roof and columns, which helps maintain the architectural accuracy. Once you have the foundational shapes, begin to refine your outlines and add details, like the windows and doors, ensuring they are evenly spaced and proportionate to each other. A kneaded eraser can be your best friend for correcting any misalignments while also softening any harsh pencil lines. Lastly, consider using a fine-tip pen or a darker pencil to go over your final lines for a cleaner look, allowing the iconic structure to stand out beautifully on your page.
Conclusion
Congratulations! You have successfully learned how to draw the White House. By following these step-by-step instructions and utilizing your artistic skills, you have created a stunning representation of this iconic American landmark. Whether you chose to sketch it for fun or as a learning experience, I hope you enjoyed the process. Keep practicing, and soon you'll be able to draw even more intricate and detailed architectural masterpieces.
Fun Facts About the White House
-
The first White House was constructed in the late 18th century and has stood as a powerful symbol of American democracy and the U.S. presidency for more than two centuries.
-
Neoclassical architecture defines the style of the White House, drawing from ancient Greek and Roman influences to project ideals of democracy, balance, and strength.
-
Over the years, the White House has undergone multiple renovations and expansions, including the addition of the West Wing and beautifully landscaped gardens like the Rose Garden.
-
While the White House in Washington, D.C. is the most iconic, there are similar neoclassical buildings around the globe, inspired by its timeless design.
-
John Adams was the first U.S. president to live in the White House, moving in during its final stages of construction in 1800.
-
The distinctive white exterior was chosen to protect the porous Aquia Creek sandstone used in construction, using a lime-based whitewash for durability and elegance.
-
The Oval Office, known for its unique elliptical shape, symbolizes unity and continuity. Its design was first implemented during President Taft's expansion of the West Wing in 1909.
-
Beneath the White House lies the Presidential Emergency Operations Center (PEOC), a secure underground facility created during World War II and used during major crises.
-
The White House boasts 132 rooms, 35 bathrooms, and six levels, providing ample inspiration for artists, architects, and curious visitors alike.
-
Beyond being a residence, the White House serves as a diplomatic stage for grand state dinners, where presidents honor foreign leaders and celebrate global alliances with ceremony and style.
Suggestions for Scenes and Settings for White House Drawings


-
Presidential Garden Party: Depict a lively event on the White House lawn, with guests mingling among colorful flowerbeds and historic statues.
-
Twilight Illumination: Illustrate a serene evening scene where the White House is beautifully lit against the twilight sky, capturing the play of lights and shadows.
-
Historic Signing: Create a dramatic scene inside the Oval Office, showing a president signing important legislation with advisors watching closely.
-
Winter Wonderland: Picture the White House grounds blanketed in snow, complete with icicles hanging from the roof and a snowman family on the lawn.
-
The Haunted White House: Envision a spooky setting with ghostly figures of past presidents wandering the halls by candlelight.
-
Independence Day Celebration: Design a vibrant scene with fireworks lighting up the sky above the White House, with crowds celebrating on the National Mall.
-
Secret Service Drill: Depict an action-packed scene of a Secret Service training exercise on the South Lawn, with agents and helicopters in motion.
-
Tourist's First Look: Illustrate a family's awestruck reaction upon seeing the White House for the first time, capturing their expressions of wonder.
-
Past to Present: Show a split scene of the White House in different eras, comparing vintage and modern-day aesthetics and technology.
-
White House Art Gallery: Imagine a make-believe art exhibit inside the White House, with famous artworks displayed in a grand room.