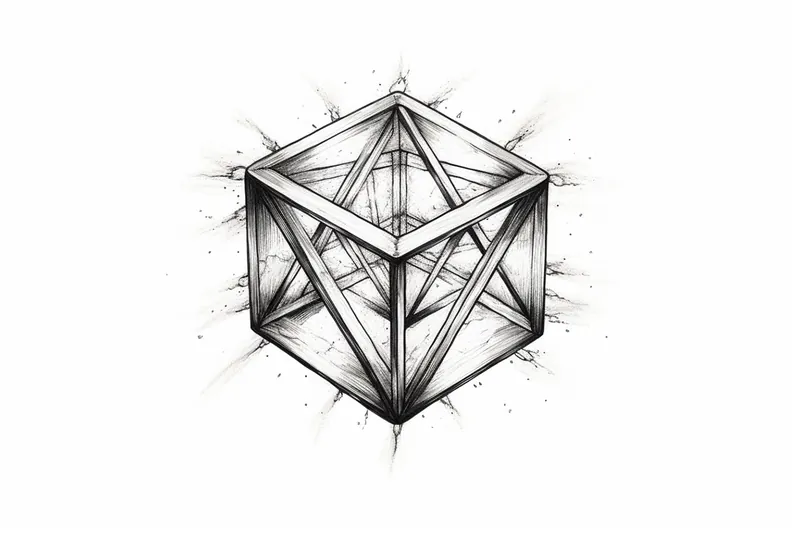
How to Draw a Tesseract
Learn how to draw a tesseract, a fascinating four-dimensional shape, with this step-by-step guide. Enhance your artistic skills and create stunning geometric art.
Materials You'll Need
- Pencil
- Paper
- Eraser
The tesseract, also known as a hypercube, is one of the most intriguing shapes in the world of mathematics and geometry. Unlike the familiar cube that exists in three dimensions, a tesseract is a four-dimensional analog, making it a fascinating subject for artists, students, and anyone interested in visualizing higher dimensions. Drawing a tesseract can be a unique way to explore concepts from advanced mathematics and science fiction, as this shape often appears in discussions about multidimensional space and is featured in popular culture, from literature to movies.
You might want to learn how to draw a tesseract to challenge your perspective and sharpen your understanding of spatial relationships. This tutorial breaks down the process into manageable steps, making it accessible even if you're new to geometric drawing. The techniques you'll use include drawing cubes, using parallel lines, and understanding simple perspective—all valuable skills for both beginner and intermediate artists. As you progress, you'll gain confidence in representing complex forms and improve your ability to visualize objects beyond our usual three dimensions.
Don't worry if this sounds intimidating at first; with a bit of patience and practice, anyone can master the basics of drawing a tesseract. Whether you're looking to boost your technical drawing skills, impress friends with a mind-bending shape, or simply enjoy the creative challenge, this guide will support you every step of the way. Grab your drawing materials, and let's embark on this artistic journey together!
Materials Required
Before we dive into the drawing process, make sure you have the following materials ready:
- Graph paper or a plain sheet of paper
- Pencils of different hardness (HB, 2B, 4B)
- Eraser
- Ruler
- Compass
- Colored pencils or markers (optional)
Having these materials on hand will help you accurately sketch the tesseract and add depth and dimensionality to your drawing.
Step 1: Understanding the Tesseract
To begin, it is important to have a clear understanding of what a tesseract is. The tesseract is a four-dimensional analog of a cube, much like a cube is a three-dimensional analog of a square. It consists of eight vertices, twelve edges, six faces, and three-dimensional cubes as its cells. Visualizing these components in your mind will help you immensely throughout the drawing process.
Step 2: Drawing the Initial Cube
Tip: As you draw your tesseract, consider using light shading techniques to emphasize the dimensionality and depth of the shape; this can greatly enhance the visual impact of your work. Experiment with different shading styles, such as cross-hatching or stippling, to create a sense of volume and perspective, making your tesseract appear more dynamic and engaging.
Start by drawing a square in the center of your paper. Use a ruler to ensure the lines are straight and equal in length. The size of this square will determine the overall scale of your tesseract, so choose accordingly.
Step 3: Adding Depth to the Cube
Now, extend the edges of the square to form a three-dimensional cube. To achieve this, draw parallel lines on each side of the square, connecting the corners. Make sure the lines are evenly spaced and parallel to the corresponding sides of the square.
Step 4: Creating the Second Cube
At each corner of the initial cube, draw another square of equal size. These squares will represent the faces of the inner cube, which will eventually contribute to the formation of the tesseract.
Step 5: Connecting the Cubes
Using straight lines, connect the corresponding corners of the inner and outer cubes to create additional edges. Make sure the lines are parallel and connected accurately to represent the structure of the tesseract.
Step 6: Drawing the Remaining Cubes
Repeat Step 4 and Step 5 to complete the tesseract. Draw squares at each newly formed corner and connect them with parallel lines to create additional edges. Extend this process until you have a total of eight cubes connected together within the tesseract.
Step 7: Erasing Unnecessary Lines
At this point, you may have multiple lines that are no longer needed. Use your eraser to carefully remove the unnecessary lines and clean up your drawing. Be cautious not to erase any essential lines that define the structure of the tesseract.
Step 8: Adding Shading and Details
To enhance the three-dimensional appearance of your tesseract, you can add shading and details. Determine the direction of the light source in your drawing and shade the sides of the cubes that would be in shadow. This will create depth and bring your tesseract to life. Experiment with different shading techniques to achieve a realistic and visually appealing result.
Step 9: Coloring the Tesseract (optional)
If you wish, you can bring even more vibrancy to your tesseract by coloring it. Use colored pencils or markers to carefully fill in the faces of the cubes with different shades and colors. Consider using complementary colors to make your drawing visually captivating.
Challenge: For your drawing challenge, try to take the concept of the tesseract beyond its basic geometric representation by integrating it into a dynamic scene. Imagine the tesseract as a portal to another dimension; draw it interacting with elements from a fantasy world, such as swirling galaxies, mythical creatures, or futuristic architecture. Focus on conveying movement and depth by incorporating shadows and light sources that enhance the tesseract's four-dimensional qualities. Experiment with different perspectives and angles, perhaps even depicting multiple tesseracts in various stages of transformation or layering, to push your creativity further. This is a wonderful opportunity to blend your understanding of geometry with imaginative storytelling—so let your artistic vision soar!
Conclusion
Congratulations! You have successfully learned how to draw a tesseract, a captivating four-dimensional shape. By following the step-by-step instructions and using the materials provided, you should be able to create a visually appealing representation of this complex geometric object. Remember to practice and experiment with different techniques to refine your skills further. Enjoy your artistic journey into the realm of hypercubes!
Fun Facts About Tesseract
- The tesseract is the four-dimensional analog of a cube, also known as a hypercube.
- A tesseract has 16 vertices, 32 edges, 24 square faces, and 8 cubic cells, as detailed by Wolfram MathWorld.
- The concept of the tesseract was first introduced by mathematician Charles Howard Hinton in 1888.
- Tesseracts are often used in science fiction to represent higher-dimensional spaces, such as in the novel A Wrinkle in Time.
- When projected into three dimensions, a tesseract can appear as a complex, interlocking wireframe, as shown in this AMS Feature Column.
- The tesseract is part of a family of shapes called hypercubes, which exist in any number of dimensions.
- In mathematics, the tesseract is represented by the Schläfli symbol 3.
- Rotating a tesseract in four dimensions produces fascinating visual effects, which you can explore with this interactive model.
- The tesseract has inspired artists and architects, including the famous Tate collection.
Suggestions for Scenes and Settings for Tesseract Drawings
- A tesseract floating above a futuristic cityscape, casting four-dimensional shadows across the skyline.
- A tesseract unfolding or rotating in space, with each face revealing a different landscape or world within.
- The tesseract as a mysterious portal in a dense, enchanted forest, with glowing edges inviting explorers to enter.
- An exploded view of a tesseract, with each cube separated and connected by energy beams, illustrating its structure.
- A tesseract integrated into a mechanical device or robot, powering advanced technology in a sci-fi setting.
- Surreal tesseract architecture: a building or monument shaped like a tesseract, surrounded by people or vehicles for scale.
- A tesseract submerged underwater, teeming with futuristic sea life weaving through its edges and faces.
- The tesseract as a mystical artifact in an ancient temple, with light beams and magical symbols surrounding it.
- A classroom or laboratory scene where students and scientists interact with a holographic tesseract model.
- [A cosmic tesseract drifting among stars and nebulae](https://yonderoo.com/how-to-draw-a-cosmic-explosion/), with galaxies reflected on its transparent surfaces.