How to Draw a Sunset on a Beach
Learn how to draw a sunset on a beach with this step-by-step drawing tutorial. Capture the colors and tranquility of a beach sunset with pencils and soft pastels.
Materials You'll Need
- Pencil
- Paper
- Eraser
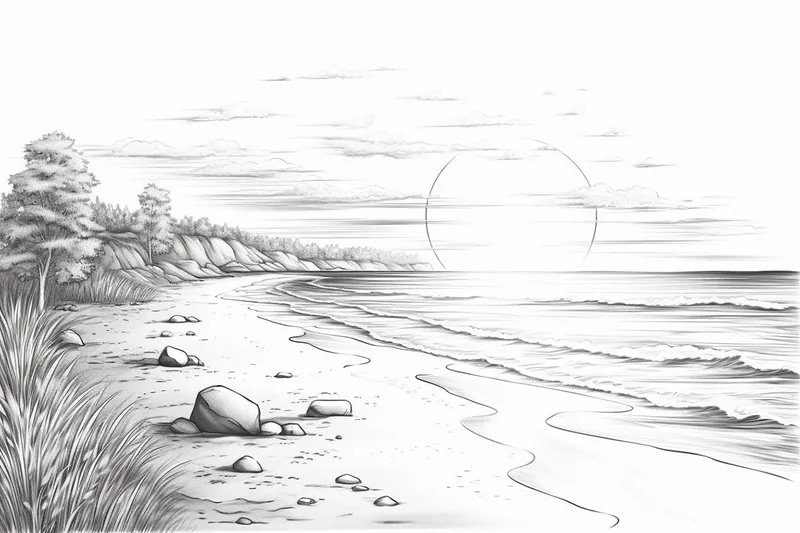
![]() Imagine yourself sitting on a sun-soaked beach, with grains of warm sand under your toes, as you gaze at the horizon. The sun begins its slow descent, painting the sky in a symphony of colors—rich oranges, soft pinks, and deep purples blending seamlessly across the canvas of the heavens. Sunsets at the beach are not merely a visual treat; they evoke emotions, inspire peace, and serve as a perfect subject for art. Capturing this fleeting moment on paper can be both rewarding and soothing.
Imagine yourself sitting on a sun-soaked beach, with grains of warm sand under your toes, as you gaze at the horizon. The sun begins its slow descent, painting the sky in a symphony of colors—rich oranges, soft pinks, and deep purples blending seamlessly across the canvas of the heavens. Sunsets at the beach are not merely a visual treat; they evoke emotions, inspire peace, and serve as a perfect subject for art. Capturing this fleeting moment on paper can be both rewarding and soothing.
In this guide, we will embark on a creative journey that will teach you to how to draw a sunset on a beach. You don't need to be an expert artist; with patience and the right materials, you'll learn to translate that breathtaking view into a beautiful piece of artwork. This step-by-step process will walk you through every stage, from setting the horizon line to applying the final touches. So, gather your drawing supplies, and let's dive into the stunning world of sunsets, where creativity meets the essence of nature!
Materials Required:
To create your own masterpiece, you will need the following materials:
- Drawing paper or sketchbook
- Pencils (2B, 4B, and 6B)
- Eraser
- Blending stump or cotton swabs
- Soft pastels (various shades of orange, pink, yellow, and purple)
- Fixative spray (optional, to preserve your final artwork)
Now that you have your materials ready, let's begin the step-by-step process of drawing a sunset on a beach.
Step-by-Step Guide: How to Draw a Sunset on a Beach
Few scenes are as breathtaking as a sunset over the ocean. The warm glow of the sun, the shimmering reflection on the water, and the soft colors blending across the sky create a peaceful and mesmerizing view. In this step-by-step guide, you'll learn how to capture this beauty on paper with simple drawing techniques. Grab your pencils, pastels, or colored pencils, and let's bring a sunset to life!
Step 1: Sketch the Horizon Line ✏️
Start by lightly drawing a horizontal line across your paper, slightly above the lower third. This represents the horizon where the ocean meets the sky. Use a 2B pencil and apply gentle pressure so you can adjust it later if needed.
Step 2: Shape the Water
Just below the horizon, sketch the outline of the ocean waves with gentle, flowing lines. Make them slightly curved and uneven to add movement and realism. A 4B pencil works well here to create a balance between softness and definition.
Step 3: Outline the Beach ️
Below the waterline, draw a curved, sloping line to define the sandy shore. It can be slightly uneven to reflect a natural beach shape. If you want to add rocks, shells, or footprints, sketch them lightly at this stage.
Step 4: Position the Sun ☀️
Place a small circle slightly above the horizon line to represent the sun. If you want a setting sun, partially overlap it with the horizon. You can also sketch subtle sun rays extending outward for a radiant effect.
Step 5: Build the Sky
Using a 2B pencil or soft pastels, start shading the sky. Begin with lighter tones near the sun and gradually darken the shades as you move outward. Keep in mind that sunsets often have a mix of orange, pink, purple, and blue hues, so think about how you want your sunset to look.
Step 6: Blend the Sunset Colors
Now, it's time for some magic! Using pastels or colored pencils:
- Apply orange around the sun and blend it outward.
- Add pink and purple next, letting them seamlessly merge.
- Darken the top of the sky with blue or deep purple for contrast.
Use soft, circular motions to blend the colors smoothly.
Step 7: Reflect the Sunset on the Water ✨
To make the ocean feel realistic, add the sun's reflection:
- Lightly sketch an elongated oval below the sun, following the curve of the waves.
- Use soft yellow, orange, and pink tones to mimic how light dances on the water.
- Add gentle ripples in darker shades for depth.
Step 8: Enhance the Beach
Give the sandy shore some texture:
- Use light, short pencil strokes to create a grainy sand effect.
- Blend soft beige and brown tones for depth.
- Add shadows under rocks or shells for a natural look.
Step 9: Detail the Sun ☀️
To make the sun pop:
- Lightly soften the edges for a glowing effect.
- Add faint sun rays extending outward with a blending tool or light pencil strokes.
- If desired, deepen the colors around it to make it stand out more.
Step 10: Final Adjustments ️
Take a moment to review your drawing:✔️ Smooth out any uneven blending in the sky and water.✔️ Darken the horizon line slightly for clarity.✔️ Add subtle highlights to enhance brightness.✔️ Erase any stray pencil marks for a clean finish.
Step 11: Apply Fixative (Optional)
If you used pastels, a light spray of fixative will help preserve your artwork and prevent smudging. Spray from a distance in a well-ventilated area for best results.
Tip: When drawing a sunset on a beach, focus on blending your colors to mimic the soft transitions seen in the sky. Start by layering your colors from the horizon upwards—use a light hand with soft pastels or colored pencils to gradually mix oranges, pinks, and purples, allowing them to overlap slightly for a seamless effect. To create the illusion of clouds, gently smudge your colors with a blending stump or your fingertip, and consider using a white or light yellow pencil to add highlights. For the water, reflect the colors of the sky by using horizontal strokes to mirror the sunset hues, and leave some lighter areas untouched to represent the sun's reflection. Don't forget to step back occasionally to assess the overall balance of colors and make adjustments as needed. Happy drawing!
Tying It All Together
Congratulations! You've just drawn a breathtaking sunset at the beach! Whether it's your first attempt or you're refining your technique, each sunset you draw will be unique—just like the real ones. Keep practicing, experiment with different color palettes, and most importantly, enjoy the process of capturing nature's beauty on paper.
Now, sit back and imagine the sound of the waves… or better yet, start another sunset masterpiece! ✨