How to Draw a Shamrock in 9 Simple Steps
Learn how to draw with this step-by-step tutorial.
Materials You'll Need
- Drawing paper
- Pencil (HB or 2B)
- Eraser
- Colored pencils
- Markers
- Compass
- Watercolor paints
Welcome to this engaging step-by-step guide on how to draw a shamrock! Shamrocks are not just lovely green plants; they are iconic symbols of Ireland, deeply woven into its culture and traditions. Often associated with celebrations like St. Patrick's Day, these charming three-leafed clovers embody good luck and have inspired artists for generations.
Whether you are a seasoned artist or just starting out on your creative journey, drawing a shamrock can be both a fun and fulfilling experience. This guide is designed to help you easily navigate the drawing process, providing clear instructions and tips along the way. So, find a comfortable spot, gather your drawing materials, and let's dive into the wonderful world of art as we create a beautiful shamrock together!
By the end of this tutorial, not only will you have a delightful drawing to showcase, but you'll also gain confidence in your artistic abilities. So, without further ado, let's get started on this exciting artistic adventure!
Materials Required
Before we begin, make sure you have the following materials:
-
Paper: Choose a smooth and sturdy paper that is suitable for drawing, such as drawing paper or cardstock.
-
Pencil: Use a pencil with a medium hardness, such as an HB or 2B, for sketching and outlining.
-
Eraser: Have a soft eraserhandy for correcting mistakes and smudges.
-
Fine-tipped pen or marker: You will use this for inking your final lines, giving your shamrock a clean and polished look.
-
Coloring materials (optional): If you wish to add color to your shamrock, gather your preferred coloring materials, such as colored pencils, markers, or watercolors.


Now that you have your materials ready, let's jump into the step-by-step process of drawing a shamrock.
How to Draw a Shamrock: A Step-by-Step Guide ☘️
Tip: As you draw your shamrock, consider using reference images to guide your proportions and details, which can enhance your understanding of the leaf shapes and overall composition. Observing real shamrocks or artistic interpretations can inspire your creativity and help you develop your unique style. Don't hesitate to experiment with different leaf shapes and colors to make your shamrock truly your own!
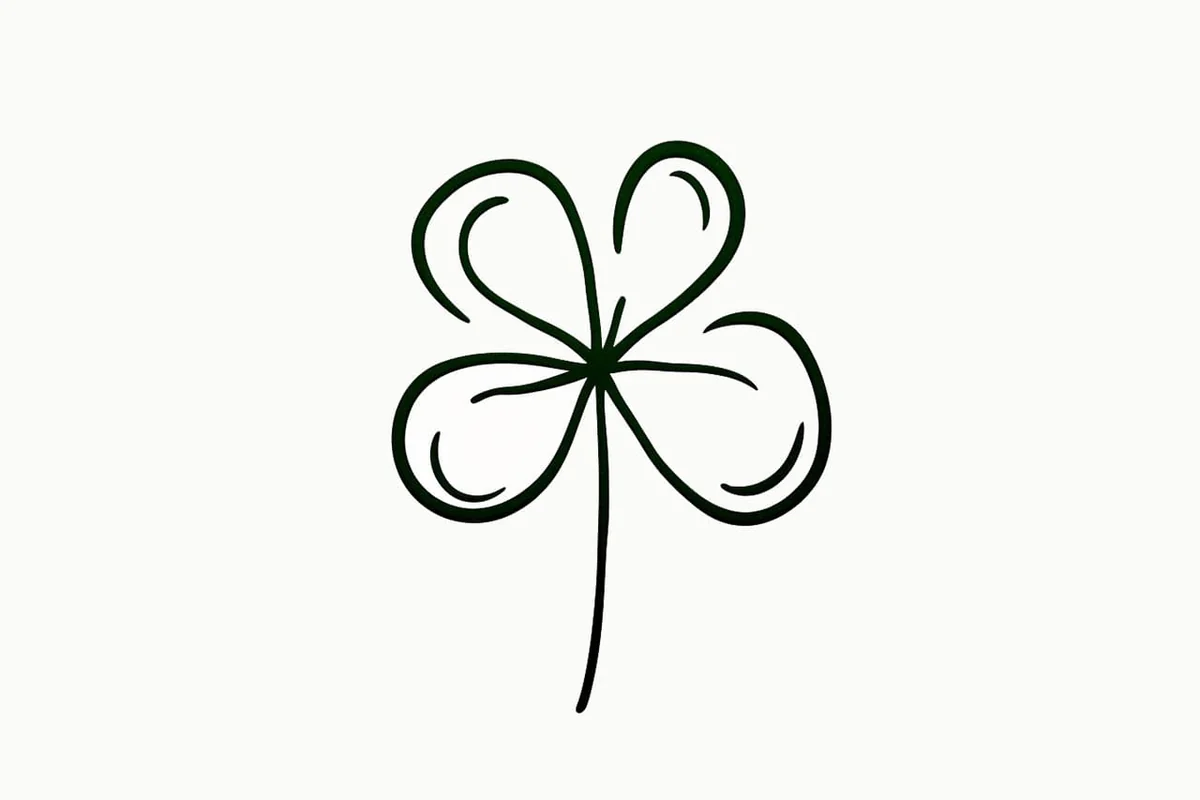
The shamrock is a timeless symbol of luck, Irish heritage, and St. Patrick's Day celebrations! With its three heart-shaped leaves and elegant curves, a shamrock is a simple yet charming subject to draw. Whether you want to decorate a greeting card, practice your sketching skills, or create a festive design, this tutorial will guide you through each step to create a perfectly balanced and beautifully detailed shamrock.
So grab your pencil, eraser, and coloring tools, and let's get started! ✏️☘️
Step 1: Draw a Circle
Start by sketching a light circle in the center of your paper.
-
This acts as a guide for the overall shape and size of your shamrock.
-
Use gentle, light strokes so you can easily erase the guidelines later.
-
If needed, use a compass or trace a round object to make a clean, even circle.
Tip: If you want a larger or smaller shamrock, adjust the size of the circle accordingly!
Step 2: Divide the Circle ➗
To ensure evenly spaced leaves, lightly sketch two intersecting lines inside the circle.
-
One vertical line should divide the circle in half.
-
A second diagonal line (about 120° from the vertical) will split the circle into three equal parts.
Tip: Imagine you are cutting a pizza into three equal slices—this step will help place the leaves symmetrically.
Step 3: Draw the Heart-Shaped Leaves
Now, let's start forming the iconic shamrock leaves!
-
At the end of each dividing line, draw a heart shape—this will form one leaf of the shamrock.
-
The pointy end of each heart should meet at the center of the circle.
-
Make the hearts slightly rounded for a more natural and soft appearance.
Tip: Shamrock leaves are not perfectly identical, so don't worry if they vary slightly in shape!
Step 4: Add Details to the Leaves
To enhance realism and depth, add details inside each leaf.
-
Draw a smaller heart shape inside each leaf, following the outer contour.
-
Add a thin center vein down the middle of each heart for extra detail.
-
If you want a cartoon-style shamrock, keep the leaves simple!
Tip: You can soften the edges of the heart shapes to make the shamrock look more natural.
Step 5: Draw the Stem
A shamrock wouldn't be complete without a stem!
-
From the center of the shamrock, draw a slightly curved line extending downward.
-
The stem should be thinner than the leaves but still visible and balanced.
-
If you want to add a little character, make the stem twist slightly or curve playfully.
Tip: The stem can be short and simple or long and flowing—adjust it based on your style!
Step 6: Erase Unwanted Guidelines ✏️
Now that your shamrock's shape is complete, carefully erase the original circle and dividing lines.
-
This will clean up your drawing and leave behind only the shamrock outline.
-
Be gentle when erasing, especially around the edges of the leaves and stem.
Tip: If you want to keep your guidelines slightly visible, erase them lightly instead of completely removing them.
Step 7: Ink Your Drawing ️
To make your shamrock stand out, go over the final lines with a fine-tip pen or marker.
-
Trace over the leaves, veins, and stem with clean, bold lines.
-
Add line variation (thicker outer edges, thinner inner details) for a more polished look.
-
Let the ink dry completely before moving on.
Tip: If you want a softer look, you can skip inking and go straight to coloring with colored pencils or watercolors.
Step 8: Color Your Shamrock (Optional)
Now it's time to bring your shamrock to life with color!
-
Use various shades of green—try lighter greens for highlights and darker greens for shadows.
-
If using colored pencils, layer your colors to create a smooth blend.
-
If using markers or paints, add soft gradients to make the shamrock look more three-dimensional.
-
Want to be unique? Experiment with different colors! Add gold, rainbow shades, or even glowing neon accents for a magical effect!
Tip: Leave a small white highlight on each leaf for a shiny, fresh look.
Step 9: Add Final Touches & Details ✨
Before finishing, take a step back and review your shamrock!
-
Darken any faint lines or areas that need more definition.
-
Add subtle shading near the edges of the leaves for depth.
-
If you want, add sparkles, extra vines, or a lucky four-leaf shamrock beside it!
Tip: If you're making a St. Patrick's Day design, try adding gold coins, a leprechaun hat, or a rainbow in the background!
Your Shamrock Drawing is Complete! ☘️
Congratulations! You've successfully drawn a beautifully balanced and vibrant shamrock. Whether you're celebrating Irish culture, creating a festive decoration, or just having fun with art, this drawing is a wonderful way to express your creativity!
Want to take it further?
✅ Try drawing a lucky four-leaf clover!
✅ Add a background, like a pot of gold or Celtic patterns!
✅ Experiment with different styles—realistic, cartoon, or stylized Celtic art!
No matter what style you choose, keep practicing and have fun—your drawing skills will only improve with time! ✨
Happy drawing and may the luck of the shamrock be with you! ☘️