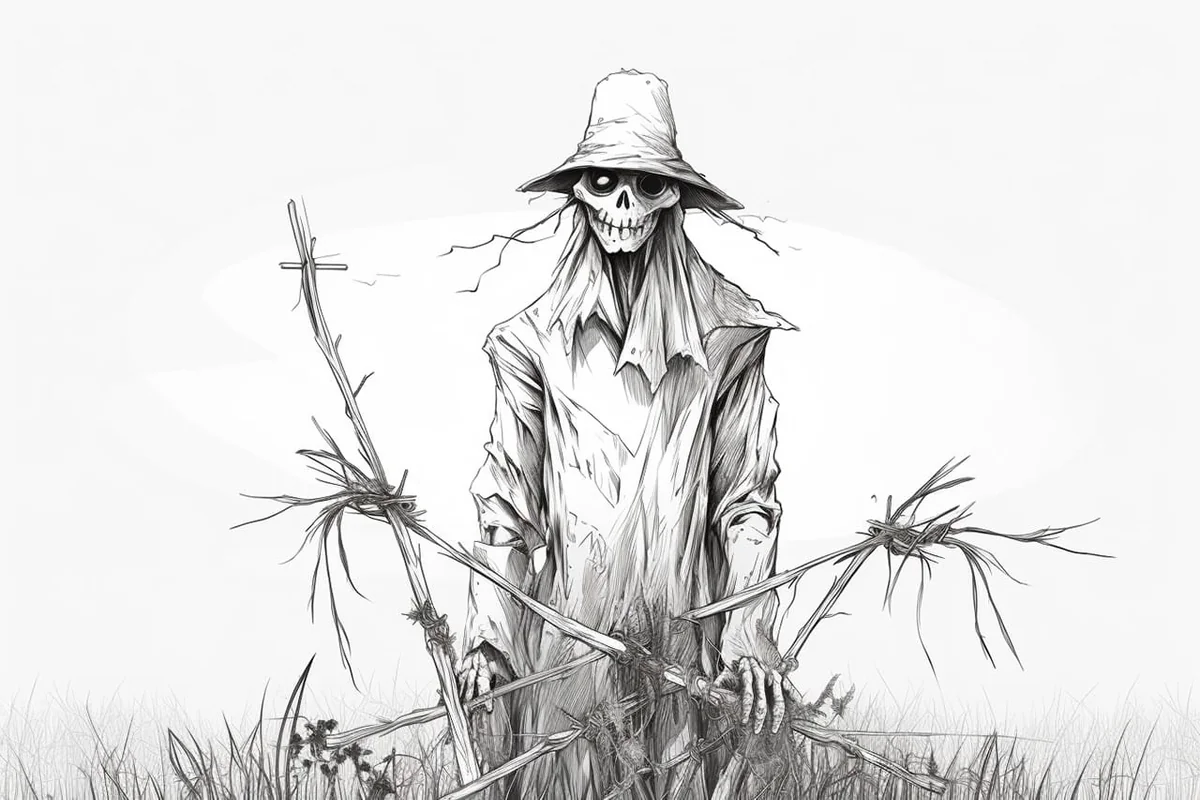
How to Draw a Scarecrow in 9 Simple Steps
Learn how to draw with this step-by-step tutorial.
Materials You'll Need
- Drawing paper
- Pencil (HB or 2B)
- Eraser
- Colored pencils
- Markers
Scarecrows are more than just guardians of the fields—they are charming, rustic figures that have captured the imagination of artists and storytellers for generations. Typically made from old clothes, straw, and a wooden frame, scarecrows stand as iconic symbols of autumn, harvest time, and rural life. Their whimsical appearance, from floppy hats to patched-up clothing, makes them a delightful subject to draw, whether you're looking to create seasonal decorations, add character to a fall-themed project, or simply enjoy a playful art exercise. By learning how to draw a scarecrow, you can bring a touch of countryside magic into your own artwork, while also exploring the creative possibilities that come with designing your own unique scarecrow character.
This tutorial breaks down the process of drawing a scarecrow into manageable, beginner-friendly steps, making it accessible for artists of all skill levels. You'll learn how to develop the basic structure, add expressive details like facial features and clothing, and use shading and line work to bring your scarecrow to life. Along the way, you'll have the chance to practice important techniques such as sketching basic shapes, building up layers, and adding texture to evoke straw and fabric. Whether you're just starting out or looking to refine your skills, this guide on how to draw a scarecrow will help you gain confidence and enjoy the creative process. Gather your drawing materials, let your imagination lead the way, and remember—every scarecrow you draw is an opportunity to express your unique artistic style!
Materials Required
Before we begin, make sure you have the following materials on hand:
-
Pencil
-
Fine-tip black marker or pen
-
Colored pencils or markers (optional)
Now that you have all your materials ready, let's dive into the step-by-step process of drawing a scarecrow.
Tip: As you work through the steps of drawing your scarecrow, consider experimenting with different textures and patterns in the clothing and hat to add depth and personality to your character. Incorporating details such as patches, stitching, or even unique fabric designs can enhance the whimsical charm of your scarecrow, making it more visually interesting and reflective of your artistic style.
Step 1: Draw the Head and Body
Start by drawing a slightly elongated oval shape for the scarecrow's head. Just below the head, draw a vertical rectangle for the body. Position it slightly tilted to give a dynamic pose to the scarecrow.
Step 2: Add the Arms and Legs
Draw two long, curved lines extending from the sides of the body to create the scarecrow's arms. The arms should be slightly bent. Next, draw two straight lines extending down from the bottom of the body to create the scarecrow's legs. Add small circles at the ends of the lines to represent the hands and feet.
Step 3: Define the Face
Draw two horizontal lines across the head to act as guidelines for the eyes. Add two small circles on each line to represent the eyes. Just below the eyes, draw a small triangular shape for the nose. Finally, draw a curved line to create a smile for the scarecrow.
Step 4: Add the Hat and Hair
Draw a rectangular shape on top of the head to create the scarecrow's hat. Make sure the hat extends slightly beyond the edges of the head. Add two small rectangles on each side of the hat to create the rim. For the hair, draw a series of short, irregular lines around the edges of the head and hat.
Step 5: Fill in the Details
Now that you have the basic outline of the scarecrow, it's time to add some details. Draw a small rectangle and a curved line on each arm to represent the scarecrow's sleeves and cuffs. Add some stitching lines to give them a handmade look. For the legs, draw horizontal lines to indicate the divisions between the scarecrow's pants and boots.
Step 6: Draw the Face Details
Go back to the face and add eyebrows using short, curved lines above each eye. Draw two small circles within each eye to represent the pupils. Add eyelashes by extending short lines upwards from the upper eyelids. For the mouth, draw a few short, curved lines to represent stitched lips.
Step 7: Enhance the Hat and Hair
To make the hat and hair more interesting, add some texture and details. Add some vertical lines to the hat to give it a woven straw-like appearance. For the hair, draw a few strands sticking out in different directions. You can also add small patches or patches of straw poking out from under the hat.
Step 8: Refine and Clean Up
Take a step back and evaluate your drawing. Look for any areas that need refinement, such as adjusting proportions or adding more details. Erase any unnecessary guidelines or overlapping lines to clean up your drawing.
Step 9: Add Color (Optional)
If you want to bring your scarecrow to life, you can add color using colored pencils or markers. Use warm earth tones such as brown, orange, and yellow for the hat, hair, and body. Feel free to experiment and add your own creative touch to make your scarecrow unique.
Wild Inspiration: Imagine your scarecrow as the conductor of an enchanted autumn symphony, standing atop a swirling heap of golden leaves that transform into musical notes mid-air. Instead of a simple wooden frame, its limbs could be crafted from twisted branches and old violin bows, with a tattered sheet-music cape fluttering behind. Perhaps a flock of crows gathers around, each holding tiny instruments made from acorns and corn husks, playing along to the scarecrow's magical melody. Don't be afraid to embellish the scene with glowing lanterns, floating pumpkins, or even a mystical wind that lifts both music and leaves into a dreamy, starlit sky—let your imagination compose the wildest concert of the harvest season!
Conclusion
Congratulations! You have successfully learned how to draw a scarecrow step-by-step. With a pencil and paper, you can create charming scarecrows to decorate your sketchbook, artwork, or even your home for the autumn season. Remember to take your time, be patient, and have fun while drawing. We hope you enjoyed this tutorial and found it helpful. Happy drawing!
Fun Facts About Scarecrow
-
The earliest known use of scarecrows dates back to ancient Egypt, where farmers used them to protect wheat fields from flocks of quail.
-
In Japan, scarecrows are called kakashi and are often dressed in raincoats and hats to resemble people.
-
Scarecrows have appeared in folklore and literature for centuries, symbolizing both protection and fear.
-
Some modern farmers use reflective tape, noise makers, or even robotic scarecrows to deter birds.
-
The Scarecrow Festival is an annual event in many towns worldwide, where communities create and display creative scarecrows.
-
Scarecrows are a popular symbol of autumn and are often used as decorations during harvest festivals and Halloween.
-
In the United Kingdom, scarecrows are sometimes called hodmedods or "tattie bogals" depending on the region.
-
The famous Scarecrow character from "The Wizard of Oz" was inspired by traditional field scarecrows.
Suggestions for Scenes and Settings for Scarecrow Drawings
-
A scarecrow standing in a golden wheat field at sunset, with crows flying in the background.
-
A whimsical scarecrow surrounded by pumpkins and autumn leaves in a harvest festival scene.
-
A scarecrow made from patchwork clothes, sheltering a group of woodland animals beneath its outstretched arms during a gentle rain.
-
A spooky scarecrow under a full moon, with bats fluttering around and a jack-o'-lantern at its feet.
-
A cheerful scarecrow waving to passing children on a country roadside lined with sunflowers.
-
A scarecrow perched atop a hay bale, overlooking a busy farm with tractors and barns in the distance.
-
A magical scarecrow coming to life in an enchanted nighttime field, glowing with fireflies and surrounded by sparkling stars.
-
A scarecrow dressed in a tattered old coat, tangled with climbing vines and wildflowers, in an overgrown garden.
-
A pair of scarecrows "dancing" together in the wind, surrounded by swirling autumn leaves.
-
A scarecrow with an expressive face, watching over a vegetable patch filled with carrots, cabbages, and curious rabbits.