How to Draw a Realistic Eye
Learn how to draw with this step-by-step tutorial.
Materials You'll Need
- Drawing paper
- Pencil (HB or 2B)
- Eraser
- Blending stump
Drawing a realistic eye is one of the most rewarding challenges an artist can tackle. Eyes are incredibly expressive and detailed, capturing both emotion and life with just a few subtle lines and shades. Mastering how to draw a lifelike eye can elevate your portraits, improve your shading skills, and deepen your understanding of anatomy and proportion.
While it may seem daunting at first, creating a realistic eye becomes much easier when you break it down into clear, manageable steps. In this tutorial, we'll walk you through the process—starting from the basic shape, through refining the iris and pupil, to building depth with shadows, highlights, and texture. With a little patience and practice, you'll be amazed at the level of realism you can achieve. So grab your pencils and paper, and let's get started drawing an eye that feels alive and expressive!
Materials Required
-
An eraser
-
Drawing paper
Step 1: Draw the Basic Shapes
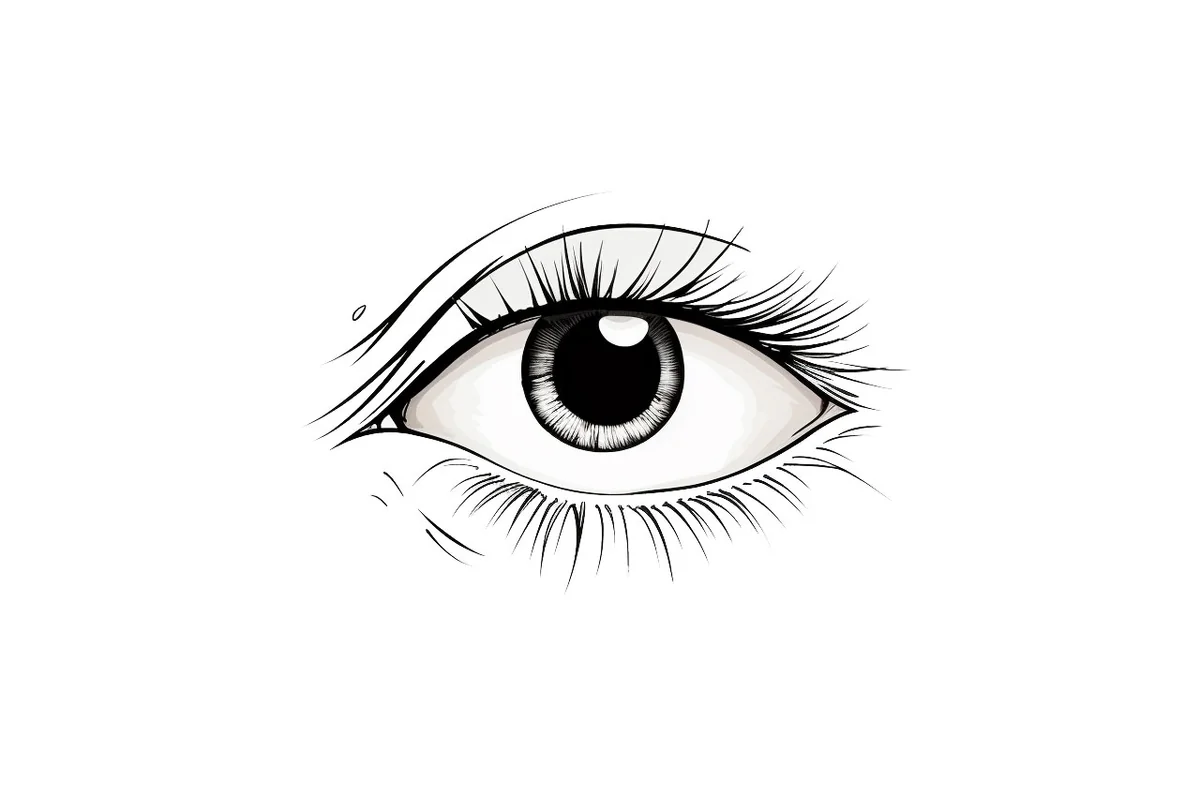
Start by drawing the basic shapes of the eye. Draw a circle for the iris and a smaller circle inside it for the pupil. Sketch a curved line above the iris for the upper eyelid and another curved line below the iris for the lower eyelid.
Step 2: Refine the Shapes
Next, refine the basic shapes by adding more details. Draw the lashes on the upper eyelid, making sure that they are thicker and longer towards the outer corner of the eye. Sketch the crease of the upper eyelid and the fold of the lower eyelid.
Step 3: Sketch the Details
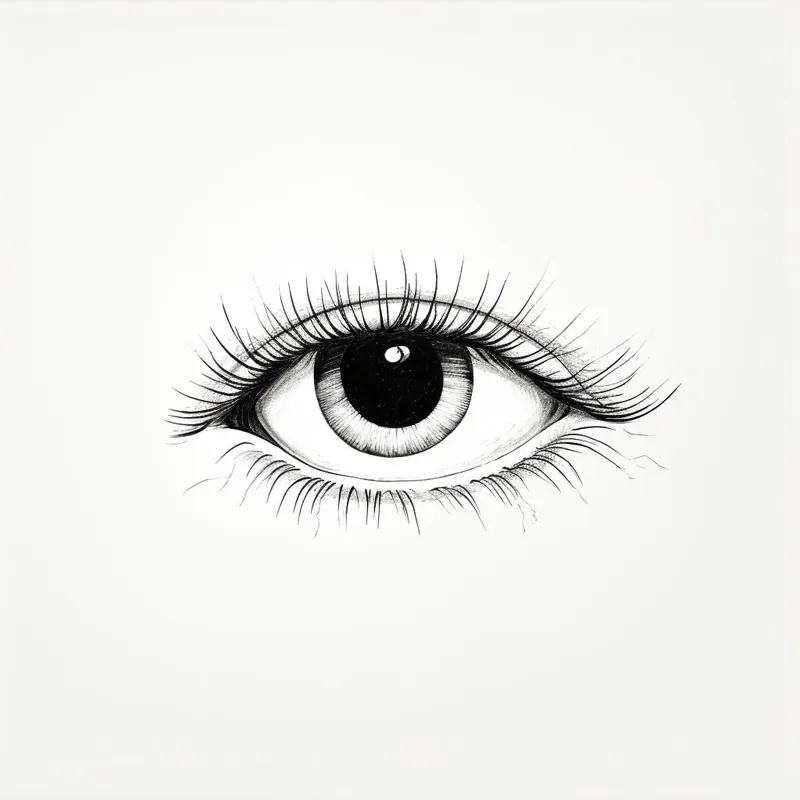
Now it's time to add the details to the eye drawing. Sketch the highlights in the iris and the reflection in the pupil. Add the small details of the eye, such as the tear duct, the small veins on the white of the eye, and the eyelashes on the lower eyelid.
Step 4: Add Shading and Texture
Finally, add shading and texture to your drawing to give it a realistic look. Shade in the areas where shadows would naturally fall, such as under the upper eyelid and around the iris. Add texture to the iris and the eyelashes by using short, curved lines to show the direction of the hair.
Step 5: Final Touches
Once you've completed the shading and texture, take a step back and look at your drawing as a whole. Make any necessary adjustments and add any final touches that you feel are necessary.
Congratulations! You have successfully drawn a realistic eye. With practice, you can refine your skills and draw even more complex and beautiful portraits.
Tip: To enhance the realism of your eye drawing, pay close attention to the subtle details of the iris and pupil. Begin by layering your pencil strokes; use a softer pencil (like a 2B or 4B) to create the rich texture of the iris, applying varying pressure to mimic its intricate patterns. Incorporate a blend of dark and light tones to give depth, but remember to leave a small highlight spot on the pupil to simulate the reflection of light—this is crucial for capturing that lifelike sparkle. When shading, use a blending stump or your finger to smoothly transition between tones, ensuring a soft, organic look. Lastly, don't forget to observe your reference closely; every eye has unique characteristics that make it special, so embrace those differences in your drawing!
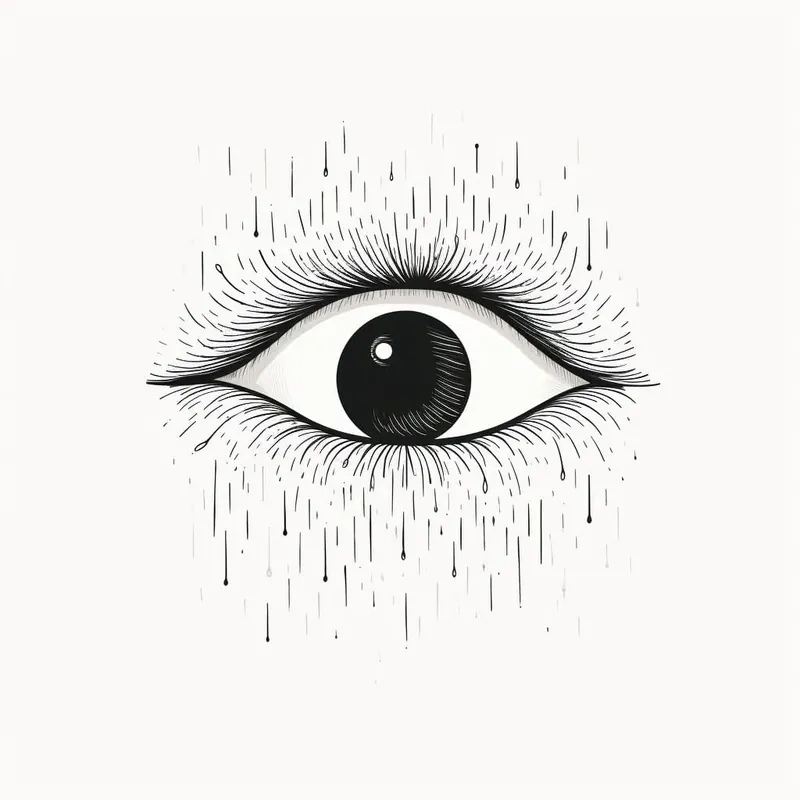
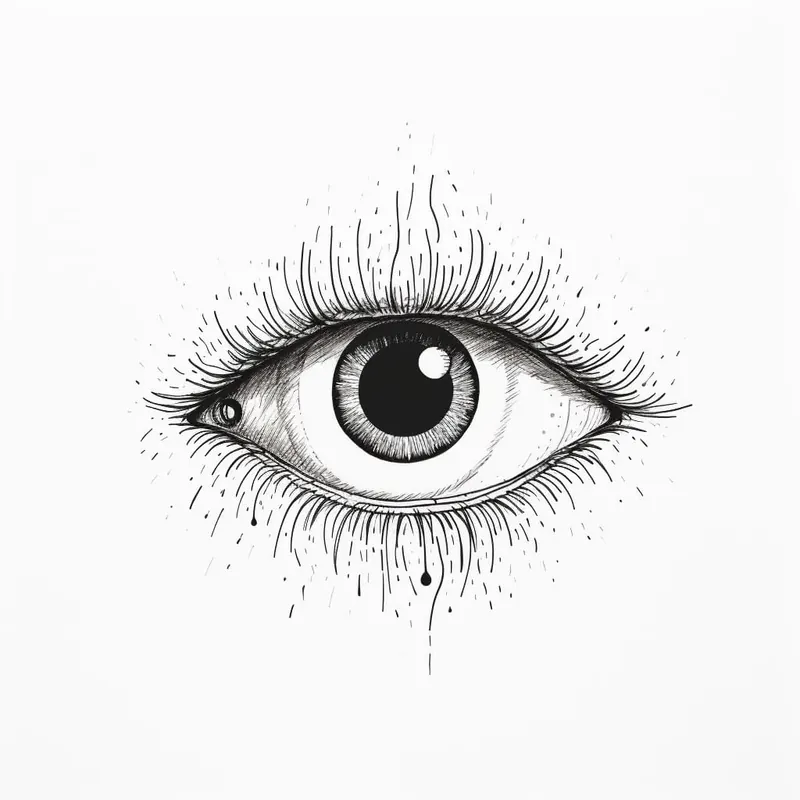
A Gallery of Realistic Eyes
Fun Facts About Realistic Eyes
-
Realistic eyes are often considered one of the most expressive features in portrait art, capable of conveying a wide range of emotions through subtle changes in shape, gaze, and surrounding musculature. For tips on capturing this expressiveness, check out the RapidFireArt Eye Drawing Guide.
-
The human iris, when drawn realistically, displays intricate patterns and textures unique to each individual—much like a fingerprint. Learn more about iris details and how to render them in this eye drawing tutorial by Luiza Creates.
-
Realistic eyes in art often include subtle reflections and highlights, which mimic the way light interacts with the moist surface of a real eye. Artists often use techniques like leaving white space or using an eraser to create these effects, as demonstrated in this YouTube realistic eye tutorial.
-
The sclera, or "white" of the eye, is rarely pure white in realistic depictions; it usually contains hints of blue, pink, or yellow tones to reflect light scattering and vascularity. See how artists layer these tones in the Luiza Creates Eye Drawing Tutorial.
-
Eyelashes in realistic eyes are not uniform—they vary in length, thickness, and direction, adding to the lifelike quality. For advice on drawing natural-looking lashes, visit Luiza Creates' guide.
-
Realistic eyes often show the tear duct, a small pinkish area in the inner corner known as the lacrimal caruncle, which adds anatomical accuracy. Watch how to render this detail in the YouTube Realistic Eye Tutorial.
-
Artists frequently use shading and gradients to capture the roundness and depth of the eyeball and eyelids, avoiding a flat appearance. The RapidFireArt Eye Drawing Guide covers these essential shading techniques.
-
The pupil in a realistic eye drawing is always perfectly round, but its size can be adjusted to suggest different lighting conditions or emotions. See examples of pupil dynamics in this YouTube tutorial.
-
Realistic eyes can include tiny blood vessels in the sclera, enhancing the sense of realism and detail. Artists often add these veins sparingly, as shown in the Luiza Creates Eye Drawing Tutorial.
-
The catchlight, or the bright spot of reflected light in the eye, is crucial for making realistic eyes appear lively and three-dimensional. Discover how to place catchlights effectively in the YouTube Realistic Eye Tutorial.
For more in-depth anatomical information, you can also consult ophthalmology resources such as the Journal of Anatomy or Investigative Ophthalmology & Visual Science.
Suggestions for Scenes and Settings for Realistic Eye Drawings
-
An eye reflected in a rain-streaked window, capturing the world outside and the moisture on the glass.
-
A close-up of an eye illuminated by candlelight, with warm shadows and flickering highlights.
-
An eye peering through a keyhole, framed by darkness and hints of the surrounding face.
-
A teary eye, with glistening reflections and subtle veins, conveying emotion.
-
An eye partially hidden behind strands of hair, focusing on the interplay of texture and shadow.
-
A side profile showing the eye in soft morning light, with gentle shading on the eyelids and lashes.
-
An eye looking up at a starry sky, with tiny reflections of stars in the pupil.
-
An elderly person's eye, emphasizing wrinkles, folds, and the texture of the skin around it.
-
An animal's eye (e.g., a cat or owl), studying the unique shape and texture compared to a human eye.
-
An eye seen through a pair of eyeglasses, capturing the distortion and reflections on the lens.