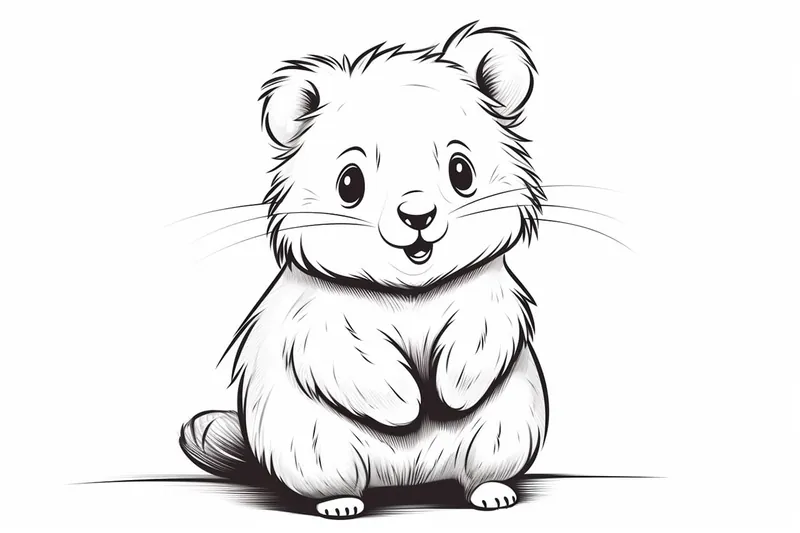
How to Draw a Quokka
Learn how to draw a quokka using this step-by-step tutorial. Capture the adorable features of this Australian marsupial in your artwork.
Materials You'll Need
- Pencil
- Paper
- Eraser
Quokkas have captured the hearts of animal lovers around the world with their irresistibly cheerful expressions and friendly demeanor. Native to the small islands off the coast of Western Australia, these charming marsupials are often referred to as the "world's happiest animal." Their rounded cheeks, button noses, and perpetual smiles make them an especially appealing subject for artists of all ages. Whether you've seen their delightful photos online or are fascinated by unique wildlife, learning how to draw a quokka can be both a fun and rewarding artistic challenge that brings a bit of joy to your sketchbook.
This tutorial is designed for artists of all skill levels, from beginners who are just starting out with animal drawing to more experienced artists looking to expand their portfolio with a new subject. We will break down the quokka's features step by step—starting with simple shapes and building up to the details that make them so endearing. You'll practice observing proportions, capturing facial expressions, and using shading techniques to create a sense of soft fur. Not only will you learn how to draw a quokka, but you'll also develop valuable skills for drawing other animals in the future.
So, gather your favorite drawing tools and get comfortable—you're about to embark on a creative journey that combines the joy of art with the cuteness of one of Australia's most beloved creatures. Don't worry if you're new to drawing or if you make mistakes along the way; the most important thing is to have fun and enjoy the process. Let's get started and bring your own smiling quokka to life on the page!
Materials Required
Before we dive into the drawing process, it's important to gather the necessary materials. Here's what you'll need:
- Pencils: A range of pencils with different lead grades such as HB, 2B, and 4B.
- Eraser: A soft eraser that won't damage your paper.
- Paper: Choose a smooth, medium-weight paper that is suitable for drawing.
Now that you have your materials ready, let's move on to the step-by-step instructions.
Step 1: Outline the Basic Shape
Start by outlining the basic shape of the quokka's body. Draw a circle for the head and a slightly elongated oval for the body. Keep the lines light and loose, as you'll be refining them later on.
Step 2: Add Facial Features
Next, let's focus on the quokka's facial features. Draw two large circular eyes towards the top of the head. Add a small triangular-shaped nose just below the eyes and a curved line for the mouth. Quokkas have a friendly smile, so make sure to capture that in your drawing.
Step 3: Sketch the Ears and Forehead
To give your quokka a realistic look, sketch the ears and forehead. Quokkas have rounded ears that sit slightly higher on their heads. Draw two curved lines above the eyes, shaping them like round-tipped triangles to represent the ears. Extend the lines from the ears to form the forehead of the quokka.
Step 4: Outline the Body and Limbs
Refine the outline of the quokka's body and limbs. Add more curves to define the shape and make the body look more rounded. The limbs should be short and stubby, so draw four small ovals for the legs and two circular paws at the front.
Step 5: Add Details to the Face
Now it's time to add some details to the face to make your quokka come to life. Draw a smaller circle within each eye to represent the pupils. Add a couple of curved lines above each eye to indicate the eyebrows. Quokkas also have distinctive tear-shaped markings that extend from the inner corner of the eye towards the cheeks, so include those as well.
Step 6: Refine the Body and Fur
Refine the body of the quokka by adding texture and fur. Quokkas have a soft, furry coat, so use short, curved lines to create the appearance of fur. Pay attention to the direction of the fur and add more lines in areas where shadows would naturally occur.
Step 7: Finalize the Facial Features
Go back to the face and finalize the details. Darken the pupils to make them stand out and add some shading around the eyes to create depth. Shade the area below the nose and mouth to give the face more dimension. Don't forget to include a hint of the quokka's friendly smile by lightly shading the curved line of the mouth.
Step 8: Add Background and Shadows
To enhance your quokka drawing, consider adding a simple background and shadows. Sketch a horizon line and a few small tufts of grass or a rock to create context. Use light shading to indicate the shadow areas, paying attention to the direction of the light source.
Did You Know?: Quokkas are nocturnal creatures, which means they're most active at night when they forage for leaves, grasses, and berries. Despite their adorable, ever-smiling faces, their "smile" is actually a result of their unique facial structure and relaxed jaw muscles. Unlike many marsupials, quokkas are excellent climbers and have been spotted scaling small trees and shrubs to find tasty treats. While drawing your quokka, imagine its playful, curious personality—these little animals are known to approach people without fear, making them true ambassadors of positivity in the animal kingdom!
Tip: To capture the quokka's adorable expression accurately, start your drawing with light, loose pencil strokes to outline the basic shapes of its head and body. Focus on the proportions by drawing a large circle for the head, followed by an oval for the body, and remember that the quokka's eyes are positioned lower on the face, which contributes to its cheerful look. Once you're satisfied with the placement, use a softer pencil (like a 2B) to define the features, paying special attention to the rounded cheeks and small nose that give it that signature smile. To enhance the texture of the fur, try using a blending stump or your finger to create soft shading, especially around the face and body curves, which will help convey the quokka's fluffy appearance. Lastly, don't hesitate to reference photos to observe the unique details, and most importantly, enjoy the process of bringing this joyful creature to life!
Conclusion
Congratulations, you have successfully drawn a quokka! By following these step-by-step instructions, you were able to capture the unique features and adorable nature of these small marsupials. Remember to practice and experiment with different techniques to further develop your drawing skills. Enjoy creating more quokka artworks and have fun exploring the wonderful world of art!
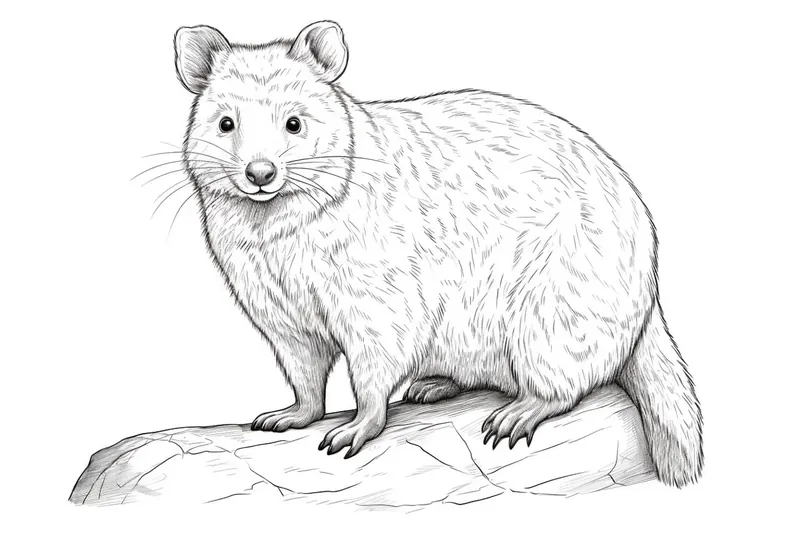
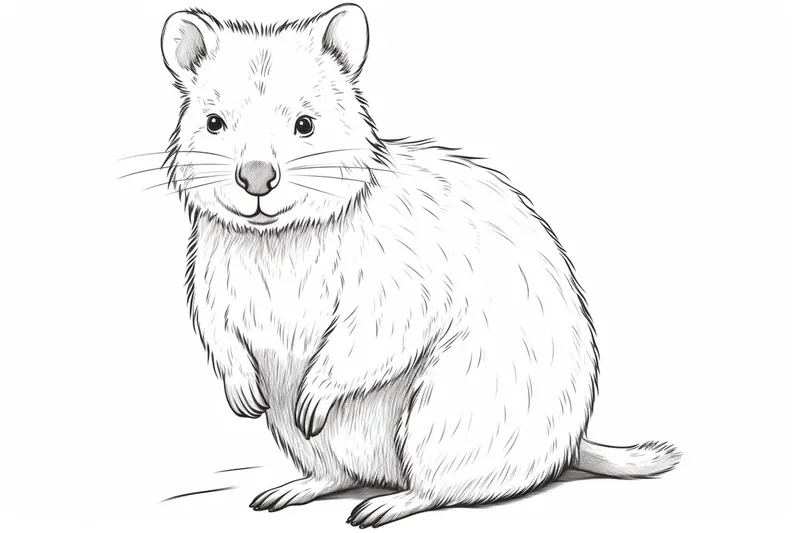
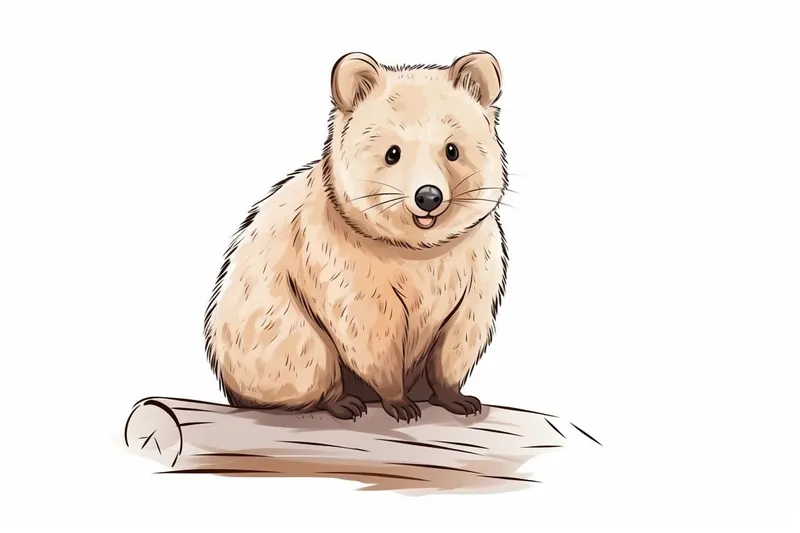
Gallery of Quokka Drawings
Fun Facts About Quokka
- Quokkas are often called the world's happiest animal because of their perpetual smile.
- They are native to Rottnest Island and a few smaller islands off the coast of Western Australia.
- Quokkas are marsupials, meaning they carry their young in a pouch, similar to kangaroos and wallabies.
- They are herbivores and mainly eat grasses, leaves, and stems.
- Quokkas are nocturnal, being most active at night.
- Despite their friendly appearance, feeding or touching quokkas is illegal on Rottnest Island.
- Quokkas can survive long periods without water by getting moisture from their food.
- The name "quokka" comes from the Nyungar Aboriginal language.
- Quokkas can climb small trees and shrubs in search of food.
Suggestions for Scenes and Settings for Quokka Drawings
- A quokka holding a tiny flower and smiling in a field of wildflowers.
- Quokka family picnic under a eucalyptus tree, sharing fruits and snacks.
- A cheerful quokka posing for a "selfie" with a camera, mimicking their famous real-life photos.
- Quokka exploring a sandy beach with seashells and gentle waves in the background.
- Adventurous quokka wearing a small explorer's hat and backpack, hiking through rocky terrain.
- Quokka peeking curiously out of a burrow surrounded by native Australian plants.
- Quokka playing with butterflies or chasing after a colorful dragonfly.
- A group of quokkas gathered around a campfire at dusk with glowing fireflies.
- Quokka riding a tiny scooter or bicycle through a whimsical, cartoon-style town.
- Quokka sharing a laugh with other Australian animals like koalas, kangaroos, or cockatoos.