How to Draw a Paper
Learn how to draw a paper in this step-by-step tutorial. Master shading, texture, and details to create a realistic representation of a piece of paper.
Materials You'll Need
- Pencil
- Paper
- Eraser
Paper is one of the most fundamental and versatile objects around us, serving as the foundation for countless forms of communication, creativity, and record-keeping. Yet, despite its apparent simplicity, drawing a realistic piece of paper can be surprisingly rewarding and even a little challenging. Mastering how to draw a paper not only helps you develop your observation skills but also enhances your ability to capture subtle details such as light, shadow, folds, and texture. This exercise is perfect for those who want to sharpen their rendering techniques and pay closer attention to the nuances of everyday objects.
Understanding how to draw a paper is valuable for several reasons. For artists, including believable paper in a scene—whether it's a note on a desk, a folded letter, or a crumpled scrap—can add realism and depth to their artwork. Designers, illustrators, and students might also find this skill useful for creating still lifes or conceptual sketches. Even if your main interest lies in digital art, practicing with traditional pencil and paper will improve your grasp of shapes, edges, and shading, which can be translated into digital methods as well.
This tutorial is designed to be accessible to artists of all levels, from beginners who are just getting comfortable with basic drawing tools to more experienced creators seeking to refine their skills. We will explore techniques like outlining clean edges, creating soft shadows, and adding subtle details such as creases or curled corners to give your drawing a three-dimensional appearance. By focusing on light sources and careful blending, you'll learn how to make a flat sheet of paper look convincingly real on your canvas.
So, whether you're looking to build foundational skills or add a new subject to your artistic repertoire, you're in the right place. Gather your materials and let's embark on this creative journey together—by the end of this guide, you'll have a better understanding of how to draw a paper, and you might just see ordinary objects in a whole new light. Remember, every artist improves with practice, so don't be afraid to experiment and enjoy the process!
Materials Required
Before we begin, let's gather the materials you'll need for this drawing:
- Paper: Start with a clean sheet of white paper. You can use any type of paper you prefer, but a smooth surface like drawing paper or Bristol board works well.
- Pencils: It's recommended to use a graphite pencil set that includes various hardness levels, such as 2H, HB, 2B, 4B, and 6B pencils. These will give you a range of shades to work with.
- Eraser: Have a good quality eraser on hand to correct any mistakes or lighten certain areas of your drawing.
- Sharpener: Make sure your pencils are always sharp for precise lines and details.
- Ruler: While not necessary, a ruler can be helpful for creating straight edges on your paper drawing.
Now that we have everything we need, let's dive into the steps of drawing a paper!
Tip: As you work on drawing paper, consider using a light touch with your pencil to build up layers gradually, especially when adding shadows and highlights; this will allow for smoother transitions and a more realistic texture. Additionally, don't hesitate to reference real paper under various lighting conditions to observe how subtle shifts in shade and tone can enhance the three-dimensional quality of your drawing.
Step 1: Outline the Shape of the Paper
Begin by lightly sketching the outline of your paper. Pay attention to the proportions and angle of the paper. Is it perfectly rectangular or slightly tilted? Use your ruler if needed to create straight edges and ensure accuracy in your drawing.
Step 2: Add the Fold Lines
Fold lines give the paper a more realistic look and add depth to your drawing. Think about where the folds might be and lightly sketch them in. Remember that fold lines may not always be perfectly straight, as paper tends to bend and curve.
Step 3: Develop the Texture
Now it's time to add texture to your paper. Start by lightly shading the entire surface with your 2H pencil. This will create a base tone for the paper and allow you to build up darker values later on. Pay attention to any subtle variations in tone across the paper's surface.
Step 4: Create the Shadows and Highlights
Using a softer pencil like 2B or 4B, begin shading the areas that are in shadow. Observe the light source and determine where the shadows would fall on the paper. Build up layers of shading gradually, working from light to dark. Use your eraser to selectively lighten areas that catch the light or to create highlights.
Step 5: Refine the Details
Now it's time to add the finer details to your paper drawing. Pay attention to any creases, wrinkles, or imperfections on the paper's surface. Use your pencils to carefully render these details, adjusting the pressure and direction of your strokes to achieve the desired effect. Take your time with this step, as small details can greatly enhance the realism of your drawing.
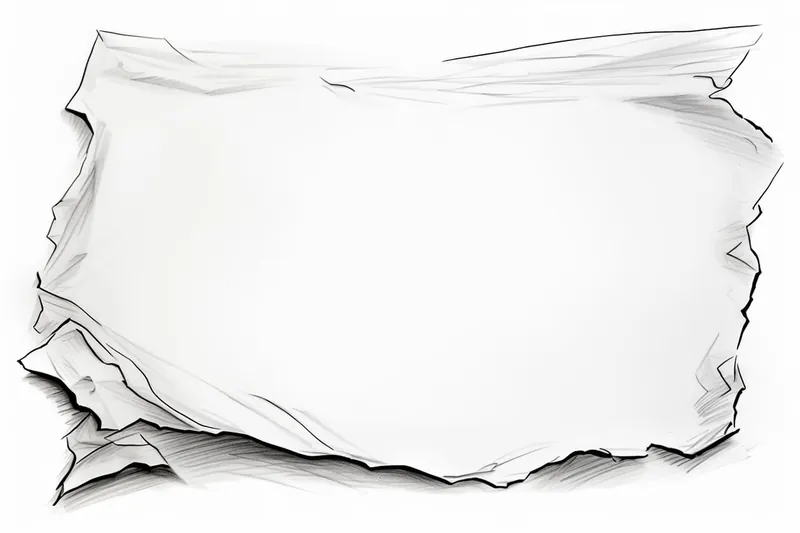
Step 6: Add the Torn Edges (Optional)
If you want to take your drawing to the next level, you can add torn edges to the paper. Visualize where the tears would occur and lightly sketch them in. Use your eraser to soften and smudge the edges of the tears, creating a more organic and realistic look.
Mistake Alert: One common mistake when drawing paper is outlining the entire shape with a heavy, dark line, which can make your paper look flat and cartoonish. This often happens because we're used to defining objects with clear borders, but real sheets of paper usually have soft, subtle edges, especially where light hits them. Instead, try using lighter, broken lines for the illuminated edges and reserve darker or more defined lines only for areas in shadow or where the paper's edge curls. Pay special attention to how the paper interacts with the surface beneath it—soft shading and gentle transitions will help convey its thinness and realism. Take a moment to observe a real piece of paper under different lighting, and let those gentle shifts in value guide your drawing!
Conclusion
Congratulations! You have successfully learned how to draw a paper. By following these step-by-step instructions, you can create a lifelike and detailed representation of a piece of paper. Remember to practice regularly and experiment with different techniques to further improve your drawing skills.
Drawing a paper may seem simple, but it provides an excellent opportunity to practice shading, texture, and attention to detail. So grab your materials and start sketching. Happy drawing!
Fun Facts About Paper
- The earliest known paper was invented in China around 105 CE by Cai Lun, a court official.
- Paper is primarily made from cellulose fibers found in wood, but it can also be produced from other plant materials.
- The world's largest paper sheet was created in 2010 in Japan, measuring over 14 meters long.
- Recycling one ton of paper can save 17 trees, 7,000 gallons of water, and 4,000 kilowatts of energy.
- There are over 5,000 different types of paper, each with unique properties and uses.
- The word "paper" comes from "papyrus," an ancient writing material made from reeds in Egypt.
- Banknotes are often made from a special blend of cotton and linen, not wood pulp, for durability.
- Japan celebrates "Kami no Hi" or "Paper Day" every year on August 24.
Suggestions for Scenes and Settings for Paper Drawings
- A crumpled piece of paper tossed onto a cluttered artist's desk, surrounded by pencils and eraser shavings.
- An origami crane mid-fold, capturing both the smooth and creased surfaces of the paper.
- A handwritten letter partially unfolded, with visible creases and delicate shadows along the folds.
- A torn notebook page pinned to a corkboard, showing frayed edges and pushpin shadows.
- A stack of papers with curled corners, casting layered shadows onto each other.
- A sheet of paper gently fluttering in the breeze near an open window, with light streaming through.
- A piece of paper with a bold coffee ring stain, surrounded by subtle texture and discoloration.
- An empty sketchbook opened to a blank page, inviting the viewer's imagination.
- A paper airplane caught mid-flight, highlighting sharp folds and aerodynamic curves.
- A scrap of paper with doodles and notes, slightly wrinkled from being carried in a pocket.