How to Draw a Lion in 5 Simple Steps
Learn how to draw a lion in 5 simple steps with this step-by-step guide.
Materials You'll Need
- Drawing paper
- Pencil (HB or 2B)
- Eraser
Drawing a lion might sound a bit wild at first, but fear not! With a few simple steps and a bit of practice, you'll have a lion roaring to life on your page in no time. This tutorial will guide you through each step oh how to draw a lion, breaking down that mighty mane and majestic stance into easy-to-follow pieces. Along the way, you'll pick up a few tricks to make your drawing look realistic and full of character. So, grab your pencil, summon your inner pride, and let's get started on your king of the jungle masterpiece!
Materials Required
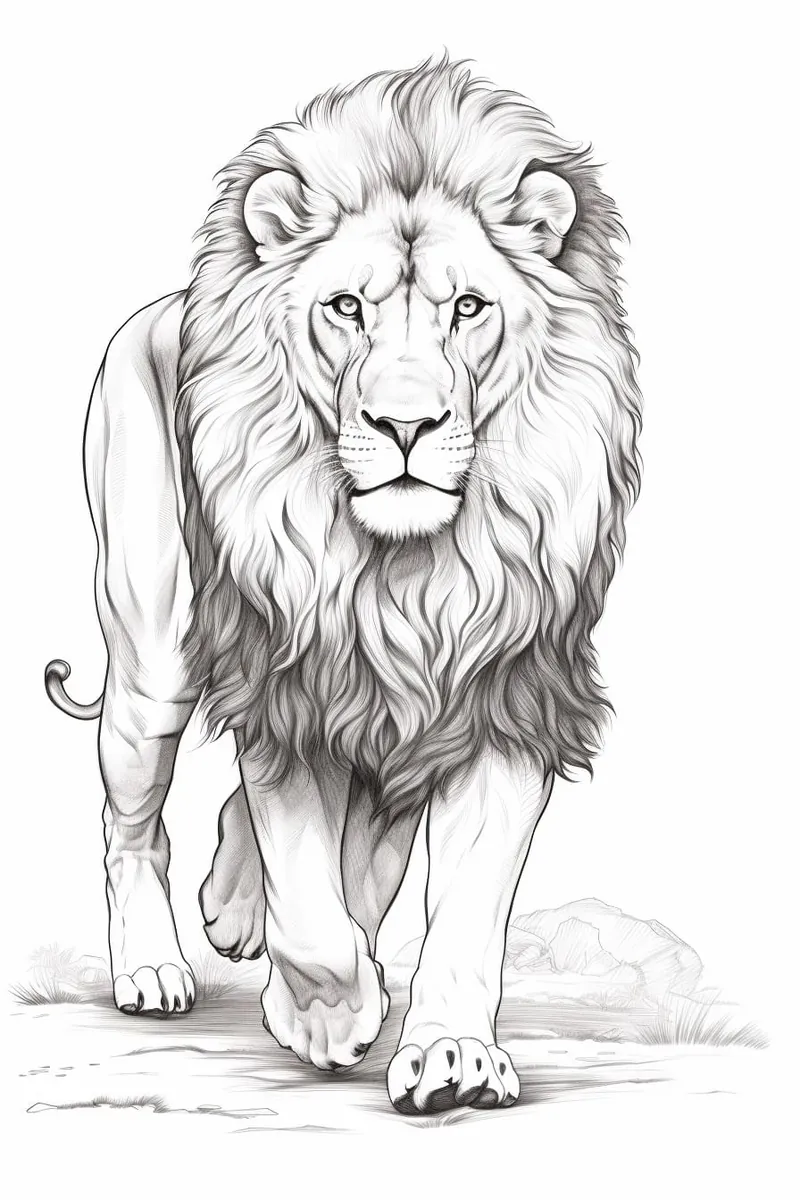
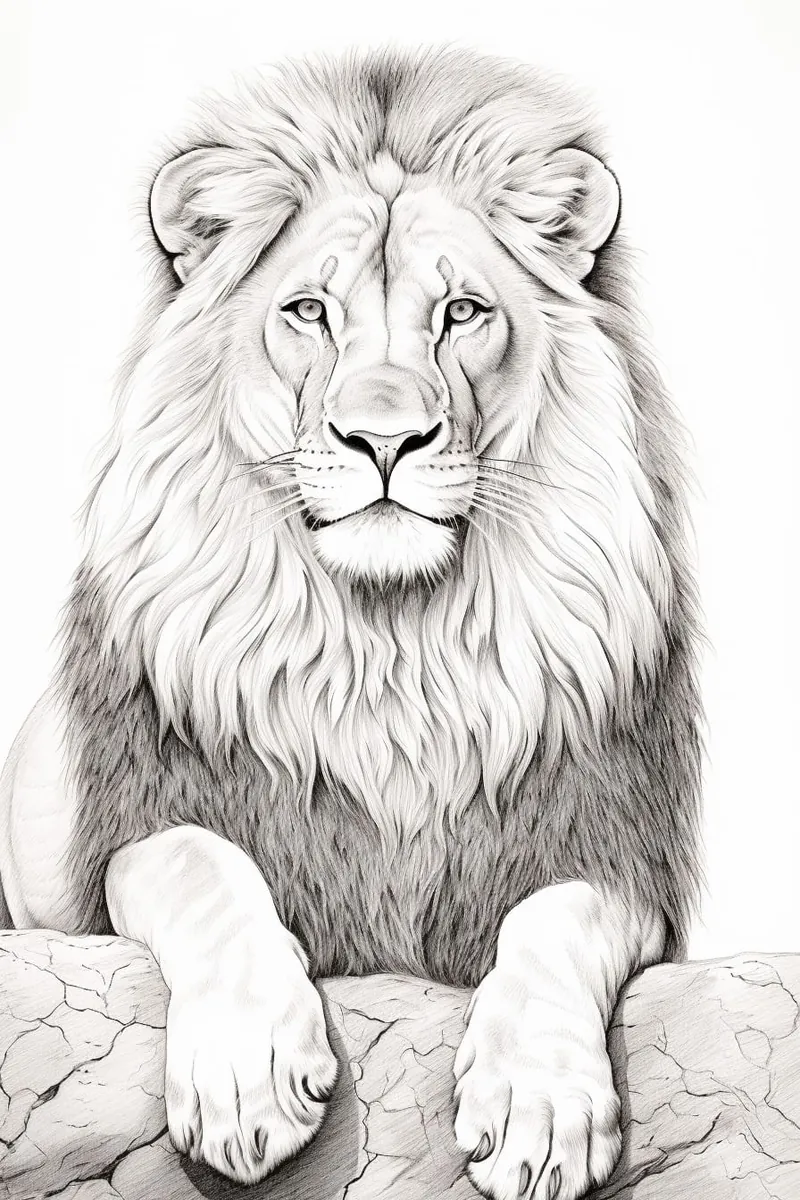
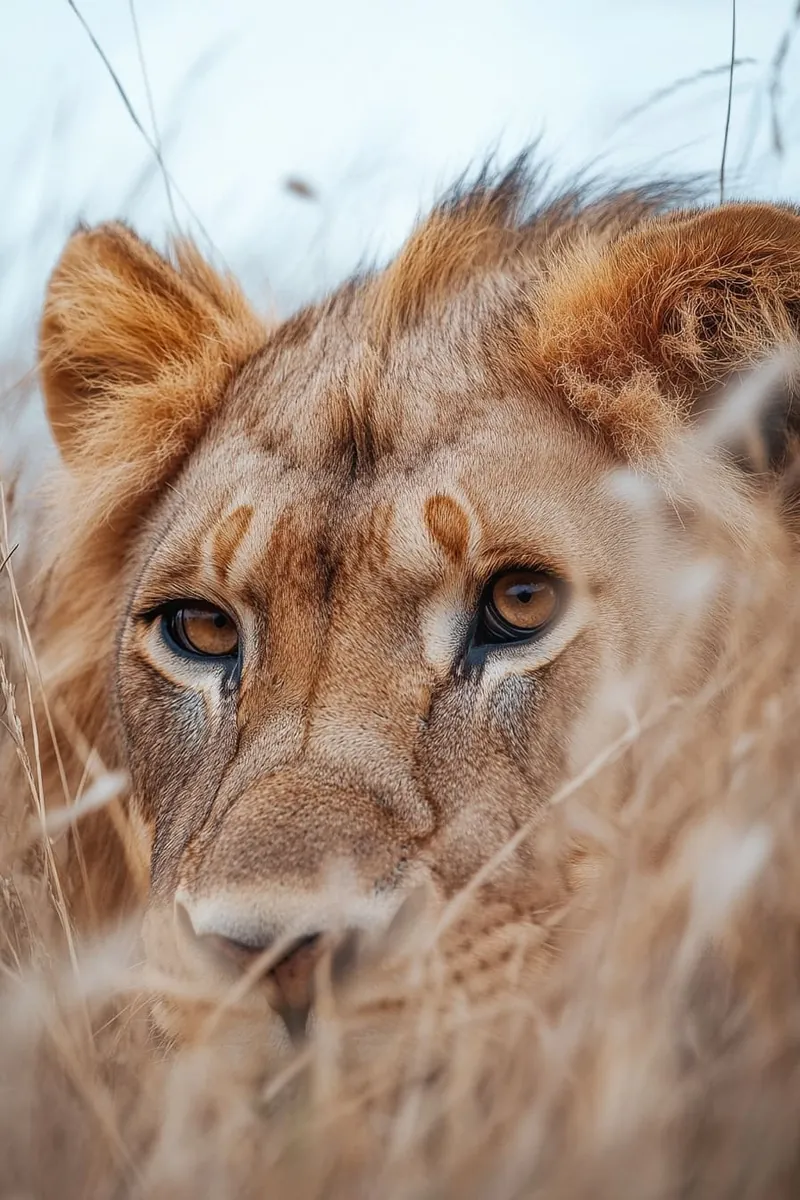
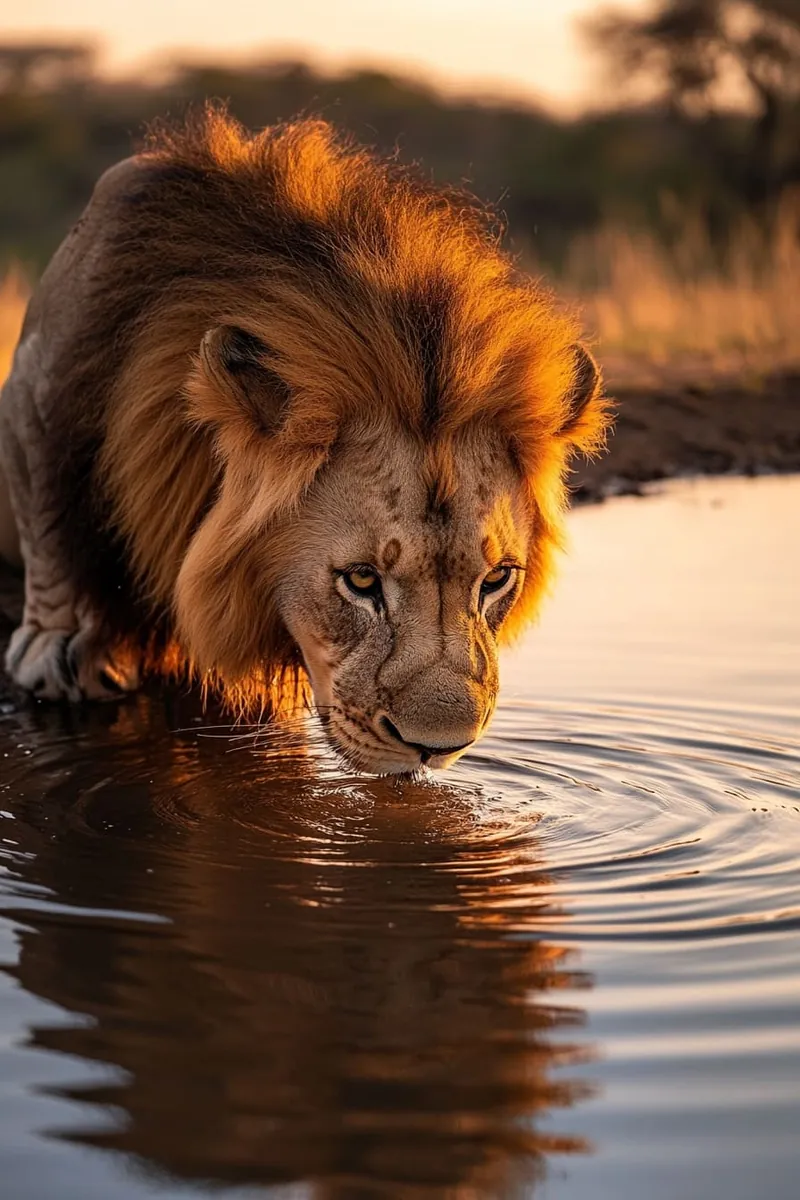
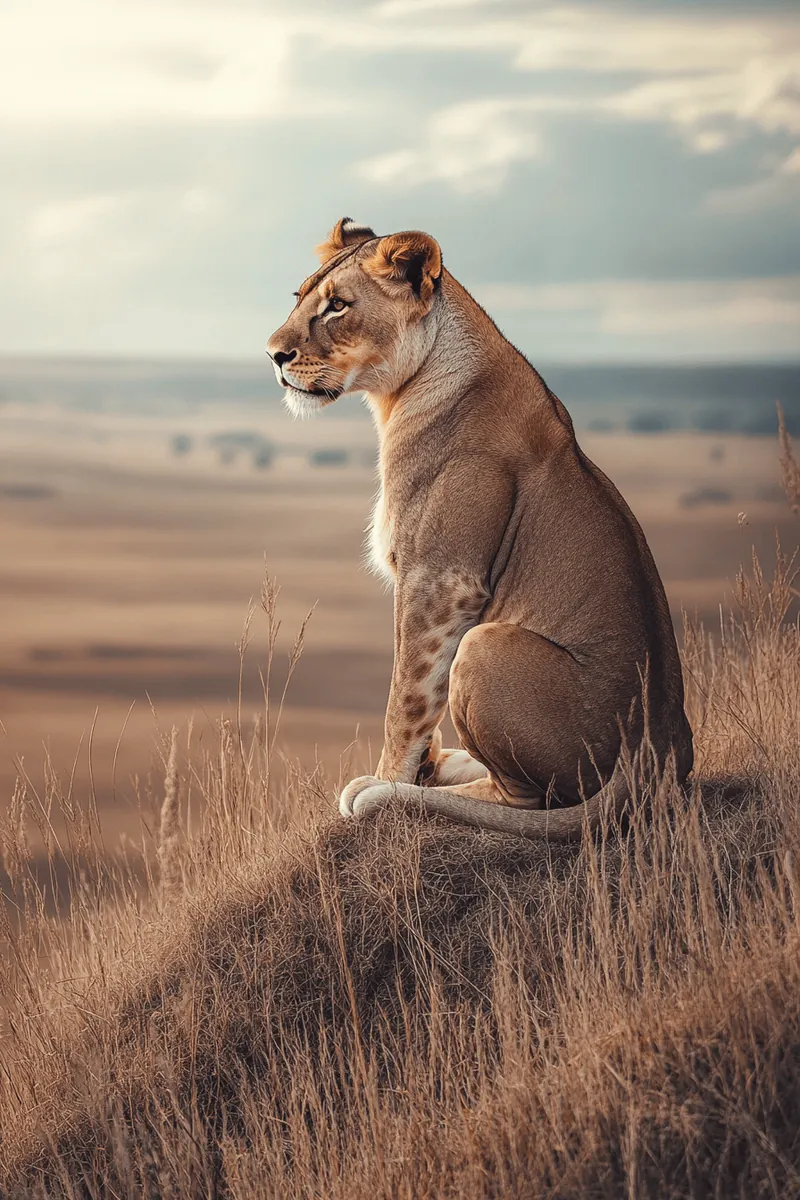
PencilReference picture of a lionPhoto References of a Lion
How to Draw a Lion Step-by-Step
Step 1: Lay Down the Lion's Foundation

Let's start by blocking out the basics. Draw a large circle for the head—this is the lion's majestic noggin. Below it, add a smaller circle for the snout, because every king of the jungle needs a solid snoot. Now, sketch a gentle, curving line behind the head to suggest that powerful back, and a straight line extending out from the snout for the muzzle. At the tip of this line, place a little circle for the nose—this is where the sniffing magic happens.
Step 2: Shape It Up with Some Lion-ly Lines
Time to give those shapes a bit more personality. Using your initial shapes as guides, start adding in the legs—draw four sturdy lines from the bottom of the main body circle. Make these legs thick and solid, like they could support all that lionly pride. Refine the curves on the back, the swoop of the tail, and the contour of the muzzle, making everything look a bit more lifelike. Imagine the lion prowling through the savanna, and let that energy guide your lines.
Step 3: Give It the Lion's Share of Detail
Now we're getting to the fun part! Let's add the details that make this drawing roar. Draw the ears on top of the head—rounded and alert. For the mane, go wild with bold, sweeping lines that give it volume and that iconic lion fluff. Add the eyes, giving them a slightly intense, focused look (this is a lion, after all, not a house cat). Add a bit of fur texture by sketching gentle lines along the body, especially around the legs and stomach where the fur has a natural flow and fold.
Step 4: Shade and Texturize Like a Pro
Now to bring this king of beasts to life! Start shading where shadows would naturally fall—under the belly, around the legs, and under the mighty mane. Use short, curved lines to add fur texture, following the direction of the fur for a realistic touch. Don't be afraid to darken areas that need more depth, but keep it soft and blended so the shading transitions smoothly.
Step 5: Final Roaring Touches
Step back and admire your work. Now's the time for any last adjustments—maybe sharpen a line here, add a bit more shading there. Ensure your lion looks balanced and lifelike. Once it's all set, give yourself a well-deserved nod of pride. You've drawn a lion that's ready to leap off the page!
With practice, your lions will only get more powerful, detailed, and—who knows?—maybe even a bit fiercer. Keep roaring forward, artist!
Tip:To capture the essence of a lion in your drawing, focus on the unique shapes that make up its features. Start with a light sketch of basic geometric forms: a large oval for the head, a smaller circle for the snout, and triangles for the ears. When you begin detailing the mane, use a variety of strokes with your pencil—short, quick flicks for the fur texture and longer, flowing lines to depict the mane's volume. Don't hesitate to layer your pencil pressure; darker areas around the face and lighter tones on the mane will add depth and realism. Finally, always keep a reference image handy to guide your proportions and features, ensuring that your lion embodies both strength and grace!
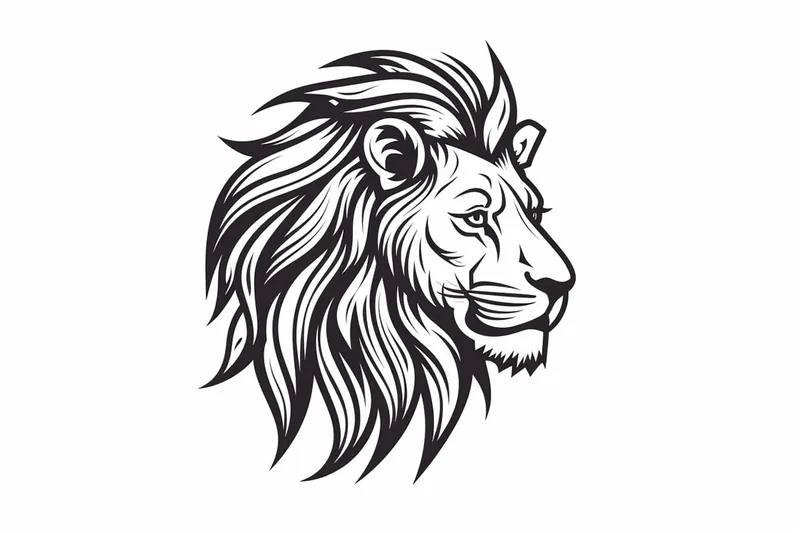
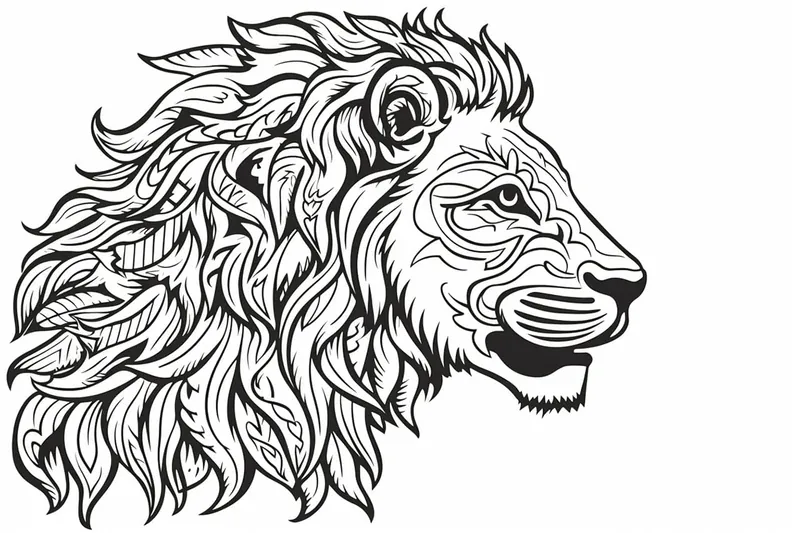
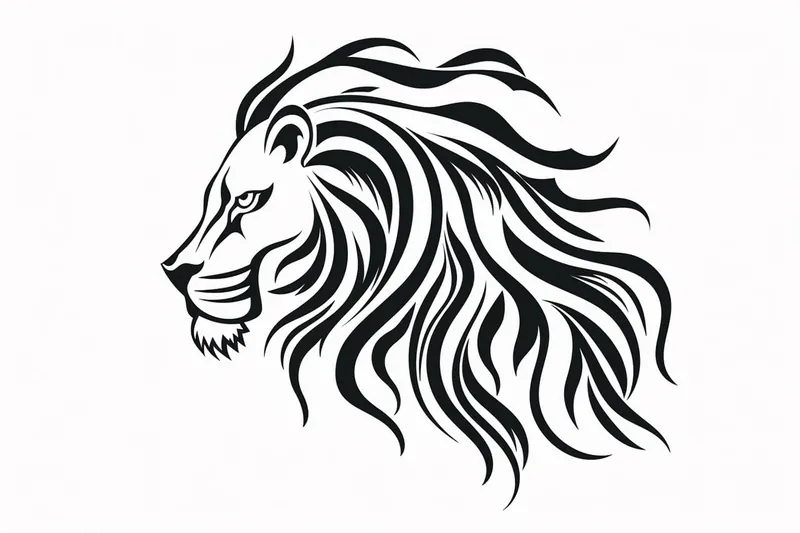
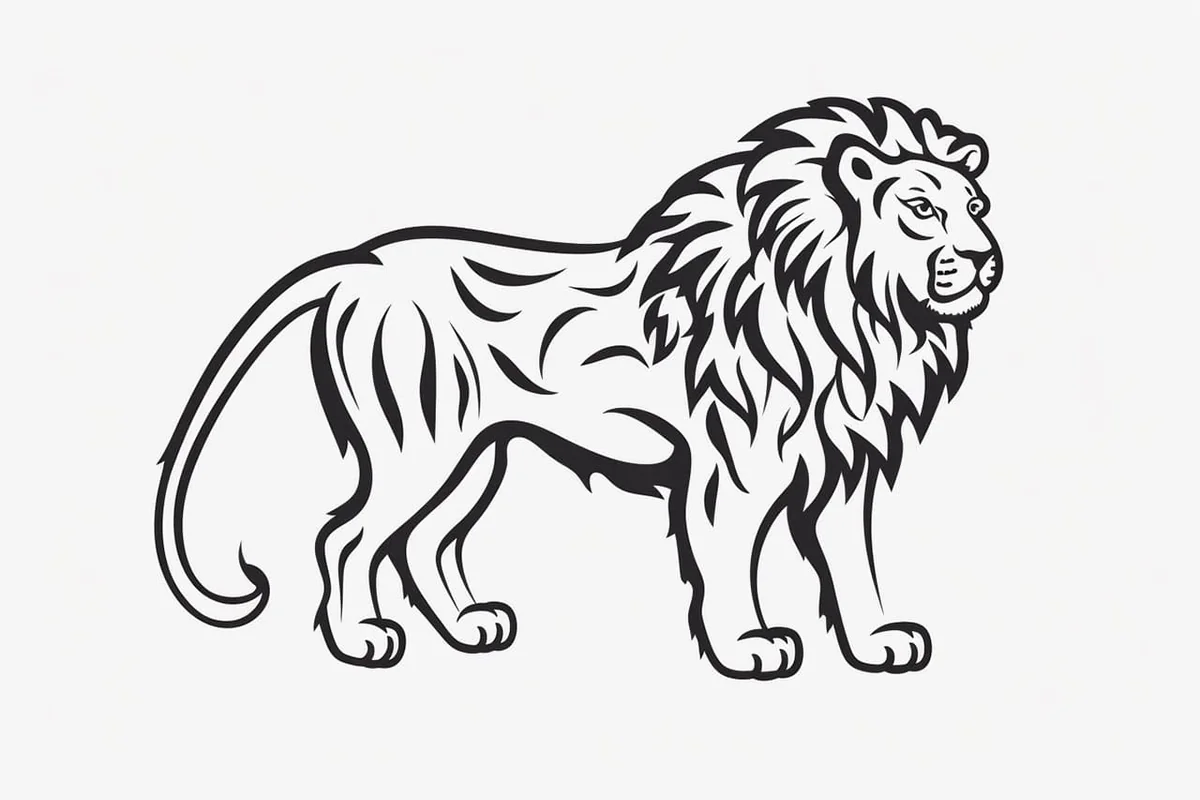
Gallery of Lion Drawings
Lion Draw Battle