How to Draw a Duck in 10 Easy Steps
Learn how to draw with this step-by-step tutorial.

Materials You'll Need
- Drawing paper
- Pencil (HB or 2B)
- Eraser
- Colored pencils
- Markers

Welcome to this fun and creative tutorial on how to draw a duck! Ducks, with their charming waddles, unique shapes, and serene presence on water, are a favorite subject for artists of all ages. Whether you're an aspiring artist looking to refine your skills or simply want to enjoy a relaxing activity, drawing a duck is both rewarding and enjoyable.
In this step-by-step guide, we'll break down the process into easy-to-follow stages, helping you bring your duck to life on paper. From sketching the basic shapes to adding feathers, shading, and personality, you'll learn the techniques to create a delightful duck illustration that captures its charm.
So, gather your drawing materials, settle into your creative space, and let's dive into the art of drawing ducks. Whether it's a pond-side quacker or a playful cartoon duck, you're sure to have fun bringing this lovable bird to life!


Materials Required
Before we begin, let's gather the materials you will need for this drawing tutorial. You will need:
-
Paper: It's best to use a medium-weight drawing paper that can handle pencils and erasing.
-
Pencil: Use a graphite pencil with a medium lead, preferably 2B or HB.
-
Eraser: Have a soft eraser handy for lightening lines and correcting mistakes.
-
Fine-tipped pen (optional): If you prefer to outline your drawing with a pen, have a fine-tipped pen ready.
-
Colored pencils or markers (optional): If you'd like to add color to your duck illustration, have some colored pencils or markers on hand.
-
Reference (optional): find reference photos of ducks for your drawing.
Now that you have your materials ready, let's dive into the step-by-step process of drawing a duck.
Step 1: Drawing the Duck's Body
Start by drawing a circle in the middle of your paper. This shape will serve as the body of the duck. Keep it light and loose; you can always darken the lines later.
Step 2: Adding the Head and Beak
Next, draw a smaller circle just above the body circle to represent the duck's head. Connect the head to the body by drawing a slightly curved line. For the beak, draw a triangular shape protruding from the front of the head.
Step 3: Sketching the Eyes and Facial Details
Within the head circle, draw two small ovals for the eyes. Add a tiny curved line inside each eye to indicate the duck's pupil. Above the eyes, draw a slightly curved line to represent the eyebrows. To give your duck a friendly expression, add a small curved line below the beak to create a smiling mouth.
Step 4: Drawing the Wings and Feathers
To draw the wings, start by extending two slightly curved lines from the sides of the body circle. At the end of each line, draw a few curved lines to represent the feathers. Remember to keep the lines light and sketchy for now.
Step 5: Creating the Tail
At the back of the body, draw a small triangle shape to indicate the tail of the duck. This triangle should be pointed upward, adding a little curve at the end to give it a more natural look.
Step 6: Detailing the Feet and Legs
Draw two slightly curved lines extending down from the bottom of the body to create the legs. At the end of each leg, draw the duck's webbed feet by adding narrow, triangular shapes.
Step 7: Refining the Outline
Once you're satisfied with the basic outline of the duck, go over the lines with your pencil, making them darker and more defined. Smooth out any rough edges and erase any unnecessary lines or mistakes.
Step 8: Adding Details
Now it's time to add some details to bring your duck to life. Sketch in some curved lines within the wings to represent more feathers. You can also add small lines to the tail and body for texture. Don't forget to draw a few lines on the feet to indicate the webbing.
Step 9: Outlining with a Pen (Optional)
If you prefer a more defined look, you can outline your duck with a fine-tipped pen. Start by going over the main lines of the duck, such as the body, head, beak, and wings. Leave out any guidelines you sketched in the beginning.
Step 10: Adding Color (Optional)
If you want to add color to your duck, grab your colored pencils or markers and start filling in the different parts. Ducks are often found in shades of brown, yellow, and orange, but feel free to get creative with your color choices. Remember to blend the colors smoothly for a more polished look.
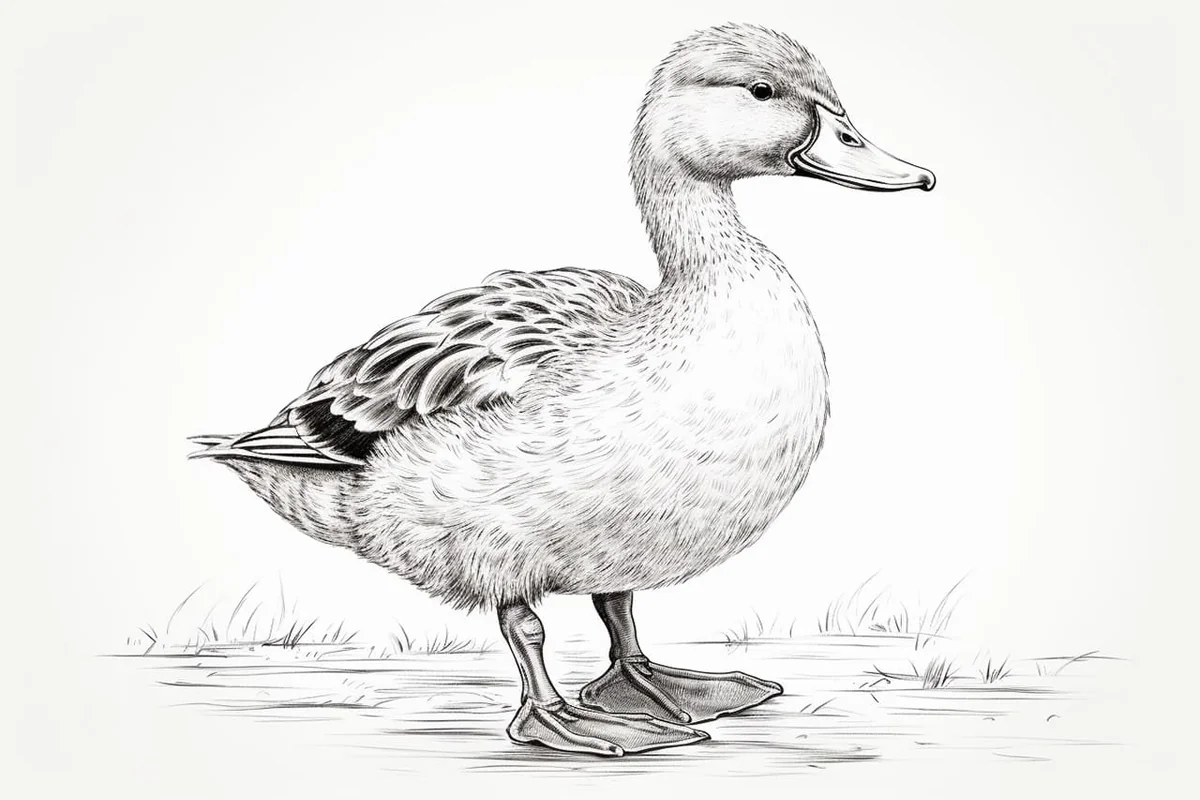
Congratulations! You have successfully drawn a duck! With practice, you can experiment with different poses, expressions, and even create your own unique duck characters.
Tip: To capture the essence of a duck in your drawing, focus on its unique shape and proportions. Start with basic geometric forms: a rounded body, a circular head, and an elongated neck. Use a light pencil to sketch these shapes, allowing for adjustments as you refine your lines. Pay special attention to the duck's bill; it should be wider at the base and taper toward the tip, giving that distinctive look. Once you're satisfied with the basic outline, you can add details like the eyes, feathers, and water ripples, using a variety of line weights to create depth. Don't forget to reference real duck images or videos to observe their movements and features—this will enhance your drawing's realism!
Conclusion
In this step-by-step guide, we've learned how to draw a duck from start to finish. By following these instructions and using your creativity, you can create charming duck illustrations that are sure to impress. Remember to take your time, have fun, and enjoy the process of bringing your artwork to life.
So gather your materials, sharpen your pencils, and let your imagination take flight as you embark on your duck drawing adventure!