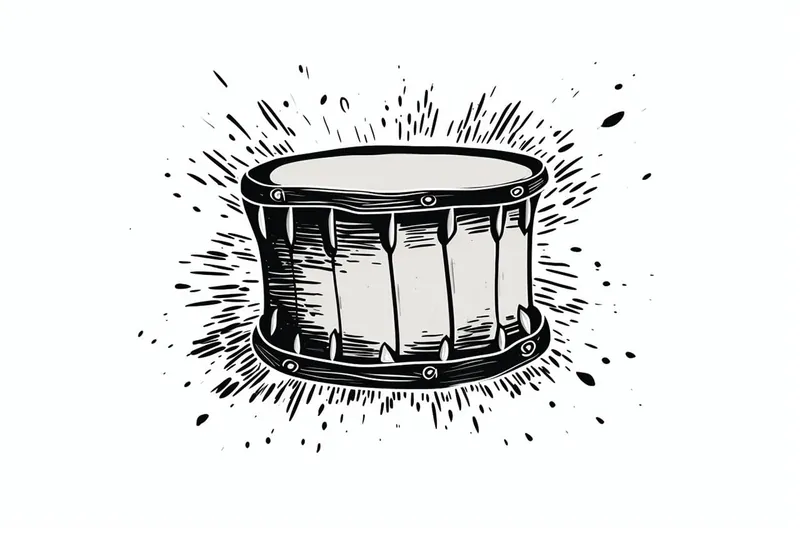
How to Draw a Drum
Learn how to draw a drum with this step-by-step tutorial. Follow our guide to create a realistic drum using basic shapes and shading techniques.
Materials You'll Need
- Pencil
- Paper
- Eraser
Drums are among the oldest and most universal musical instruments, found in cultures around the world and central to countless styles of music. Their distinctive round shape, taut drumhead, and metallic or wooden shell make them instantly recognizable and visually appealing subjects for artists of all ages. Learning how to draw a drum not only helps you appreciate its structure but also gives you insight into the art of capturing musical instruments on paper, a skill that can enhance your portfolio and expand your creative abilities.
There are many reasons why you might want to learn how to draw a drum. Perhaps you're a music lover who wants to add personalized artwork to your journal, an art student working on a still-life composition, or simply someone looking for an enjoyable project that combines geometric forms with creative shading. Drums symbolize rhythm, energy, and celebration, making them a dynamic addition to any drawing collection. By mastering the depiction of a drum, you can also unlock the skills needed to illustrate other musical instruments, enriching your artistic repertoire.
This tutorial on how to draw a drum is suitable for beginners and intermediate artists alike. We'll break down the process into manageable steps, starting with basic geometric shapes to outline the body and drumhead, and then gradually refining the drawing with details such as the rims, lugs, and realistic shading. Along the way, you'll practice essential techniques like creating ellipses, using perspective to convey depth, and adding highlights and shadows for a three-dimensional effect. Even if you haven't drawn musical instruments before, you'll find that this guide is easy to follow and designed to build your confidence with each stage.
So, gather your drawing materials and get ready to bring a piece of music to life on your page! Remember, every artist starts somewhere, and each stroke you make gets you closer to your goal. Let's dive into the world of percussion art and discover just how satisfying it can be to master how to draw a drum. With patience and practice, you'll soon be able to create your own impressive drum illustrations—so let's begin!
Materials Required
Before we dive into the steps, let's gather the materials you will need for this drawing:
- Paper: Select a sketch pad or any type of paper suitable for drawing.
- Pencils: Get a range of graphite pencils, from HB (medium) to 6B (soft), to achieve different tones and shades.
- Eraser: Have a soft eraser handy for correcting mistakes and smudges.
- Blending Stump or Cotton Swabs: These tools will help you blend and smooth out your shading.
With your materials ready, let's move on to the steps of drawing a drum.
Step 1: Sketch the Drum Shape
Start by lightly sketching a large circle in the center of your paper. This circle will represent the center of the drumhead. Take your time and use light, loose strokes, as we will be refining the shape later on.
Step 2: Add the Drum's Body
Below the circle, draw a slightly elongated oval shape to represent the body of the drum. Position it in a way that the bottom of the oval aligns with the bottom of the circle. This will give the drum a balanced look.
Step 3: Define the Drumhead
Now, let's add some structure to the drumhead. Draw a smaller circle inside the initial circle, leaving a small gap between them. This gap will create the rim of the drum. Pay attention to the proportions and ensure that the drumhead is centered within the body of the drum.
Step 4: Add the Lugs and Tension Rods
On the rim of the drumhead, draw evenly spaced small circles around the circumference. These circles represent the lugs, which are used to tighten the tension rods and secure the drumhead in place. Make sure to maintain a consistent size and spacing for a realistic look.
Step 5: Draw the Drumsticks
Now, let's draw the drumsticks for a complete composition. Extend two lines from the top of the drum body and angle them slightly away from each other. At the end of each line, draw a small oval shape for the drumsticks' tips. Add some detail by sketching a line across the oval to represent the drumsticks' taper.
Step 6: Refine the Drum Shape
Using the existing sketch as a reference, start refining the shape of the drum by darkening the outlines and adding more defined curves. Pay close attention to the proportions and make adjustments as needed. Take your time with this step, as it will bring more depth and realism to your drawing.
Tip: As you work through the steps of drawing a drum, consider using reference images of real drums to better understand their proportions and details, especially when it comes to capturing the nuances of the drumhead's ellipse and the texture of the drum's surface. Observing these elements in photographs or real-life examples can significantly enhance the realism of your artwork and help you refine your shading and detailing techniques.
Step 7: Shade the Drum
Now it's time to add shading to our drum drawing. Start by determining the direction of the light source. Imagine the light coming from one side, and shade the opposite side of the drum body and drumhead accordingly. Use a lighter touch for the areas that are less shaded and gradually build up the darkness for the shadowed areas. Blend the shades smoothly using the blending stump or cotton swabs to create a realistic look.
Step 8: Add Texture to the Drumhead
To make the drumhead look more realistic, let's add some texture. Use your pencil to create small, irregular circular strokes across the drumhead. Vary the pressure and direction of your strokes to make the texture appear more organic. Pay attention to the areas around the lugs and tension rods, as they may cast shadows and affect the texture.
Step 9: Detail the Drumsticks
Refine the details of the drumsticks by adding more definition and shadow. Use darker tones on the side facing away from the light source, and gradually blend them into the lighter tones towards the tip. Add some lines along the drumsticks to emphasize their cylindrical shape. Don't forget to shade the tips of the drumsticks to create depth.
Mistake Alert: A frequent pitfall when drawing drums is making the drumhead appear as a perfect circle rather than an ellipse, especially when the drum is shown at an angle. This happens because our brain tends to default to familiar shapes, but in perspective, the drumhead will always appear slightly squished—an ellipse that gets narrower as the viewing angle lowers. To avoid this, lightly sketch the ellipse guidelines before adding any details, checking that both sides are symmetrical and the long axis matches the angle of the drum body. If your drum looks flat or unnatural, try redrawing the ellipse, comparing it to real drum references to adjust the tilt and width until it feels three-dimensional. This small adjustment can make a huge difference in making your drum look realistic and lively!
Conclusion
Congratulations on completing your drum drawing! By following these step-by-step instructions, you have learned how to draw a realistic drum using basic shapes and shading techniques. Remember to practice regularly and experiment with different styles to further develop your artistic skills. Drawing musical instruments can be a fun way to express your passion for music through art. Now, grab your sketchpad and let your creativity flow!
Fun Facts About Drum
- The drum is one of the oldest known musical instruments, with evidence dating back to ancient civilizations.
- Drums are found in nearly every culture around the world, each with unique designs and playing techniques.
- The modern drum set, or drum kit, was developed in the early 20th century to allow one person to play multiple percussion instruments at once.
- Drums are classified as percussion instruments because they produce sound when struck, shaken, or scraped.
- The largest drum in the world is the Korean CheonGo drum, measuring over 5.5 meters in diameter.
- Drumming has been shown to have health benefits, including stress reduction and improved coordination.
- Some drums, like the talking drum of West Africa, can mimic human speech and were historically used for long-distance communication.
- Electronic drums, invented in the 1970s, allow drummers to produce a wide range of sounds and practice quietly with headphones.
- Drumheads were traditionally made from animal skins, but most modern drums use synthetic materials for durability and consistency.
- [World-famous drummers like Ringo Starr and Neil Peart](https://en.wikipedia.org/wiki/Neil_Peart) have influenced the popularity and evolution of drumming styles worldwide.
Suggestions for Scenes and Settings for Drum Drawings
- A close-up of a single snare drum with dramatic shadows, emphasizing the tension rods and metallic rim.
- An energetic street drummer playing a set of buckets and makeshift drums in a bustling urban scene.
- A jazz band setup, focusing on the drum kit with cymbals and surrounding instruments in a smoky club atmosphere.
- A traditional hand drum, like a djembe or conga, being played outdoors in a lively cultural festival setting.
- Children joyfully learning to play drums together in a bright and colorful music classroom.
- A marching band snare drum, complete with harness and drumsticks, in the midst of a parade.
- A vintage drum set in an old recording studio, surrounded by microphones and retro equipment.
- A tribal drum circle at sunset, with silhouettes of people and drums against the glowing sky.
- A detailed still life of a single drum and a pair of drumsticks resting on sheet music.
- A fantasy scene where mystical creatures are using drums to summon magic or communicate.