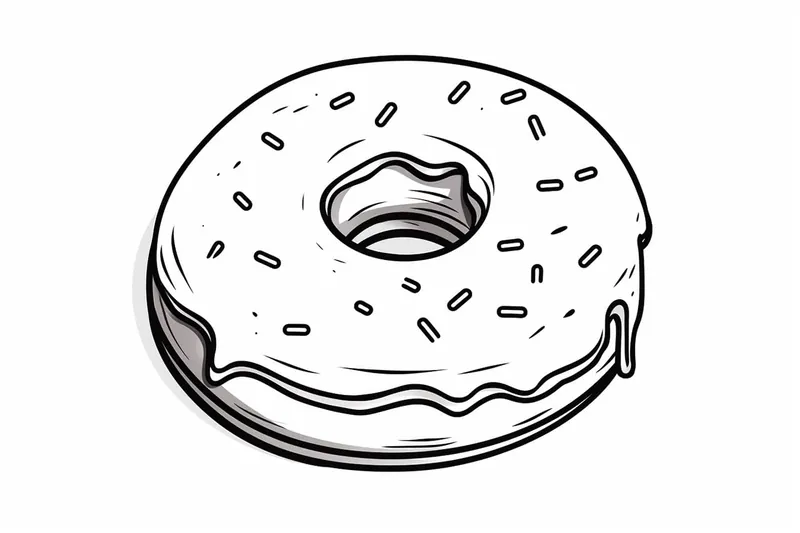
How to Draw a Donut
Learn how to draw a donut in this step-by-step art tutorial. Perfect for beginners, this guide will teach you the techniques to create a mouthwatering donut drawing.
Materials You'll Need
- Pencil
- Paper
- Eraser
Donuts are not only a beloved sweet treat found in bakeries around the world, but they also make for a fun and whimsical subject in art. Their simple, circular shape, glossy glaze, and colorful sprinkles offer endless creative possibilities for artists of all ages. Whether you're drawing for a food-themed project, designing a greeting card, or just looking to practice your art skills, learning how to draw a donut can be both enjoyable and rewarding. Donuts allow you to experiment with vibrant colors, playful shading, and a variety of textures, making them a fantastic subject to help you grow as an artist.
This step-by-step tutorial on how to draw a donut is designed to be accessible for everyone, from complete beginners to those with more drawing experience. You'll learn how to break down the donut's form into basic shapes, add depth and dimension with shading, and bring your donut to life with decorative details like icing and sprinkles. Along the way, you'll practice fundamental art techniques such as outlining, blending, and color layering. These skills are not only useful for drawing donuts, but also for tackling many other subjects in your artistic journey. So grab your materials, get comfortable, and let's embark on this creative adventure together—remember, every artist starts somewhere, and with a little practice, your donut will look absolutely delightful!
Materials Required
Before we begin, make sure you have the following materials ready:
- A piece of paper
- Pencil
- Eraser
- Ruler
- Colored pencils or markers (optional)
These basic materials will be sufficient for creating a fantastic donut drawing. Feel free to use any additional coloring tools or mediums to enhance your artwork.
Step 1: Draw the Donut Shape
Start by drawing a large circle in the center of your paper. Use a pencil and try to make it as smooth as possible. This will be the outline of your donut.
Step 2: Add the Inner Circle
Tip: As you work through drawing your donut, don't hesitate to take breaks to step back and view your artwork from a distance; this can help you spot areas that need adjustment and gives you a fresh perspective on your composition. Additionally, experimenting with different angles or adding whimsical elements, like a playful background or unique toppings, can enhance your creativity and make your drawing even more engaging!
Inside the large circle, draw a smaller circle that is slightly off-center. This will represent the hole in the middle of the donut. Make sure it is not too big or too small, but proportional to the size of the larger circle.
Step 3: Create a Thickness to the Donut
To give the donut a realistic appearance, we need to add some thickness. Start by drawing a curved line, following the outer edge of the larger circle. This will create the outer rim of the donut. Repeat the process for the inner circle, creating the inner rim.
Step 4: Texture the Donut
Now it's time to add some texture to our donut. Start by drawing curved lines across the larger circle, following its shape. These lines will represent the ridges and folds on the surface of the donut. Be creative and vary the length and direction of the lines to make it look more realistic.
Step 5: Shade the Donut
To give our donut drawing more depth, we need to add shading. Imagine a light source coming from one direction and create shadows accordingly. Shade the outer rim of the donut slightly darker than the inner rim. Add some shading to the ridges and folds as well, to make them stand out.
Step 6: Color Your Donut (Optional)
If you want to add color to your drawing, grab your colored pencils or markers and have some fun! Choose your favorite donut flavor and color the donut accordingly. Remember to blend colors for a smoother look and add highlights to create contrast.
Wild Inspiration: Imagine a donut floating through outer space like a cosmic planet, its frosting swirling with shimmering nebula colors and sprinkles shaped like tiny shooting stars. Give your donut a ring of glowing, orbiting mini-donuts, each with its own unique toppings and icing patterns, as if they were playful moons. To push your creativity, try adding a tiny astronaut or alien peeking out from a bite mark, exploring the sugary landscape. Feel free to go wild with your color palette—think deep purples, electric blues, and pops of neon—to create a truly otherworldly scene that turns your donut into the centerpiece of an intergalactic adventure!
Conclusion
Congratulations on completing your donut drawing! By following these step-by-step instructions, you have learned how to draw a mouthwatering donut from scratch. Remember, practice makes perfect, so keep honing your skills and experimenting with different styles and colors to create your own unique donut artwork.
So grab your pencil, paper, and let your imagination soar as you draw more delectable donuts. Who knows, maybe someday you'll be able to sell your artwork or even design your own donut shop logo!
Fun Facts About Donut
- The word "donut" is a shortened form of "doughnut," which first appeared in print in the early 19th century in Washington Irving's writings.
- National Donut Day is celebrated in the United States on the first Friday of June each year, a tradition that began in 1938 to honor Salvation Army volunteers who served donuts to soldiers during World War I.
- The largest donut ever made weighed over 1.7 tons and was created in Utica, New York in 1993.
- Classic ring-shaped donuts are believed to have been popularized by a New England ship captain, Hanson Gregory, who claimed to have invented the shape in 1847.
- In Japan, mochi donuts made with glutinous rice flour have become a trendy twist on the traditional treat.
- Donuts have even been to space—astronauts aboard the Apollo 8 mission enjoyed donut-shaped food items during their historic 1968 flight.
- The world's most expensive donut, topped with edible gold and diamonds, was created by a New York City bakery and sold for $100 each (Forbes).
Suggestions for Scenes and Settings for Donut Drawings
- A stack of donuts on a colorful plate at a sunny breakfast table.
- A donut floating in outer space with stars and planets in the background.
- A donut being decorated by a tiny baker or a cartoon character.
- A donut sitting on a café counter next to a steaming mug of coffee.
- A group of donuts with different toppings having a party with balloons and confetti.
- A bitten donut with crumbs and a bite mark, surrounded by doodled hands reaching for it.
- A donut on a picnic blanket in a bright park setting with other treats nearby.
- A fantasy donut shop window filled with rows of imaginative, vibrant donuts.
- A donut floating in a pool with a tiny umbrella and a summer vibe.
- A donut transformed into a character with arms, legs, and a playful expression.