How to Draw a Credit Card
Learn how to draw with this step-by-step tutorial.
Materials You'll Need
- Drawing paper
- Pencil (HB or 2B)
- Eraser
- Colored pencils
- Markers
- Ruler
Drawing everyday objects can be a rewarding way to sharpen your observational skills and enhance your artistic techniques. In this tutorial, we focus specifically on how to draw a credit card, a common and recognizable item that presents an interesting blend of simple shapes and intricate details. Credit cards are more than just plastic rectangles; they feature logos, numbers, and security elements that, when captured accurately, can add realism and depth to your artwork. Whether you're illustrating for a design project, creating detailed still life compositions, or simply expanding your drawing repertoire, mastering the depiction of a credit card is a useful skill.
This step-by-step guide is suitable for artists at all skill levels, from beginners eager to learn basic shapes and shading techniques to more experienced illustrators looking to refine their attention to detail. The process involves understanding proportions, linear perspective, and the subtle textural contrasts that make the card appear three-dimensional. By learning how to draw a credit card, you'll practice precision in rendering geometric forms and develop a keen eye for the small but significant details that transform a simple drawing into a realistic representation. It's a great exercise to build confidence and improve your overall drawing abilities.
Throughout this tutorial, you'll be encouraged to take your time and observe carefully, as this will help you capture the authentic look of a credit card on paper. Remember, each line and shading choice contributes to the final outcome, so patience and practice are key. Whether you're creating art for personal enjoyment or professional purposes, mastering how to draw a credit card will add versatility to your skill set. So grab your pencil and paper, and let's embark on this creative journey together—your next impressive drawing awaits!
Materials Required
Before we begin, make sure you have the following materials:
-
A pencil
-
Eraser
-
Drawing paper
-
Ruler
-
Fine-tip pens or markers
-
Colored pencils or markers (optional)
Now that we have all the necessary materials, let's move on to the steps of drawing a credit card.
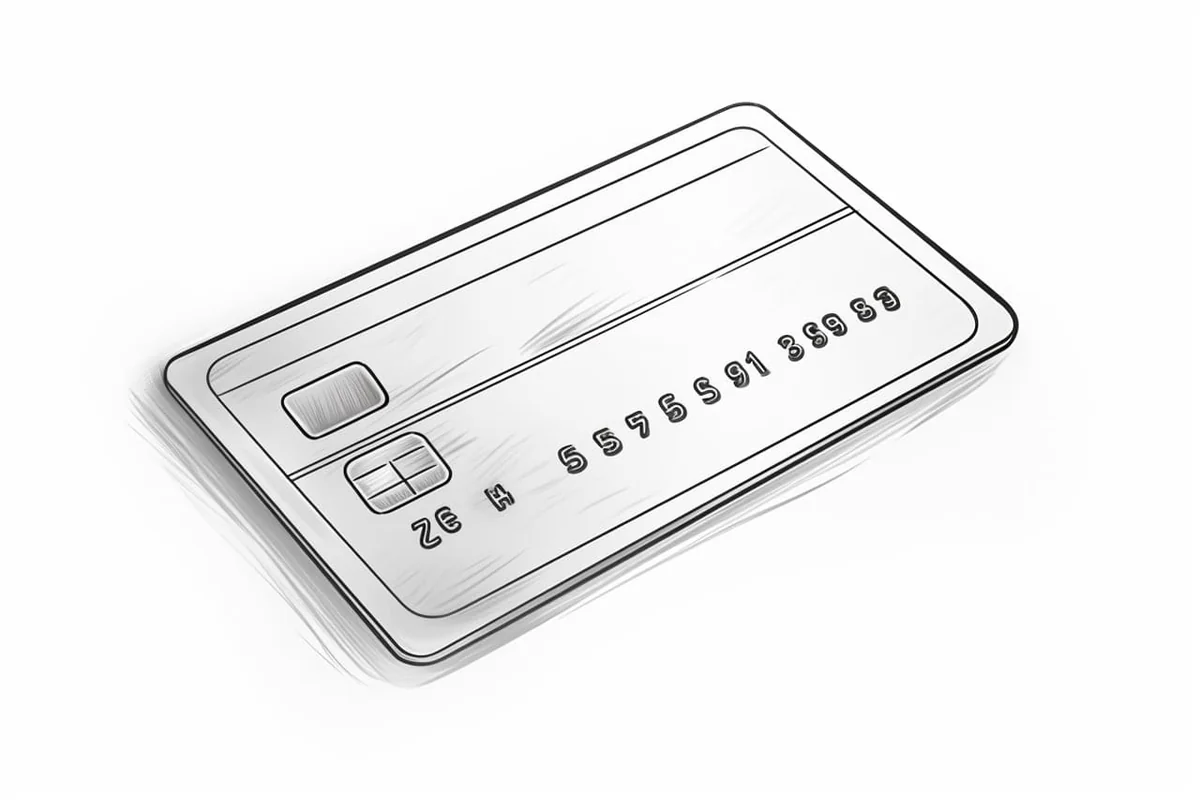
Step 1: Draw the Card Body
Start by drawing a rectangular shape in the center of your paper. This will serve as the main body of the credit card. Use your ruler to ensure the sides are straight and the corners are square. The size of the rectangle will depend on your preference, but it should be proportionate to the size of a real credit card.
Step 2: Add the Rounded Corners
Credit cards typically have rounded corners to avoid sharp edges. To achieve this, lightly sketch four circles at each corner of the rectangle. Make sure the circles are slightly smaller than the width of the card body. Once you are satisfied with the placement, darken the lines of the circles.
Step 3: Create the Card's Texture
Next, we'll add some texture to the credit card to make it more realistic. Using vertical lines, draw a pattern across the entire card body. This pattern gives the impression of a textured surface, similar to what you would find on a real credit card. Take your time and make sure the lines are evenly spaced and parallel to each other.
Step 4: Add the Card Number
In the bottom right corner of the card, draw a small rectangular shape. This will serve as the area where the card number is displayed. Within this rectangle, draw a series of small rectangles or squares to represent the digits of the credit card number. You can use reference images to accurately depict the size and layout of the numbers.
Step 5: Include the Expiration Date
Above the card number area, draw another rectangular shape. This will be where the card's expiration date is typically displayed. Divide this rectangle into two sections: one for the month and one for the year. Use numbers to represent the month and year, ensuring they are proportionate and fill the available space.
Step 6: Draw the Cardholder's Name
Moving to the top of the card, draw a rectangular shape slightly wider than the card number area. This is where the cardholder's name is usually written. Write a fictional name inside the rectangle using neat, legible letters. You can choose to make the name more personal by using your own or a friend's name if you wish.
Step 7: Incorporate the Card Logo
Near the top left corner of the card, draw a small rectangular space. This is where the logo of the credit card company usually appears. Research the logo of a real credit card company and try to replicate it as accurately as possible. Keep in mind that some logos may be more intricate than others, so adjust the level of detail to your skill level.
Step 8: Add Additional Details
To make your drawing even more realistic, consider adding a signature strip at the back of the card. Draw a small rectangular shape on the right side of the card, leaving some space for the signature. You can also include an EMV chip on the front of the card, which is commonly seen in modern credit cards. Research the general shape and design of an EMV chip to accurately depict it.
Step 9: Finalize Your Drawing
Once you are satisfied with the overall shape and details of your credit card, go over your pencil lines with a fine-tip pen or marker. This will make the drawing more defined and polished. Take your time and be careful not to smudge the ink as you go. You can also erase any remaining pencil lines once the ink is dry.
Conclusion
Drawing a credit card may seem like a daunting task, but by following these step-by-step instructions, you can create a realistic representation of this everyday object. Remember to take your time, be patient, and practice as much as you can. With practice, you'll be able to capture the intricate details of a credit card with ease. So grab your materials and start drawing your very own credit card today!
Fun Facts About Credit Card
-
The first universal credit card was introduced by Diners Club in 1950, revolutionizing cashless payments.
-
Modern credit cards often contain an EMV chip, which enhances security by encrypting transaction data.
-
Contactless credit cards use RFID technology to enable quick tap-and-go payments without swiping or inserting.
-
Credit card numbers follow the ISO/IEC 7812 standard, which includes a unique issuer identification number.
-
Many credit cards feature holograms as a security measure to prevent counterfeiting.
-
The magnetic stripe on the back of credit cards stores essential data but is being phased out in favor of chip technology.
-
Credit card rewards programs, such as cashback and points, incentivize spending and customer loyalty.
-
Some credit cards offer virtual card numbers for safer online shopping by masking the real card number.
Suggestions for Scenes and Settings for Credit Card Drawings
-
A credit card resting on a wooden table next to a smartphone and a receipt, emphasizing a casual payment moment.
-
A hand holding a credit card poised above a payment terminal, capturing the act of contactless payment.
-
A detailed close-up of a credit card inserted halfway into an ATM slot, highlighting texture and lighting contrasts.
-
A stack of credit cards fanned out on a reflective surface, showcasing different colors and designs.
-
An artistic interpretation of a credit card with abstract patterns and vibrant colors, combining realism with creativity.
-
A wallet open with a visible credit card pocket, focusing on the interplay between the card and surrounding leather textures.
-
A credit card alongside shopping bags and a receipt, suggesting a post-shopping scene with a focus on everyday life.
-
A futuristic credit card design with holographic elements and glowing details, set against a dark background.
-
A credit card partially covered by a shadow, emphasizing the play of light and the card's embossed details.
-
A credit card lying on a travel map with boarding passes and a passport, evoking the theme of travel and spending abroad.