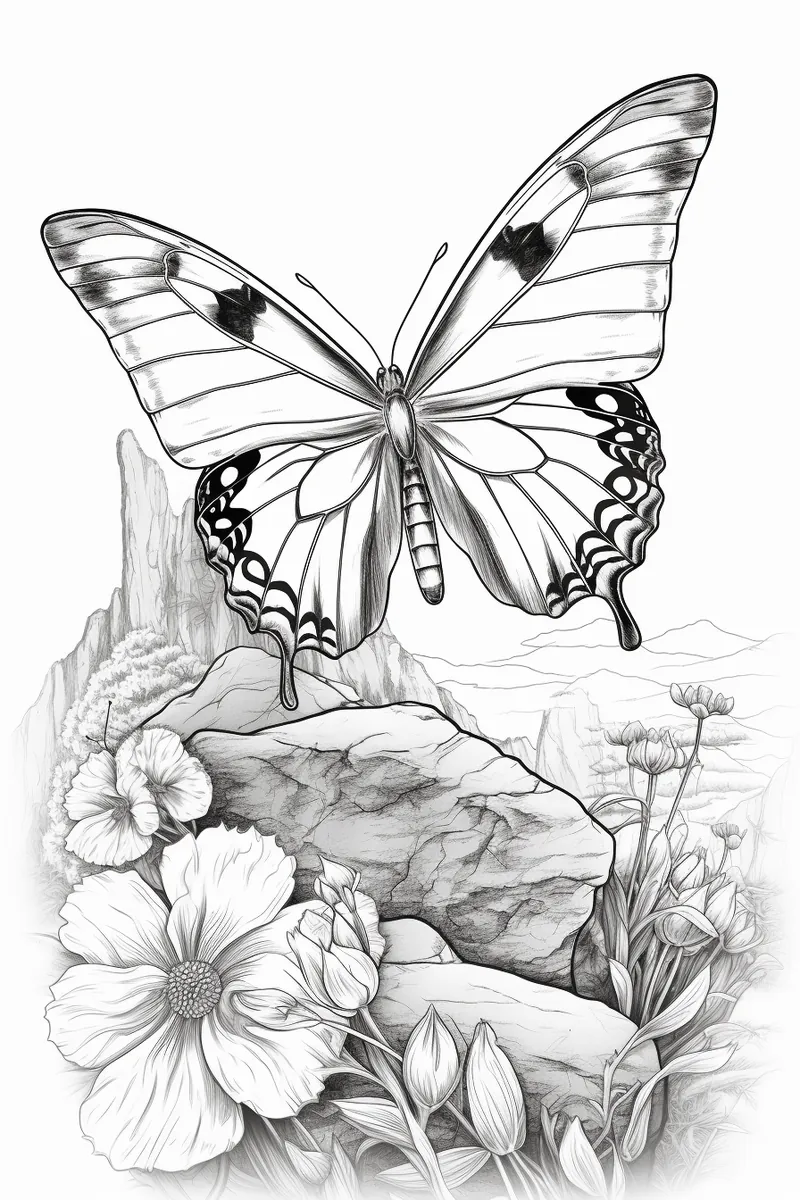
How to Draw a Butterfly Easily in 8 Steps
Learn how to draw a butterfly easily in 8 steps with this step-by-step tutorial. Perfect for artists of all skill levels!

Materials You'll Need
- Pencil
- Paper
- Eraser
- Pen
- Marker
- Colored pencil
How to Draw a Butterfly Easily in 8 Steps
Welcome to this step-by-step tutorial on how to draw a butterfly with ease and confidence. Butterflies, with their delicate wings and vibrant patterns, have long captivated artists and nature lovers alike. These graceful creatures are stunning to look at and hold deep symbolic meaning, often representing transformation, hope, and freedom.
Whether you're a beginner exploring the joys of drawing or an experienced artist seeking a simple yet rewarding subject, this guide will walk you through the process of how to draw a butterfly. From sketching the basic shapes to adding intricate wing details and vibrant colors, you'll learn techniques to bring your butterfly to life on paper.
So, grab your pencils, find a comfortable spot, and let's embark on this artistic journey together. With just a few simple steps, you'll transform a blank canvas into a stunning depiction of one of nature's most enchanting creatures. Let's get started!
Materials Required
Before we begin, make sure you have the following materials ready:
-
A pencil: Choose a pencil that feels comfortable to hold and has a sharp point. A mechanical pencil or a regular graphite pencil would work well.
-
Eraser: Keep a good quality eraser handy to easily correct any mistakes along the way.
-
Paper: Select a smooth drawing paper or sketchbook. It's best to use a heavier weight paper to prevent any smudging.
-
Colored pencils or markers (optional): If you want to add some vibrant colors to your butterfly drawing, feel free to have some colored pencils or markers ready.
Now that you have your materials ready, let's dive into the step-by-step instructions!
How to Draw a Butterfly: A Step-by-Step Guide
Step 1: Sketch the Basic Structure
Start by lightly sketching an oval shape in the center of your paper—this will serve as the butterfly's body. Above it, draw a smaller oval for the head. Extend two parallel, curved lines from the head to form the butterfly's delicate antennae. Keep your pencil strokes light; these are just the foundational shapes to guide your drawing.
Step 2: Create the Wings
Now, it's time to give your butterfly its iconic wings. On each side of the body, sketch two large, symmetrical shapes—one for the upper wing and one for the lower. Let your imagination take the lead here: the wings can be rounded for a soft look or jagged for a bold, edgy style. Symmetry is key, but a touch of imperfection adds charm!
Step 3: Add Wing Details
Let's bring those wings to life! Draw curved lines inside each wing to divide them into sections or segments, like the natural veins in a butterfly's wings. These lines create structure and guide where the patterns will go. Feel free to make them subtle or bold, depending on the style you want.
Step 4: Design the Wing Patterns
Here's where the magic happens—adding the butterfly's intricate patterns. Inside the segments, draw circles, dots, stripes, or whimsical shapes like teardrops or swirls. Let your creativity shine! You can stick to classic designs or dream up your own unique motifs. Patterns make your butterfly one-of-a-kind, so go all out.
Step 5: Detail the Antennae
The antennae are more than just functional—they're part of your butterfly's charm. Add small circles or ovals at the tips of each antenna to represent sensory receptors. This little detail will make your drawing pop with personality and realism.
Step 6: Refine the Body
Enhance the body by adding smaller ovals or rounded shapes within the main oval to suggest segments. Draw subtle lines or textures along the body to mimic the butterfly's natural patterns. These small touches create a sense of depth and realism.
Step 7: Clean Up the Lines
Before you move to the final steps, take a moment to erase any unnecessary guidelines or overlapping lines. This step will give your butterfly a polished and professional look. Be gentle with your eraser to avoid smudging the drawing.
Step 8: Add Vibrant Colors
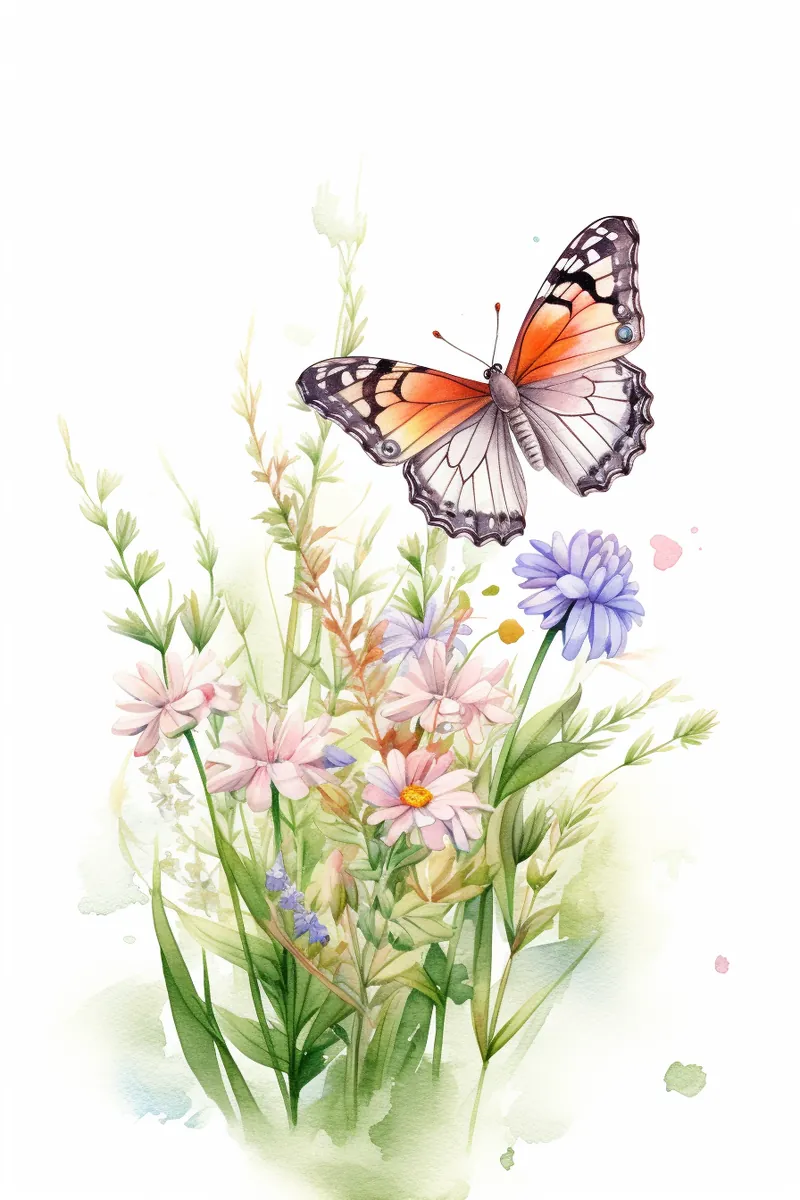
Now comes the most exciting part—coloring your butterfly! Use colored pencils, markers, or even watercolors to fill in the patterns on the wings. Choose bold, vibrant hues or soft, pastel tones, depending on the mood you want to convey. Blend colors within the segments for a gradient effect, or stick to solid shades for striking contrast. Don't forget to add a touch of color to the body and antennae as well.
Tip: To effectively capture the elegance of a butterfly, start by using a light hand when sketching the basic shapes. Begin with simple geometric forms, like ovals for the body and wings, ensuring they are symmetrical, as this will serve as the foundation for your butterfly. Once the outline is in place, gradually refine the shapes, focusing on the curves and angles of the wings. Utilize a range of pencils; a softer pencil (like 4B) can help you create rich, dark lines for the details, while harder pencils (such as H) are great for lighter, more delicate accents. Finally, don't hesitate to reference real-life photographs or illustrations to inspire your patterns and colors—this will add authenticity and vibrancy to your final piece!
Taking Flight: Your Butterfly is Complete!
Congratulations, you've brought a stunning butterfly to life on paper! By following these step-by-step instructions, you've learned how to capture the delicate beauty and intricate patterns that make butterflies so enchanting.
Drawing butterflies isn't just an artistic endeavor—it's a chance to explore creativity, practice precision, and enjoy a therapeutic escape into nature-inspired art. Keep experimenting with new wing shapes, patterns, and color palettes. Try drawing different species, from monarchs to swallowtails, and watch your skills flourish with every new creation.
So grab your pencils, let your imagination take flight, and continue spreading the beauty of butterflies across your sketchbook. Happy drawing! ✨