How to Draw a Battery
Learn how to draw a battery step by step with this easy-to-follow tutorial. Create a realistic representation of a battery using basic drawing materials.
Materials You'll Need
- Pencil
- Paper
- Eraser
Drawing everyday objects like a battery is a fantastic way to improve your observational skills and understand the fundamentals of shape, shading, and proportion. Batteries are simple yet interesting subjects because they combine geometric shapes with subtle details such as labels, terminals, and texture that bring the drawing to life. Learning how to draw a battery not only helps you practice precise line work but also introduces you to shading techniques that create a three-dimensional effect, making your artwork more realistic and engaging.This tutorial is designed for artists of all skill levels, from beginners eager to develop their drawing basics to more experienced creators looking for a quick and satisfying project. Throughout this step-by-step guide, you will learn how to break down the battery into simple shapes, gradually adding details and shadows to capture its form accurately. The process emphasizes patience and attention to detail, encouraging you to observe how light interacts with surfaces and how subtle variations in tone can define volume and depth.So, whether you want to enhance your technical drawing skills or simply enjoy a creative break, mastering how to draw a battery is a rewarding exercise. Grab your pencil and paper, and let's embark on this artistic journey together—remember, every great artist starts with simple steps, and with practice, your confidence and abilities will grow!
Materials Required
Before we begin, gather the following materials:
That's it! With just these basic materials, you can create a fantastic drawing of a battery.
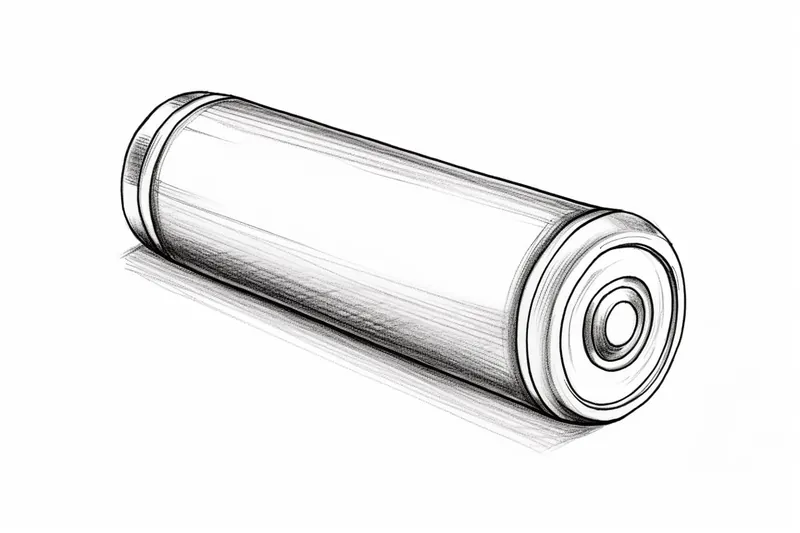
Step 1: Draw the Body
To start, let's draw the main body of the battery. Begin by drawing a rectangle in the center of your paper. This rectangle should be slightly longer horizontally to represent the shape of the battery.
Step 2: Add the Metal Contacts
Next, let's add the metal contacts on the top and bottom of the battery. These contacts are the points where the battery connects to a device. Draw two smaller rectangles, one at the top and one at the bottom of the battery body.
Step 3: Draw the Positive and Negative Symbols
Now, let's draw the positive and negative symbols on the battery. The positive symbol is a plus sign (+), and the negative symbol is a minus sign (-). Draw a plus sign on the top metal contact and a minus sign on the bottom metal contact.
Step 4: Add Details to the Body
Let's add some details to the body to make your battery drawing look more realistic. Draw two parallel lines running vertically along the battery's body, about one-third from each side. These lines represent the sides of the battery casing. Then, draw another set of parallel lines, slightly curved, connecting the ends of the first lines. This creates a rounded edge for the battery.
Step 5: Sketch the Label
Many batteries have labels on them to indicate their brand or other information. Let's add a label to our battery drawing. Draw a rectangle on the front of the battery body, slightly above the center. Inside the rectangle, write the text or logo of your choice.
Step 6: Shade the Battery
Let's shade the battery to add depth and dimension to your drawing. Start by lightly shading the sides of the battery body, leaving the center portion blank. Then, using your pencil or shading tool, gradually darken the shading on the sides, creating a gradient effect. Remember to blend the shading smoothly for a realistic look.
Step 7: Add Highlights
Now it's time to add some highlights to make your battery drawing pop. Identify the light source in your drawing, and imagine where the light would hit the battery. Use an eraser to gently remove some of the shading in those areas to create highlights. This technique helps give your drawing an added level of realism.
Step 8: Final Touches
Tip: As you work through the drawing steps, take breaks to step back and observe your progress from a distance; this will help you identify areas that need refinement and ensure that your proportions and shading are balanced, ultimately enhancing the overall realism of your battery drawing.
Review your artwork and make any necessary adjustments to complete your battery drawing. Check for any uneven lines or areas that may need more shading or blending. Take your time and ensure that every detail is just the way you want it.
And there you have it! You have successfully drawn a battery. I hope you enjoyed this step-by-step tutorial and found it helpful in honing your artistic skills. Drawing is a wonderful way to express your creativity; this battery drawing is a great addition to your portfolio.
Remember, practice makes perfect, so don't be afraid to try drawing different types of batteries or experiment with different styles. With each drawing, you'll continue to improve and develop your own unique artistic voice.
Thank you for joining me on this drawing journey. Happy creating!
Fun Facts About Battery
- The first true battery was invented by Alessandro Volta in 1800, known as the Voltaic Pile.
- Batteries convert chemical energy into electrical energy through electrochemical reactions.
- Rechargeable batteries, like lithium-ion, can be used hundreds of times before they lose capacity.
- The largest battery in the world is the Hornsdale Power Reserve in Australia, helping stabilize the power grid.
- Batteries power everything from small devices like watches to large electric vehicles and grid storage.
- Battery technology is critical for renewable energy adoption, enabling storage of solar and wind power.
- Alkaline batteries are the most common disposable batteries used worldwide.
- Battery recycling helps recover valuable materials and reduces environmental impact.
Suggestions for Scenes and Settings for Battery Drawings
- A close-up of a single AA battery resting on a textured wooden table, capturing the grain and shadows.
- A collection of different types of batteries (AA, AAA, 9V, button cells) arranged artistically in a small container.
- A battery inside an open flashlight, showing the internal connection and the battery's position.
- A battery lying next to a vintage toy or gadget powered by it, illustrating context and scale.
- A partially peeled label on a battery revealing worn-out text and subtle surface imperfections.
- A battery with a reflection on a shiny surface, emphasizing highlights and shading techniques.
- A battery drawing combined with imaginative elements, such as a battery powering a tiny city or machine.
- A battery in mid-air with dynamic shading, as if it's being dropped or tossed, to practice motion and shadow.
- A battery inside a transparent casing, showing both the outer shape and internal structure.
- A battery surrounded by natural elements like leaves or water droplets to explore texture contrasts and reflections.