How to Draw a Basket in 6 Simple Steps
Learn how to draw with this step-by-step tutorial.
Materials You'll Need
- Drawing paper
- Pencil (HB or 2B)
- Eraser
- Colored pencils
- Markers
- Ruler
- Blending stump
Baskets have been an essential part of human culture for thousands of years, serving as tools for gathering, storage, and even artistic expression. Their woven textures and curved forms make them fascinating subjects for artists, offering a wonderful opportunity to explore both structure and detail. Learning how to draw a basket is not only a valuable exercise in observation and technique, but it can also add warmth and a rustic touch to your artwork, whether you're creating a cozy still life or illustrating scenes from everyday life. The intricate weave patterns and the play of light across their surfaces present engaging challenges that can help you grow as an artist.
People often want to draw baskets because they are common objects found in many settings—from kitchens and markets to gardens and picnics—making them relatable and versatile additions to a variety of compositions. Mastering how to draw a basket will help you develop your ability to capture textures, understand perspective, and achieve realistic shading. This tutorial is suitable for artists of all skill levels; beginners will gain confidence by following clear, step-by-step instructions, while more experienced artists can experiment with advanced techniques like cross-hatching and nuanced shading to enhance realism. We'll cover everything from sketching the basic shape to rendering the woven details and adding finishing touches that bring your drawing to life.
Don't worry if baskets seem complex at first; with patience and practice, you'll soon find joy in capturing their unique charm. Gather your favorite drawing tools and get ready to expand your artistic skills as we dive into the process together. By the end of this guide, you'll not only know how to draw a basket, but you'll also gain techniques you can apply to many other textured objects. Let's get started and enjoy the creative journey!
Materials Required
Before we begin, make sure you have the following materials ready:
-
Drawing paper: Choose a smooth, heavyweight paper that is suitable for your drawing medium. A size of around 9x12 inches should work well for this project.
-
Pencil:An HB or 2B pencil is recommended for the initial sketch. You can also use a mechanical pencil if you prefer.
-
Eraser: A kneaded eraser or a soft vinyl eraser will come in handy for making corrections and lightening lines.
-
Fine-tip markers or pens: These will be used for adding details and defining the edges of the basket. Choose a pen with a nib size that suits your preference.
-
Colored pencils or markers (optional): If you want to add color to your basket, have some colored pencils or markers on hand.
Now that you have all your materials ready, let's move on to the step-by-step instructions.
Step 1: Sketch the Basic Shape of the Basket
Start by lightly sketching the outline of the basket using your pencil. You can use simple geometric shapes like circles and ovals to guide you. Don't worry about adding too much detail at this stage, as we will refine the shape later on. Focus on getting the proportions and overall shape right. Once you are happy with your initial sketch, you can darken the lines.
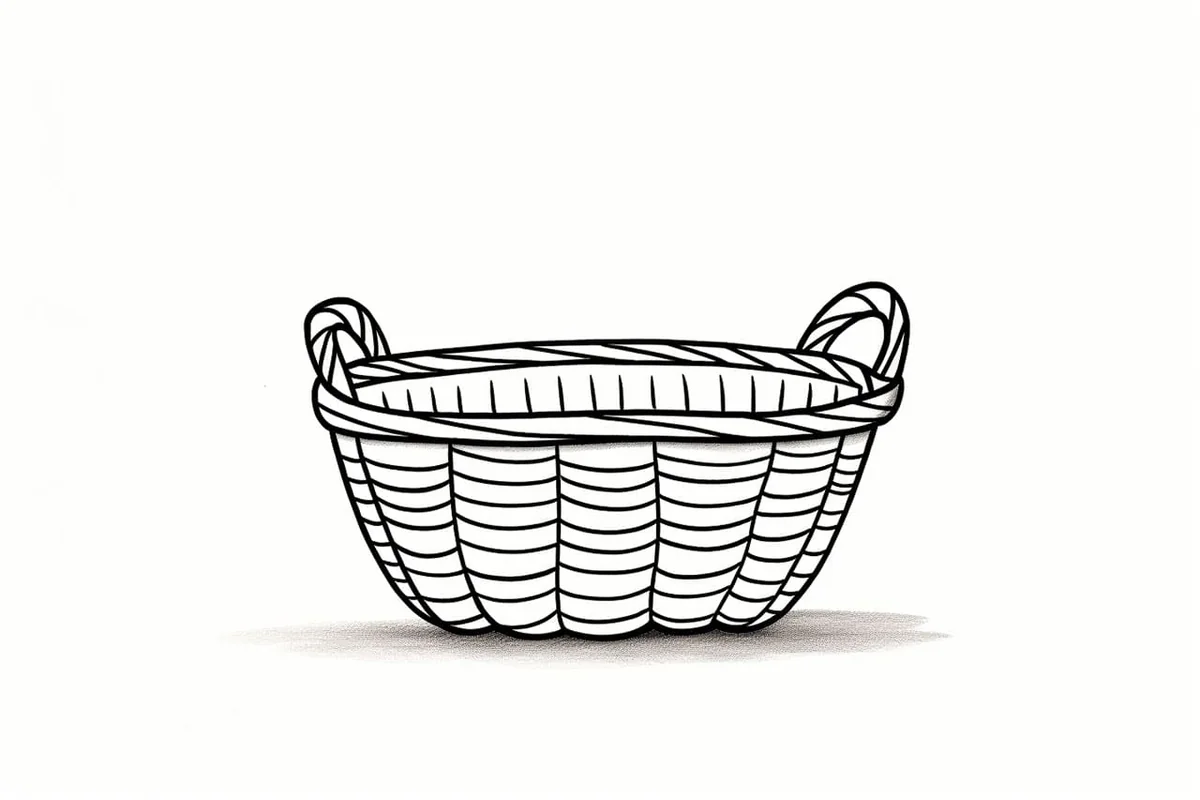
Step 2: Add the Weave Pattern
Baskets are often made of woven material, so it's important to capture this texture in your drawing. Begin by drawing a series of horizontal lines across the basket, spaced evenly apart. These lines will serve as guides for the weave pattern.
Next, draw vertical lines across the basket, starting from one side and crossing over the horizontal lines. Continue this pattern until you reach the other side of the basket. Make sure the vertical lines intersect the horizontal lines at regular intervals to create a realistic weave pattern.
Step 3: Refine the Shape and Proportions
Now it's time to refine the shape of the basket. Take a closer look at the reference image or object you are drawing and make any necessary adjustments to the outline. Pay attention to the curves and angles of the basket, and use light, curved lines to define its shape. Erase any unnecessary lines from the initial sketch as you go along.
Step 4: Add Shadows and Highlights
To give the basket a three-dimensional appearance, we need to add some shading. First, determine the direction of the light source in your drawing. This will help you decide where the shadows and highlights should be placed.
Using a light touch, shade the areas of the basket that are facing away from the light source. These areas will be darker. Gradually build up the shading by adding more layers of pencil or using a darker pencil. Remember to blend the shading using a blending stump or your finger to create a smooth transition between the light and shadow areas.
To add highlights, use an eraser to carefully remove some of the graphite from the areas that are directly hit by the light source. This will create the illusion of light reflecting off the surface of the basket.
Step 5: Define the Edges and Details
To make the basket appear more realistic, we need to define its edges and add some details. Using a fine-tip marker or pen, go over the main outline of the basket to make it bolder and more defined. Pay attention to areas where the weave pattern overlaps or curves, and add some extra lines or shading to indicate these details.
Next, add some texture by using short, curved lines to suggest the individual strands of the woven material. Vary the length and direction of these lines to create a more realistic effect.
Step 6: Optional - Add Color
If you want to add some color to your basket, now is the time to do so. Use colored pencils or markers to carefully add shading and highlights, following the same principles as in Step 4. Start with a light layer of color and gradually build up the intensity by adding more layers. Blend the colors using a blending stump or your finger to create a smooth and natural look.
Congratulations, you have successfully drawn a realistic basket! Remember, practice makes perfect, so don't get discouraged if your first attempt doesn't turn out exactly as you imagined. Keep experimenting with different techniques and materials to further enhance your drawing skills.
Mistake Alert: One of the most common pitfalls when drawing baskets is flattening the form by making the weave pattern too uniform or straight, which can make your basket look stiff and unrealistic. This usually happens because it's tempting to draw the woven lines as parallel or evenly spaced without considering the basket's curved surface and perspective. To avoid this, pay close attention to how the weave wraps around the basket's contours—notice how the lines curve more at the sides and compress or fan out depending on the viewing angle. Lightly sketch the basket's overall shape first, then map out gentle guidelines that follow its curves before adding the woven details. This approach will help your basket look three-dimensional and convincingly textured!
Tip: To effectively capture the intricate weave of a basket, start with a light pencil sketch of the basket's outline, focusing on its basic shape and proportions. Use a ruler to help maintain even spacing between the weave lines, which will create a more realistic texture. When adding detail, switch to a finer pencil or pen for the weaving pattern, making sure to vary the line thickness to depict shadows and highlights. Remember to observe how light interacts with the basket; adding subtle shading around the edges can enhance its three-dimensional appearance. Finally, don't hesitate to experiment with different shading techniques, like stippling or cross-hatching, to achieve depth and interest in your drawing!
Conclusion
Drawing a basket is a wonderful exercise that allows you to explore different textures and shapes. By following these step-by-step instructions and using your creativity, you can create a realistic and visually appealing artwork. Remember to start with a basic sketch, add the weave pattern, refine the shape, and add shading and details. You can also add color if you wish to bring your basket to life. With practice and patience, you will be able to draw beautiful baskets in no time.
So grab your drawing tools and start practicing your basket-drawing skills today!
Gallery of Basket Drawings


Fun Facts About Basket
-
The oldest known baskets were discovered in Egypt and date back over 10,000 years, showcasing their ancient origins in human history.
-
Baskets have been used by nearly every culture worldwide for purposes ranging from food gathering to ceremonial rituals.
-
Traditional basket weaving techniques are often passed down through generations and can be unique to specific regions or communities.
-
Some baskets are so finely woven that they can hold water, demonstrating the incredible skill of master weavers.
-
The word "basket" comes from the Old French "basket," which is thought to have Celtic origins.
-
In sports, the term "basket" is famously used in basketball, where the original goals were actual peach baskets.
-
Baskets can be made from a wide range of materials, including willow, bamboo, reeds, grasses, and even recycled plastics.
-
Basket weaving is considered both a craft and an art form, with some pieces displayed in museums and galleries around the world.
-
Some Native American tribes use basket designs to tell stories or represent important cultural symbols.
-
Eco-friendly baskets made from sustainable materials are gaining popularity as alternatives to plastic bags and containers.
Suggestions for Scenes and Settings for Basket Drawings
-
Picnic in the Park: Draw a scene with a woven basket brimming with bread, fruit, and a checkered cloth, set among grass and wildflowers.
-
Harvest Gathering: Illustrate a rustic farm setting where baskets are filled with freshly picked apples, pumpkins, or vegetables beside a wooden cart.
-
Market Day: Depict a bustling market stall with various baskets displaying colorful produce, flowers, or handmade goods.
-
Artisan's Workshop: Show an interior with baskets in different stages of being woven, surrounded by reeds, tools, and patterns on the walls.
-
Garden Setting: Create a peaceful garden scene where a basket holds freshly cut flowers, gardening gloves, and small tools.
-
Basket of Textures: Focus on a close-up of a basket filled with textured objects—knitting yarn, pinecones, or seashells—to practice rendering detail.
-
Traditional Ceremony: Draw a ceremonial scene where ornate baskets are used to carry offerings or gifts, surrounded by people in festive clothing.
-
Basketball Beginnings: Illustrate a historical moment of the first basketball games, using peach baskets as goals in an old gymnasium.
-
Children's Picnic: Show children playing beside a basket of toys and snacks beneath a tree, capturing a moment of joyful activity.
-
Magical Forest Basket: Imagine a fantasy setting with a glowing basket filled with enchanted fruits or glowing stones, surrounded by whimsical woodland creatures.