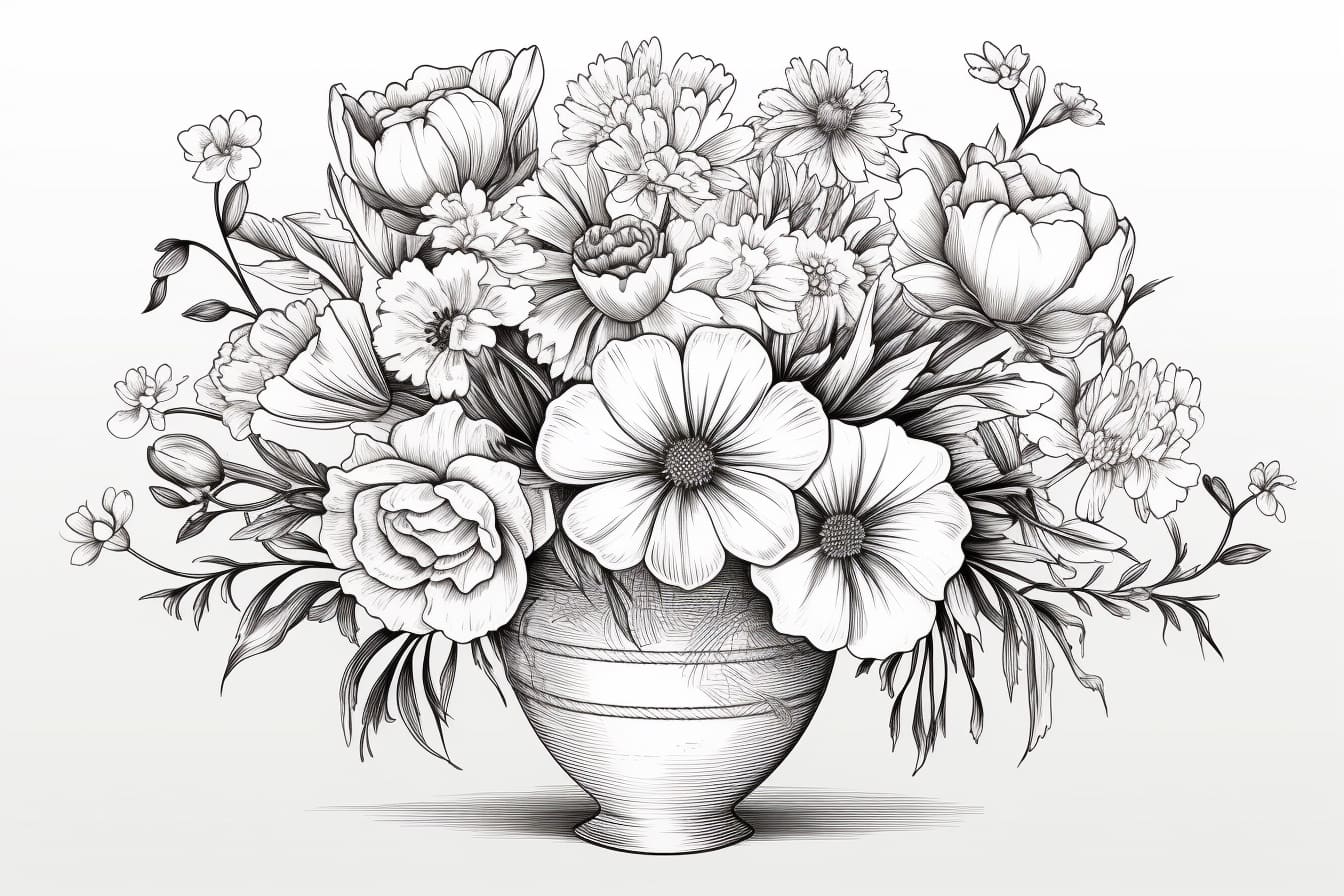
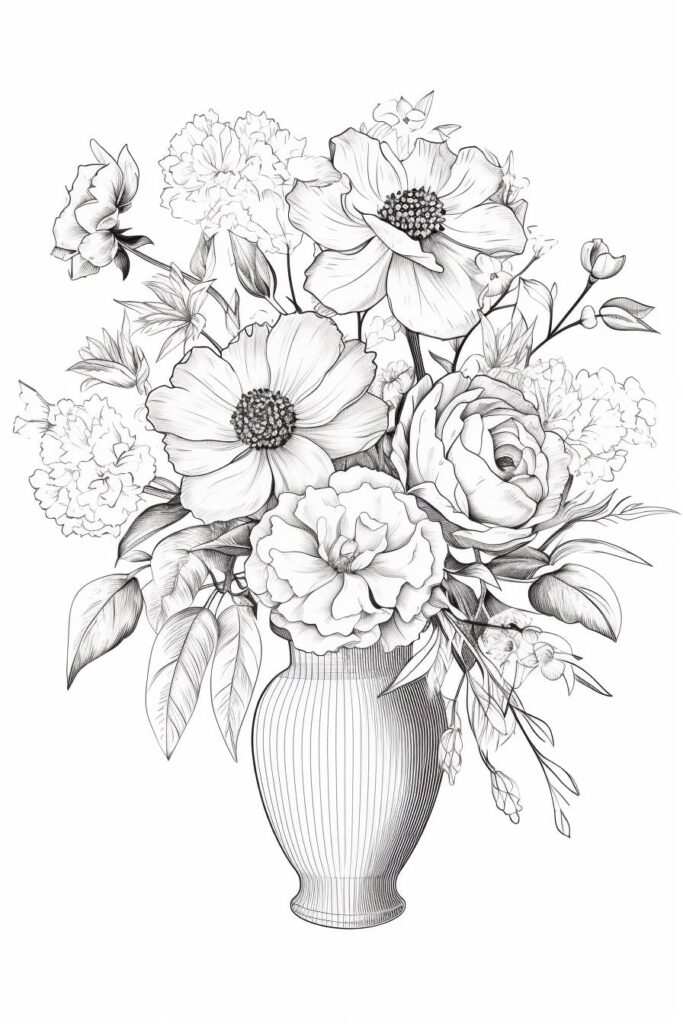
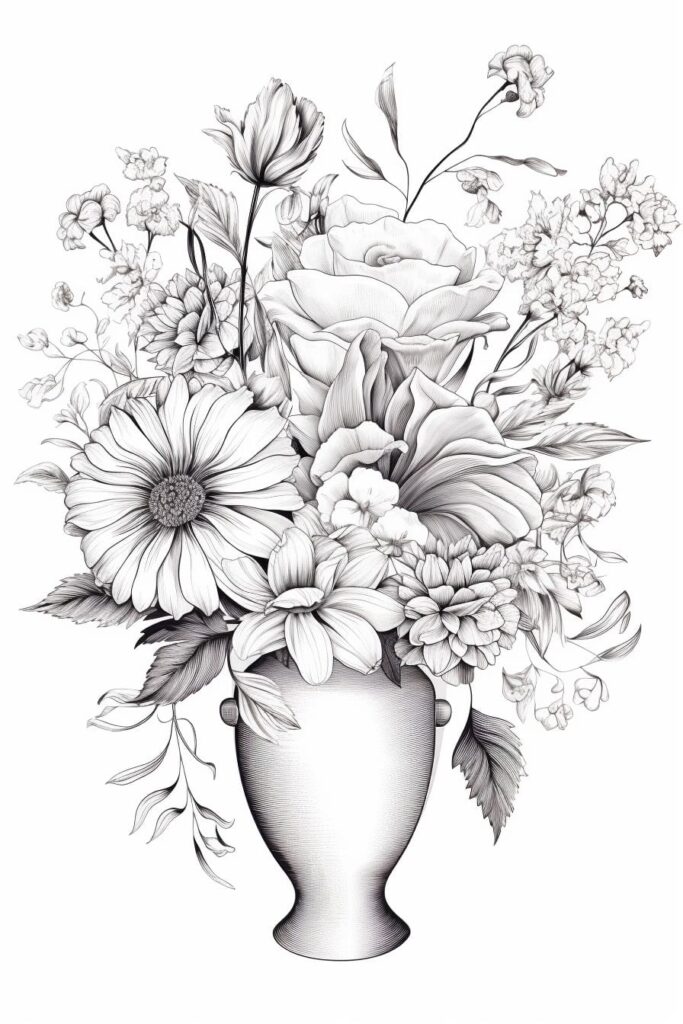
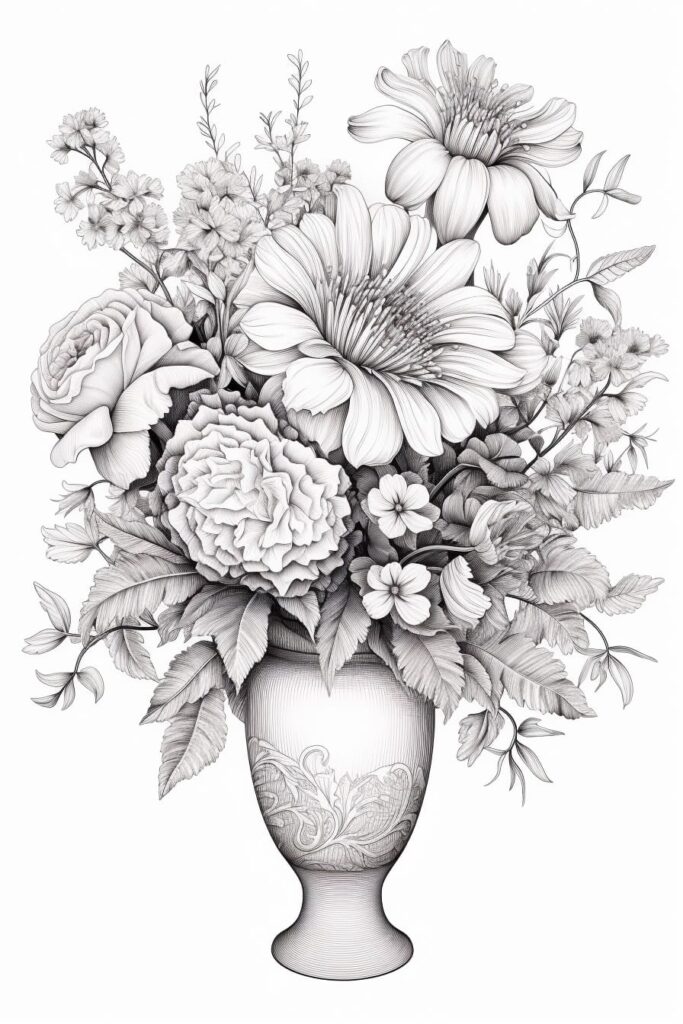
There’s something timeless and elegant about a beautifully arranged vase of flowers. Whether you’re sketching a simple bouquet or a detailed floral masterpiece, learning how to draw a vase of flowers will help you develop your composition, shading, and perspective skills.
Flowers in a vase present a unique artistic challenge—you’re not just drawing individual flowers, but also capturing the way they interact with light, shadows, and the curves of the vase. The contrast between the delicate petals and the smooth, solid surface of the vase makes for a visually dynamic and exciting subject.
This step-by-step guide will walk you through the entire process, from sketching the basic shapes to adding depth, texture, and realistic details. Whether you’re a beginner looking to improve your drawing skills or an experienced artist seeking new inspiration, this tutorial will help you create a stunning floral arrangement on paper.
Materials Required
Before we begin, make sure you have the following materials ready:
- Paper – Use a high-quality drawing paper that is suitable for your chosen medium. A smooth surface will work best for this project.
- Pencils – You will need a range of graphite pencils in different hardness levels, such as HB, 2B, and 4B.
- Eraser – Choose a soft eraser that will allow you to make corrections without damaging the paper.
- Pencil Sharpener – Keep your pencils sharp for precise lines and details.
- Ruler – A straight edge ruler will help you create straight lines and maintain proportions in your drawing.
- Blending Tools – Consider using blending stumps or tortillons to achieve smooth shading and blending effects.
- Reference Image – Find a high-quality reference image of a vase of flowers to guide you throughout the drawing process.
Now that you have all the necessary materials, let’s begin creating your masterpiece!
How to Draw a Vase of Flowers: A Step-by-Step Guide
Capturing the delicate beauty of flowers in a vase requires an understanding of shape, form, and shading. Whether you’re drawing a simple bouquet or a more elaborate floral arrangement, this guide will walk you through the process step by step, helping you bring your composition to life.
So, grab your pencils, erasers, and sketchbook, and let’s get started on your very own floral masterpiece!
Step 1: Sketch the Basic Shapes
Before diving into the intricate details, begin by lightly sketching the basic shapes that form the foundation of your drawing.
- Start with an oval or rounded rectangle for the top of the vase (if the vase has an opening).
- Extend two curved lines downward from either side to form the vase’s body, tapering inwards or flaring out depending on the style you prefer.
- For the flowers, sketch circles and ovals to represent the general size and placement of each bloom.
- Draw thin lines extending from the vase to serve as the flower stems.
Tip: Keep these initial lines light, as you’ll be refining and adjusting them as you go.
Step 2: Define the Shape of the Vase
Now, refine the curves and edges of the vase to create a more polished structure.
- Observe the symmetry of the vase, ensuring both sides are evenly proportioned.
- If your vase has any decorative elements (such as ridges, patterns, or engravings), lightly outline where these will go.
- Add an ellipse at the top to represent the vase’s opening.
Tip: A vase is typically smooth and reflective, so consider where light might hit it when shading later.
Step 3: Outline the Flowers
Using the circles and ovals you sketched earlier as guides, begin defining each flower.
- Larger blooms, like roses or peonies, should have multiple layers of petals that slightly overlap each other.
- Daisies or sunflowers have radiating petals extending outward from the center.
- Sketch a small oval or circle at the heart of each flower to represent its center.
For a more natural and organic look, vary the size, shape, and positioning of the flowers. Some can tilt slightly, while others can be partially hidden behind leaves.
Step 4: Add Petals and Leaves
Once you have outlined your flowers, begin detailing the petals and leaves.
- Draw curved lines to define the individual petals, ensuring they aren’t perfectly uniform (flowers in nature have small imperfections).
- Add leaves and small buds along the stems to fill out the bouquet.
- Sketch gentle curves and folds in the petals to make them appear more natural and three-dimensional.
Tip: Some petals will overlap others—pay attention to how they layer for a realistic effect.
Step 5: Refine the Sketch and Clean Up
Now that your composition is fully outlined, go back and refine your sketch.
- Erase any unnecessary guidelines.
- Smooth out any rough lines or adjust proportions if needed.
- Define edges and overlapping areas, making sure the arrangement looks cohesive.
At this stage, your drawing should start to look more structured and refined.
Step 6: Add Depth with Shading
To give your drawing depth and dimension, begin shading different areas.
- Identify the light source—this will help you determine where shadows and highlights should go.
- Shade the base of petals where they overlap, making them appear layered.
- Add soft shading along the vase, creating an illusion of curvature.
- Darken the areas beneath the flowers and stems inside the vase to enhance depth.
Use hatching, cross-hatching, or blending techniques to create soft and realistic shadows.
Tip: Don’t overdo the shading—leave highlights where light naturally hits the surfaces.
Step 7: Final Touches and Detailing
Now, refine your drawing with final details.
- Enhance the petals and leaves with subtle texture lines.
- If your vase is made of glass, add gentle reflections by leaving white spaces for highlights.
- Add more defined outlines where necessary, ensuring contrast and clarity.
- If using ink, carefully trace the final lines and allow them to dry before erasing pencil marks.
Your floral composition should now look polished and realistic!
Step 8: Optional Coloring
If you wish to add color to your vase of flowers:
- Use light strokes with colored pencils to build up layers.
- Apply darker shades in shadowed areas for depth.
- Use a white gel pen or eraser to create subtle highlights.
Tip: Soft pastels or watercolor pencils work great for delicate floral tones!
Conclusion: Your Vase of Flowers is Complete!
Congratulations! You’ve successfully learned how to draw a vase of flowers using structured steps.
Through practice and patience, you’ll be able to explore different floral arrangements, vase shapes, and artistic techniques to create even more stunning artwork.
Keep experimenting with new compositions, colors, and shading techniques to develop your own unique artistic style.
Now, grab your sketchbook and keep blooming with creativity! 
Tip: To effectively capture the beauty of your vase of flowers, begin by using a light pencil for your initial sketch to outline the basic shapes of both the vase and the flowers. Focus on the proportions; the vase should provide a solid base, while the flowers should appear dynamic and varied in height. Once you have your composition established, consider using a blending stump or your fingers to soften the edges where light hits the vase, creating a smooth transition that enhances its three-dimensionality. As you add details, remember to observe how shadows fall around the flowers and vase, using a darker pencil or charcoal to emphasize these areas, which will add depth and realism to your drawing. Finally, don’t hesitate to layer colors if you’re using colored pencils or markers, as this can bring vibrancy to the petals and make them pop against the background. Happy drawing!
Flower Quiz
Think you know your flowers? Try this quiz and see how high you can score!
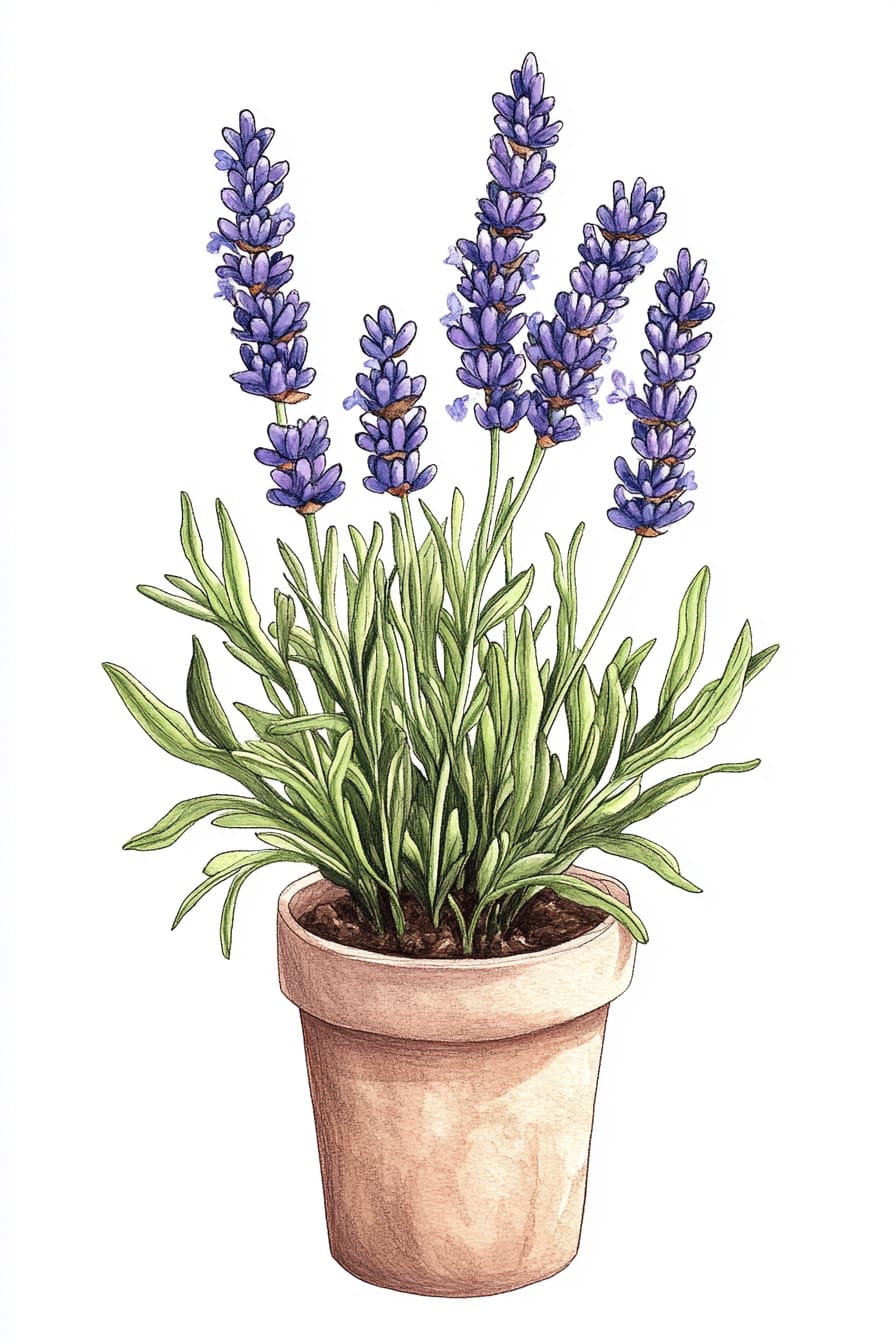
What Flower is This?
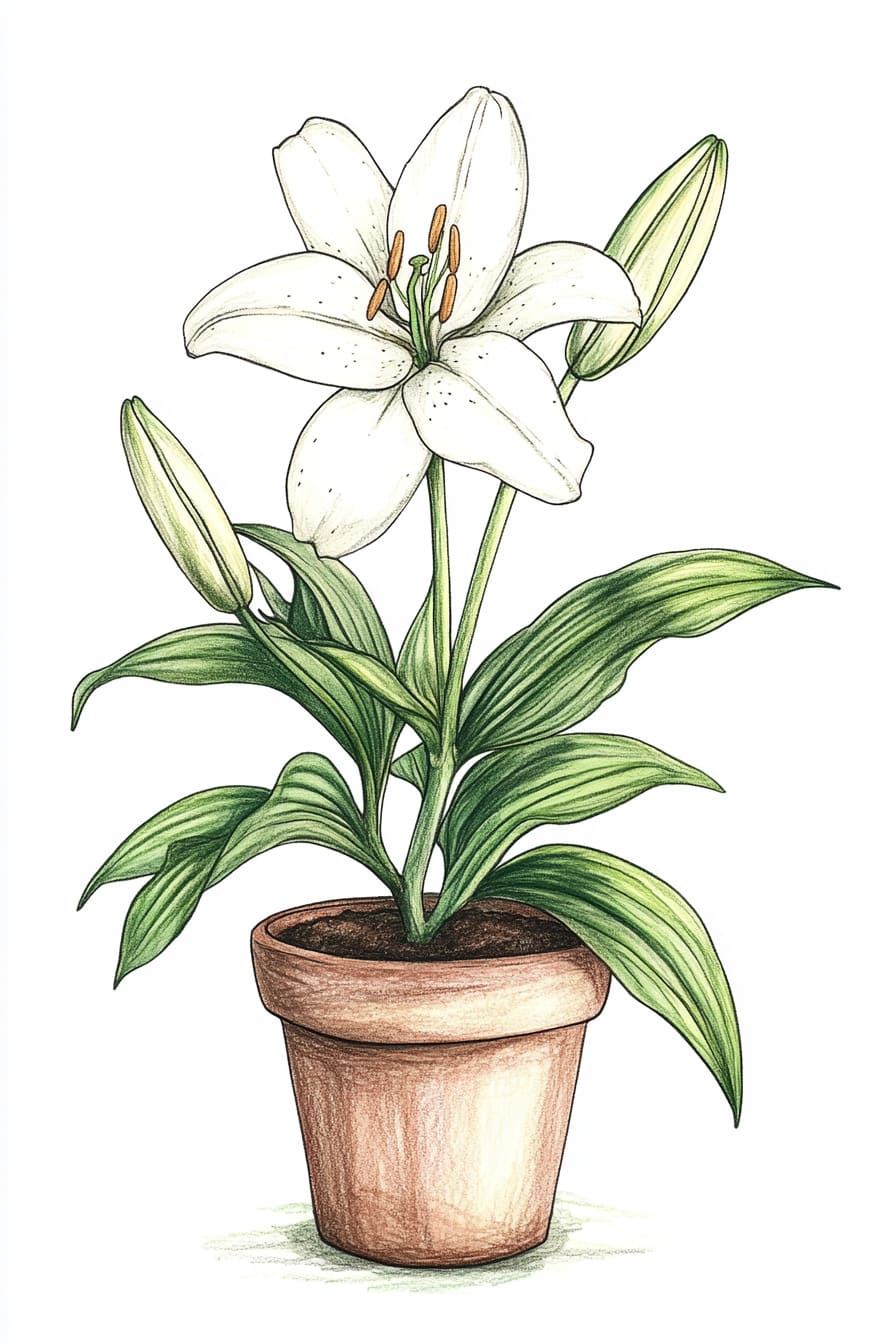
Advertisement
What Flower is This?
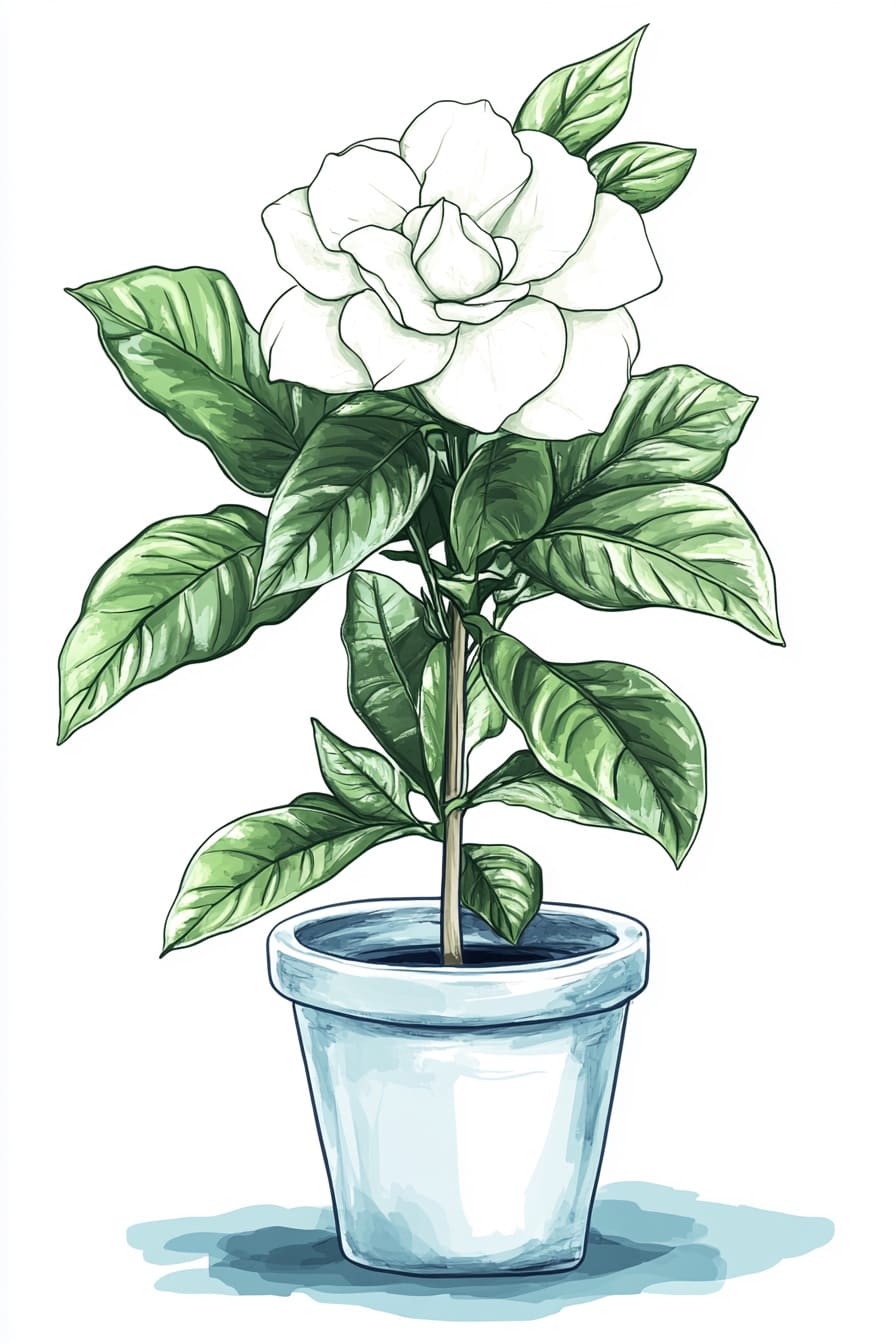
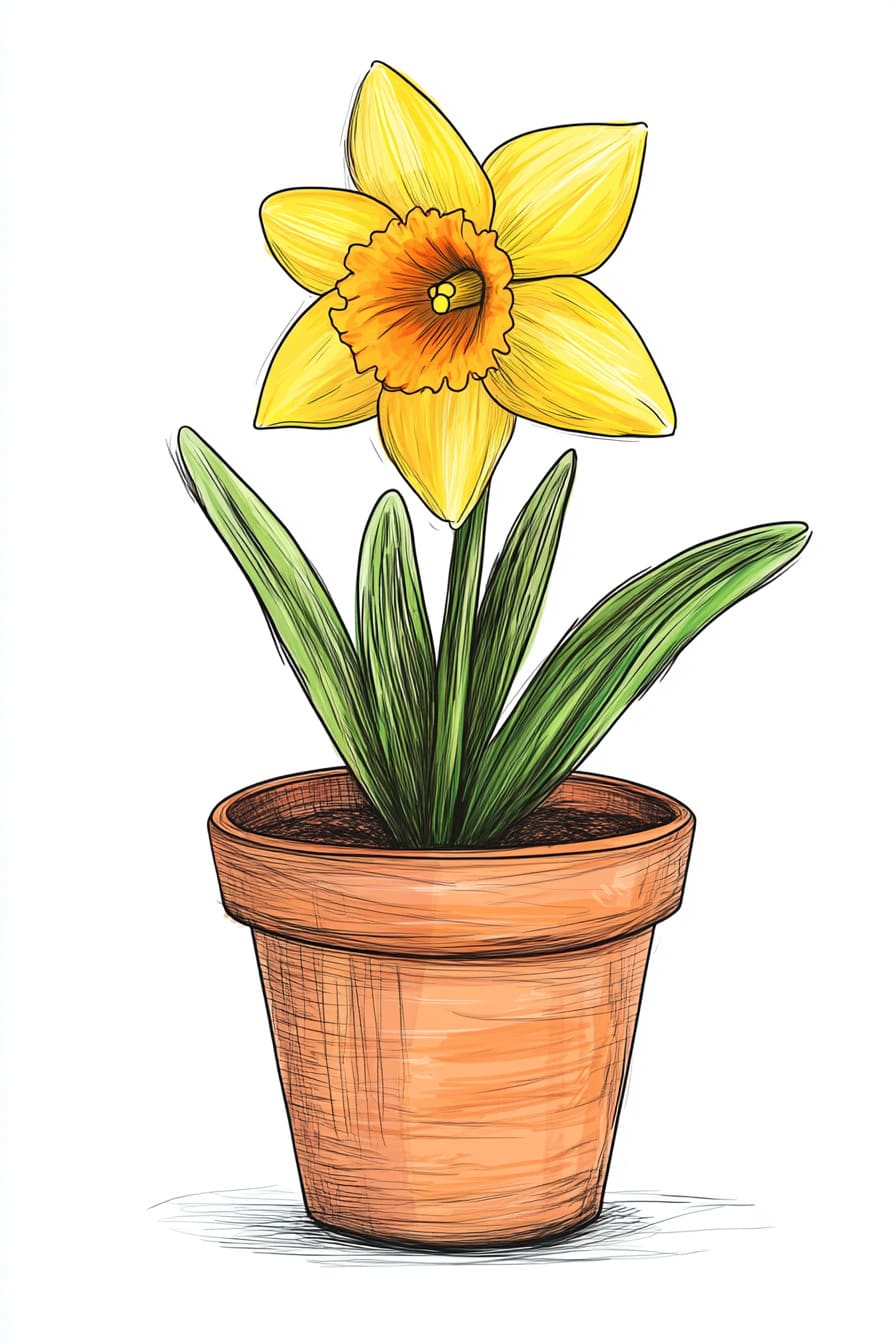
Which Flower is This?
What Flower is This?
What Flower is This?

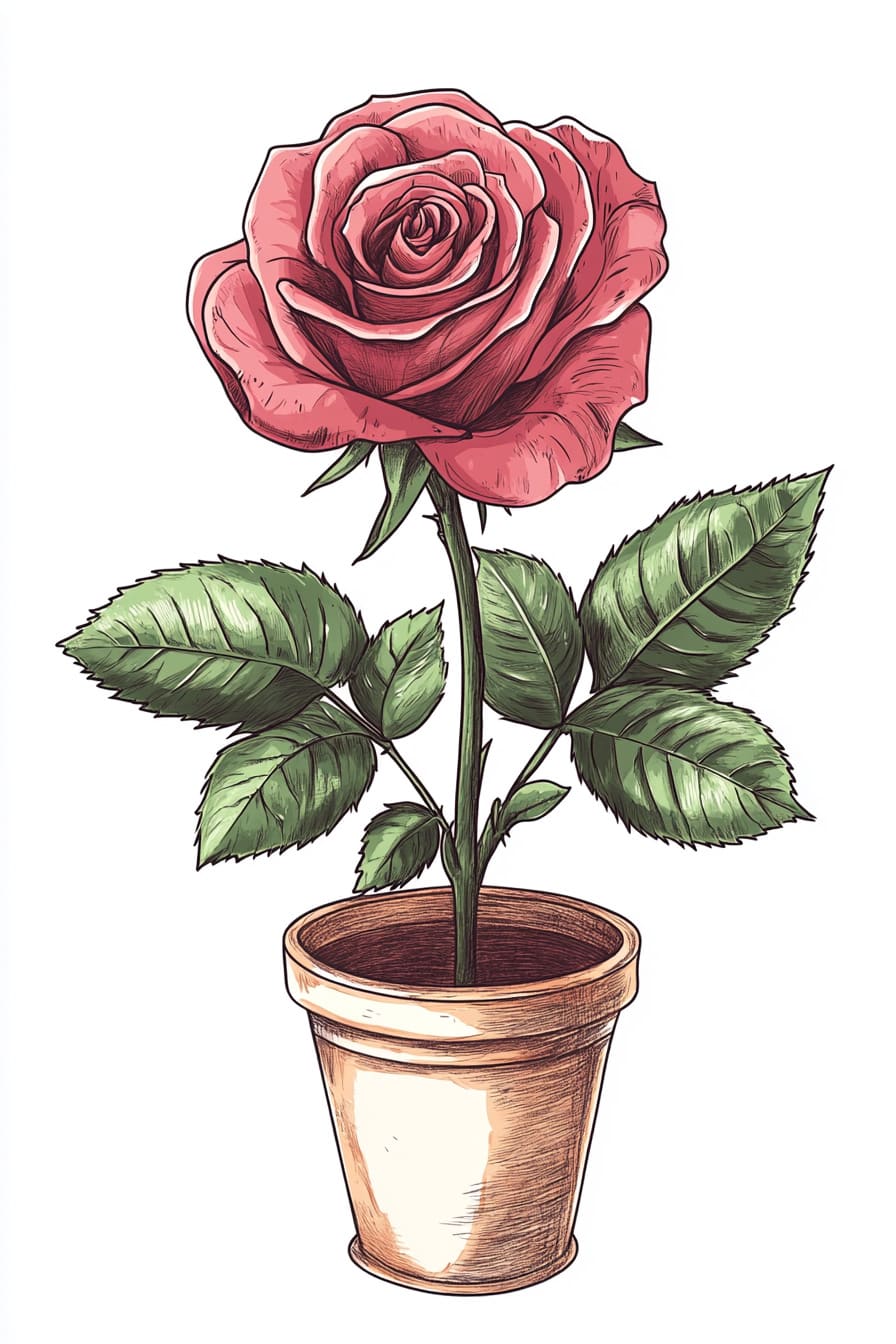
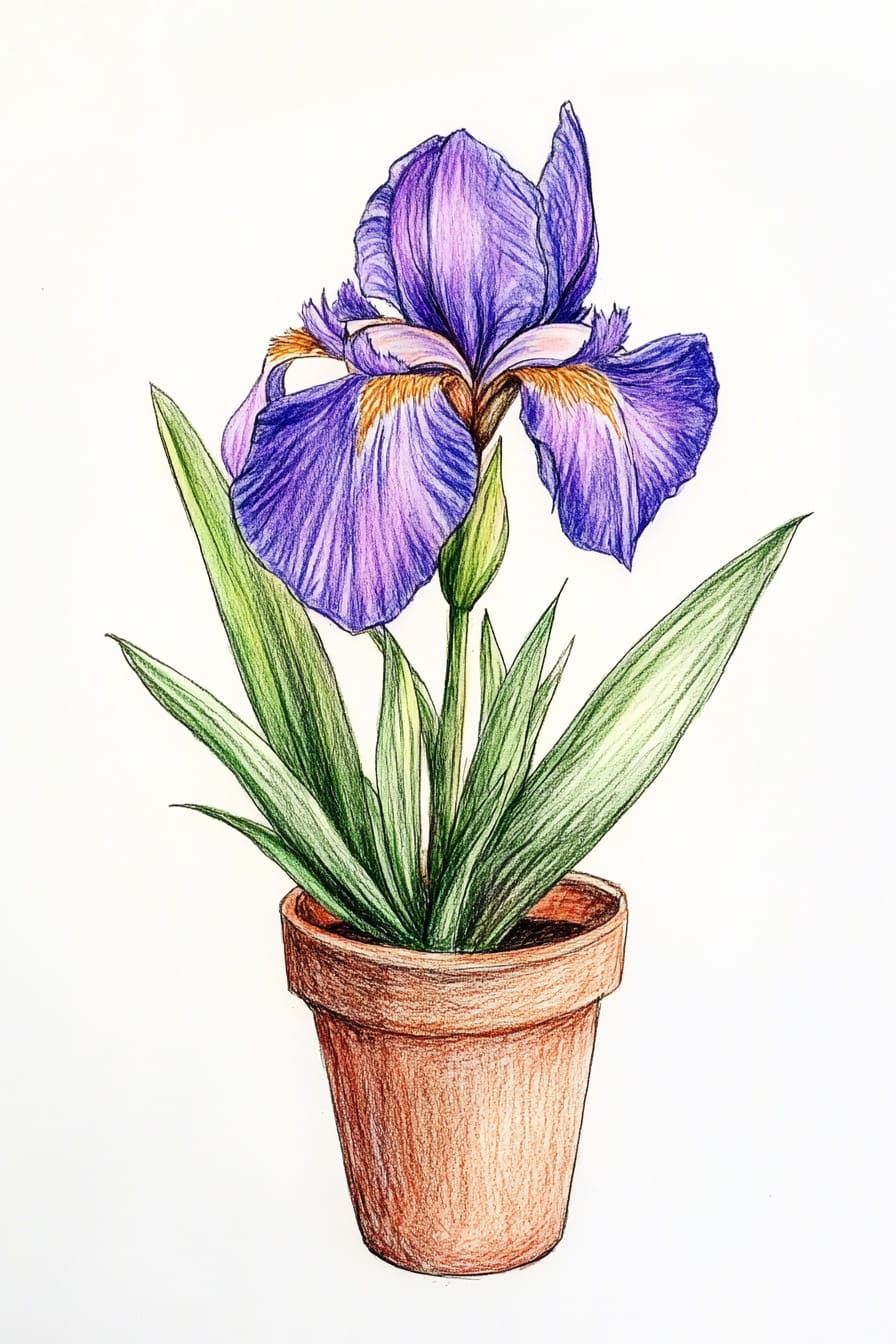
Which Flower is This?

What Flower is This?
What Flower is This?
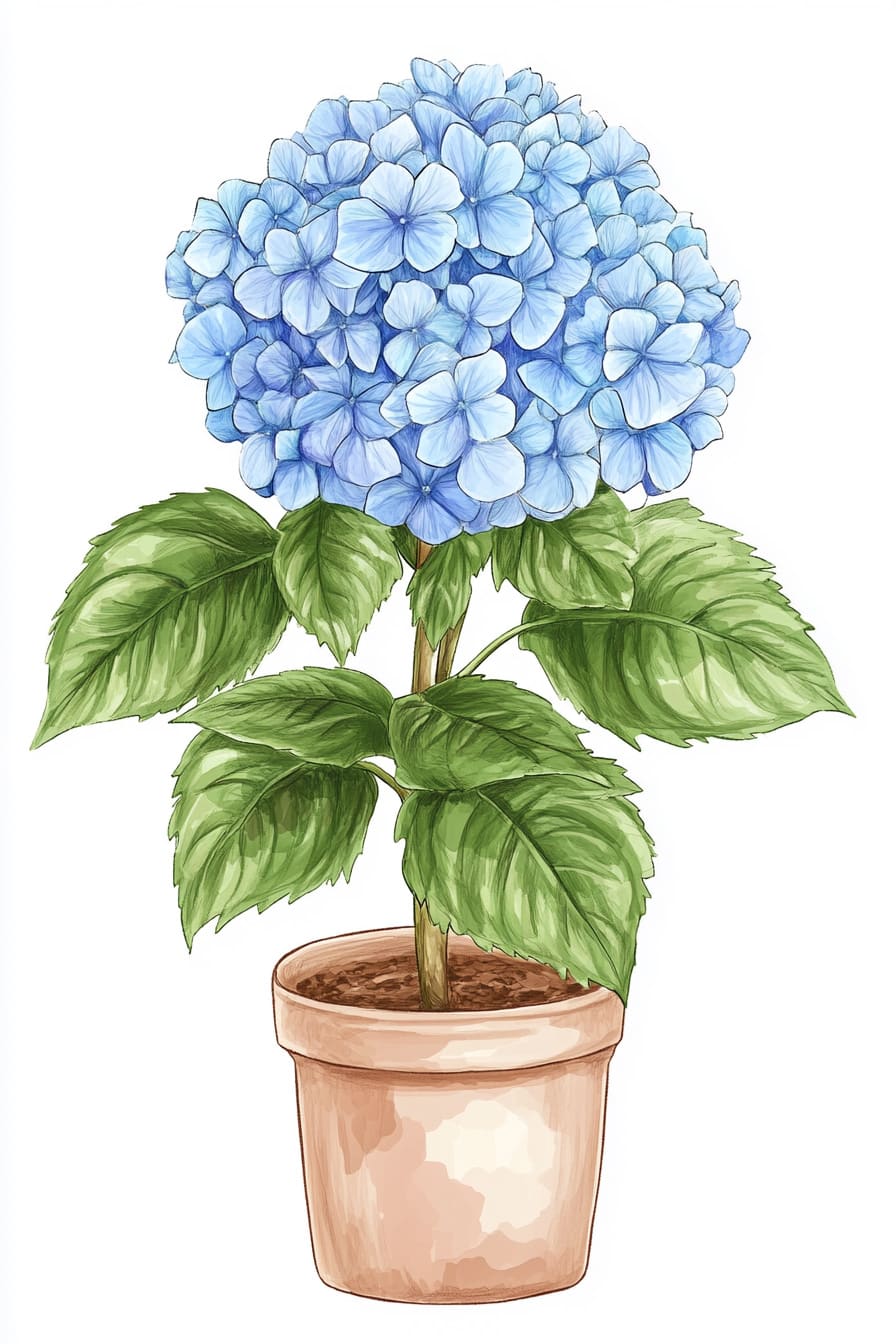
What Flower is This?
What Flower is This?
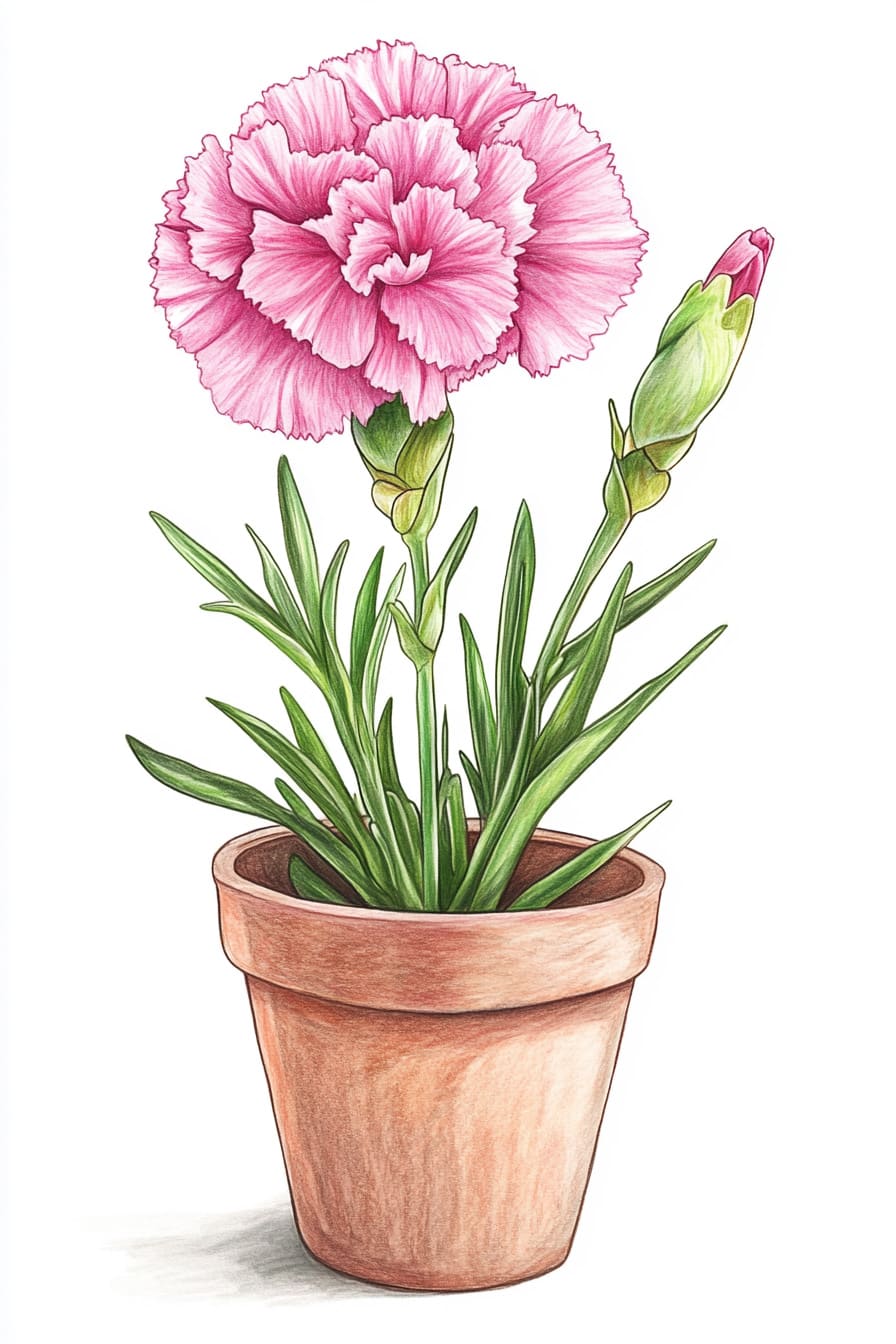
What Flower is This?
What Flower is This?

What Flower is This?
Which Flower is This?
Which Flower is This?


 Flower Power