Utahraptor, the formidable dinosaur species that once roamed the ancient lands, serves as a captivating subject for artists seeking to capture the essence of prehistoric power and grace. Drawing Utahraptor presents a thrilling challenge, blending scientific accuracy with artistic interpretation to bring this magnificent creature to life on paper. With its distinctive features such as sharp claws, sleek feathers, and a keen predatory gaze, mastering the art of drawing Utahraptor requires attention to detail and an understanding of anatomy. Join me on a journey through time as we explore the techniques and nuances of rendering this fearsome predator in all its glory. Let’s delve into the world of paleoart and unleash our creativity to breathe new life into the ancient legend of Utahraptor through the strokes of our pencils and brushes.
Materials Required
To draw a Utahraptor, you will need the following materials:
- Pencil: To sketch out the initial outline and details of the Utahraptor.
- Eraser: To correct any mistakes or lighten any unwanted lines.
- Paper: Choose a good quality drawing paper that can handle the medium you are using.
- Reference images: Find images of Utahraptors to use as a reference for your drawing.
- Colored pencils or markers (optional): If you want to add color to your drawing, you can use colored pencils or markers.
- Drawing pen (optional): For adding fine details or outlines to your drawing.
- Blending tools: If you are using graphite pencils, you may want to have
How to Draw a Utahraptor: a Step-by-step Guide
Step 1: Gather Your Materials
Before you begin drawing a Utahraptor, make sure you have all the necessary materials. You will need a pencil, eraser, paper, and reference images of Utahraptor for guidance.
Step 2: Start with Basic Shapes
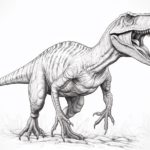
Begin by sketching the basic shapes to outline the body of the Utahraptor. Start with an oval for the head, a larger oval for the body, and smaller ovals for the limbs.
Step 3: Define the Proportions
Using your reference images, carefully adjust the sizes and proportions of the body parts to match those of a Utahraptor. Pay close attention to the length of the limbs, the size of the head, and the overall body shape.
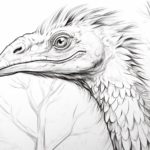
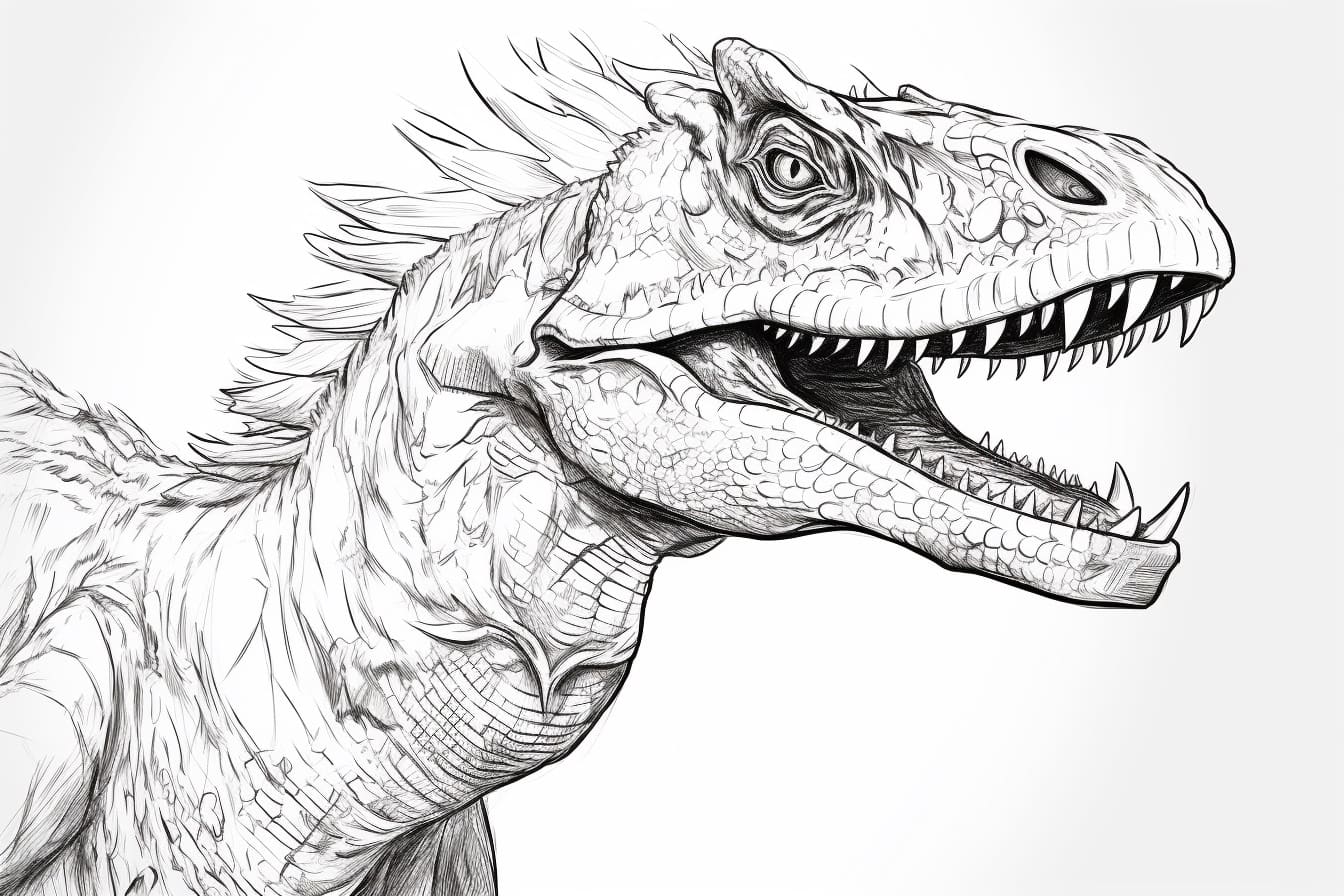
Step 4: Add Details to the Head
Refine the shape of the head by adding details such as the eyes, nostrils, and mouth. Utahraptors were known for their sharp teeth, so make sure to include those in your drawing.
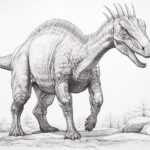
Step 5: Sketch the Limbs and Claws
Add more definition to the limbs by sketching the muscles and joints. Utahraptors had large, powerful claws on their feet, so be sure to include those details as well.
Step 6: Add Feathers
Utahraptors were believed to have had feathers, so add feather-like textures to your drawing. Start by lightly sketching the feather patterns along the body and limbs.
Step 7: Refine the Details
Go over your sketch and refine the details. Add more depth and definition to the feathers, scales, and other textures on the Utahraptor’s body.
Step 8: Finalize and Erase Guidelines
Once you are satisfied with the overall look of your Utahraptor drawing, finalize the details and erase any remaining guidelines or rough sketches.
Step 9: Add Shading and Texture
To make your Utahraptor drawing more realistic, add shading to create depth and texture. Use hatching and cross-hatching techniques to add shadows and highlights to the drawing.
Step 10: Sign and Date Your Drawing
Sign your drawing with your name and date to mark your work as complete. Admire your finished Utahraptor drawing and consider sharing it with others to showcase your artistic skills.
Conclusion
In conclusion, mastering the art of drawing a Utahraptor requires attention to detail, understanding of anatomy, and practice in capturing the dynamic movement and ferocity of this prehistoric predator. By following the steps outlined in this article and continuously honing your skills, you can create a striking and realistic representation of the Utahraptor that showcases your artistic abilities and passion for paleoart. Keep experimenting, learning, and pushing your artistic boundaries to further develop your talents and create captivating illustrations of this fascinating creature.
Fun Facts About Utahraptors
- Utahraptors were one of the largest known dromaeosaurids, a group of theropod dinosaurs that includes the famous Velociraptor.
- They lived during the Early Cretaceous period, around 125 million years ago, in what is now North America.
- Utahraptors were estimated to reach lengths of up to 20 feet (6 meters) and weigh around 1,000 pounds (500 kilograms).
- They were agile and fast predators, likely capable of speeds up to 40 miles per hour (64 km/h).
- Utahraptors had large sickle-shaped claws on their second toes, which they used to slash and disembowel their prey.
- Fossil evidence suggests that Utahraptors may have been social animals, hunting in packs to take down larger prey.
- Despite their fearsome appearance, Utahraptors likely had feathers covering their bodies, similar to modern birds.
- The discovery of Utahraptor helped challenge the popular image of dromaeosaurids like Velociraptor as small, solitary hunters.
- The name “Utahraptor” means “Utah predator” and was chosen because the first fossil specimens were found in Utah, USA.
- Utahraptor is considered one of the most significant dinosaur discoveries in North America and has provided valuable insights into the evolution and behavior of dromaeosaurids.
Suggestions for Scenes and Settings for Utahraptor Drawings
Absolutely! Here are some specific scene and setting suggestions for drawings of Utahraptor:
- Prehistoric Forest: Imagine Utahraptors stalking through a dense, Jurassic-era forest filled with towering ferns, cycads, and other ancient plants. The dappled sunlight filtering through the canopy could create interesting light and shadow play.
- Hunting Pack: Depict a pack of Utahraptors working together to bring down a larger dinosaur, showcasing their intelligence and teamwork. The tension and movement in this scene could be very dynamic.
- Nesting Grounds: Illustrate a peaceful scene of Utahraptors tending to their nests, with eggs nestled among rocks and vegetation. This could show a softer, more nurturing side to these fierce predators.
- Desert Oasis: Place Utahraptors in a desert setting around a water source, such as an oasis or watering hole. The contrast between the arid landscape and the lush vegetation near the water could make for a visually striking composition.
- Dusk Patrol: Picture Utahraptors on the prowl at dusk, with the fading light casting long shadows and creating a moody atmosphere. This setting could emphasize their nocturnal hunting instincts.
- Cliffside Perch: Imagine Utahraptors perched on a rocky cliff overlooking a vast prehistoric landscape below. This could showcase their agility and the grandeur of the world they inhabited.
- River Crossing: Show Utahraptors navigating a river or stream, with water splashing around them as they move through the shallows. This scene could capture both their predatory nature and their need for resources.
- Cavern Lair: Create a scene of Utahraptors in a dark, mysterious cavern, with stalactites hanging from the ceiling and eerie shadows playing across the walls. This setting could evoke a sense of danger and intrigue.
These suggestions should provide a range of settings and scenarios to inspire your Utahraptor drawings. Have fun bringing these ancient creatures to life on paper!