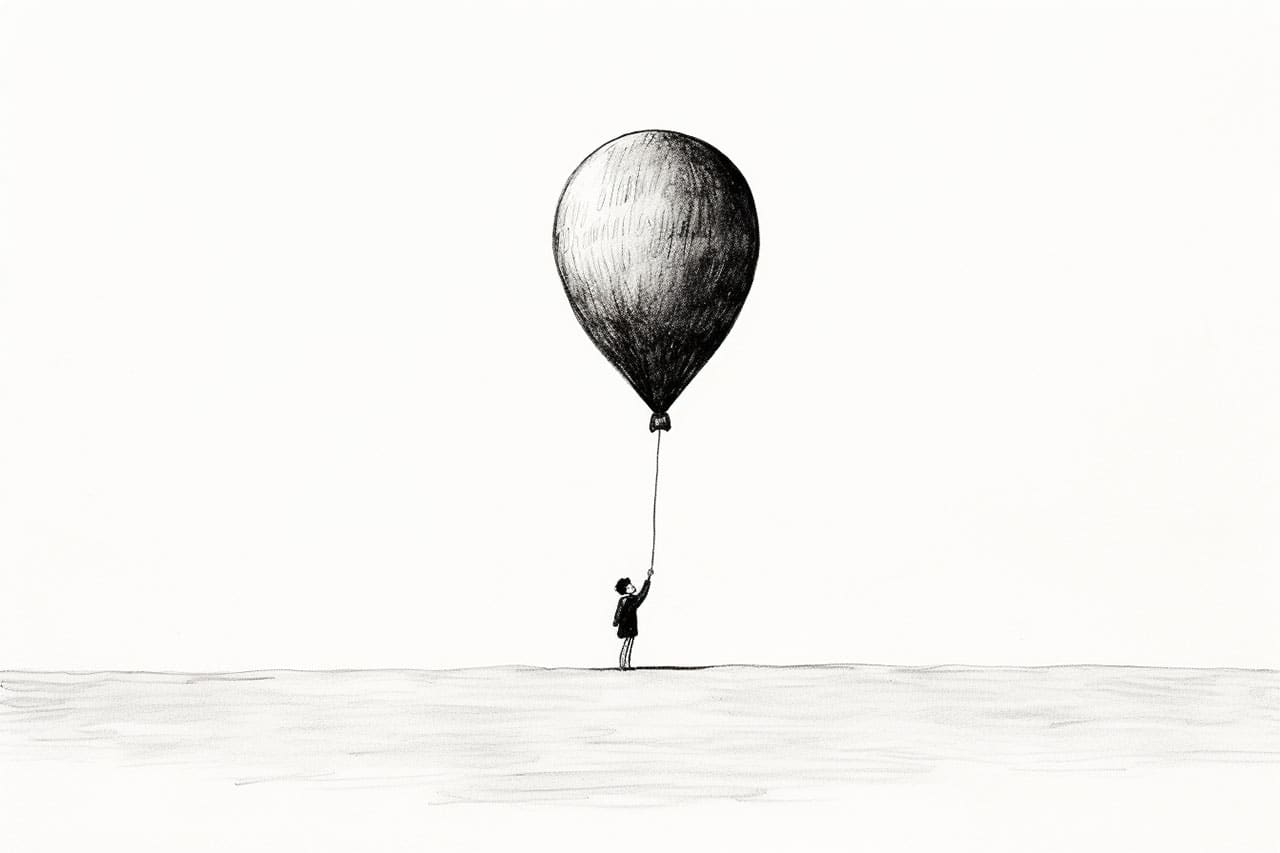
Drawing often seems like a skill that’s too complex to master. But with practice and clear instructions, everyone can explore and tap into their illustrative prowess. In this easy-to-follow guide, we’ll unfold the simple and fun process of how to draw a balloon. Balloons are colorful, festive, and immediately bring a sense of joy and celebration to any drawing. So grab your sketch pad, and let’s get started.
Step 1: Draw the Balloon’s Outline
Start by sketching a large circle for your balloon. Don’t worry about making it perfect – remember that balloons are often blown up to different sizes and shapes, so a slightly oblong or oval shape will only add to the realism of your drawing.
Step 2: Add the Balloon’s Knot
Balloons are typically tied off at the bottom to keep them inflated. To represent this, sketch a small oval at the bottom of your balloon. If you’re drawing your balloon from an angle, remember to position this knot off to one side.
Step 3: Sketch the Balloon’s String
The string of the balloon is usually long and thin. Starting from the knot, draw a long, slightly wavy line to represent the balloon’s string. Again, remember, perfection is not necessary since strings often have some slight bends or twists in them. Keep the string fluid. A perfectly straight line won’t look natural for something that is floating in the wind.
Step 4: Erase Unnecessary Lines
After drawing the string, erase any lines of the circle that intersect with the knot and the string. This will make your balloon look more realistic.
Step 5: Define Your Drawing
Now that the basic sketch is complete, let’s add depth and dimension to your balloon. Thicken the outline of your balloon, knot and string by tracing back over your initial lines. The thickness of the lines will create the illusion of the balloon’s material thickness.
Step 6: Add Shadows and Highlights
Balloons are shiny, which makes them reflect light. To depict this, you’ll need to add shadows and highlights. To do this, determine where your light source is in your image and then lightly shade the opposite side of the balloon. For the highlight, you’ll leave a small area on the side closest to the light source unshaded.
Step 7: Add Color
The last step in learning “how to draw a balloon” is the most fun – adding color! Balloons can be any color under the rainbow. So get creative and color in your balloon with any hues you’d like. Remember to leave the highlight area white so that your balloon maintains its shine.
Concluding the Steps of How to Draw a Balloon
In this guide, we’ve covered all the essential steps in learning “how to draw a balloon”. Remember, drawing is all about practice, so don’t be discouraged if your first few balloons aren’t perfect. Keep sketching, keep experimenting with different shapes, sizes, and colors, and soon you’ll master the art of drawing balloons.
No longer do you need to feel intimidated by the concept of learning how to draw. By following these simple steps, you can confidently draw a balloon, and by extension, develop your overall drawing skills further. So why wait? Grab your sketching tools and let the fun times begin!
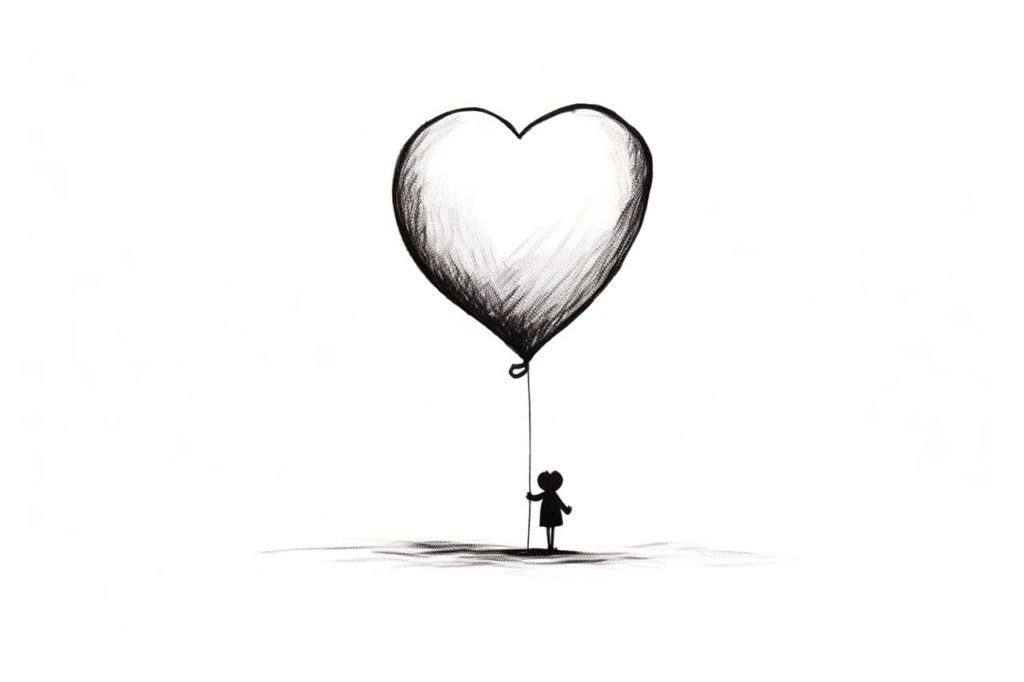
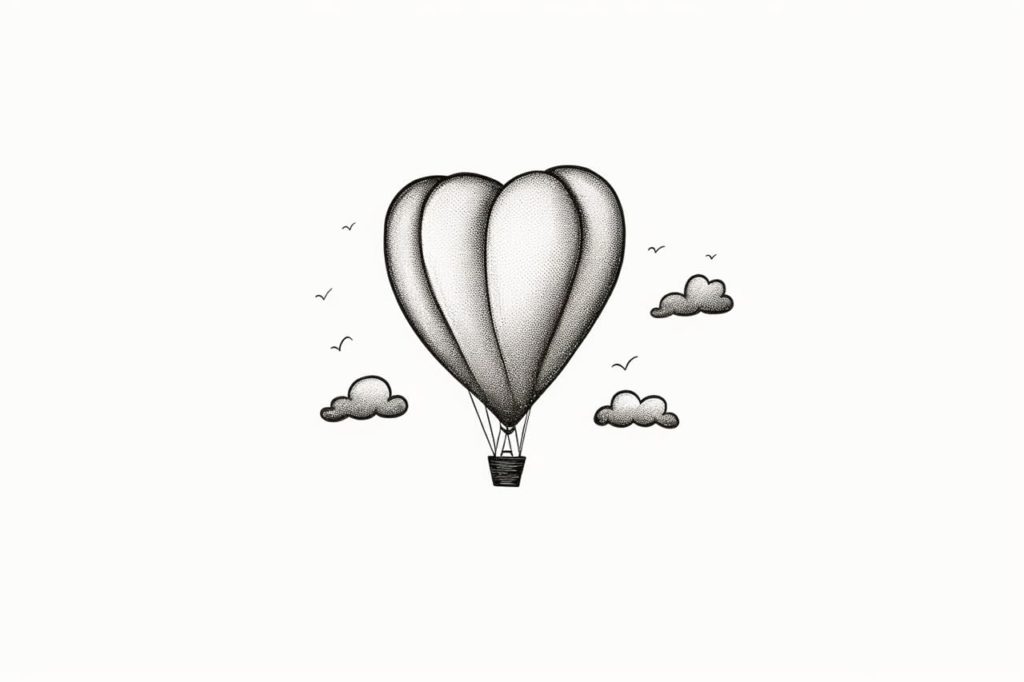
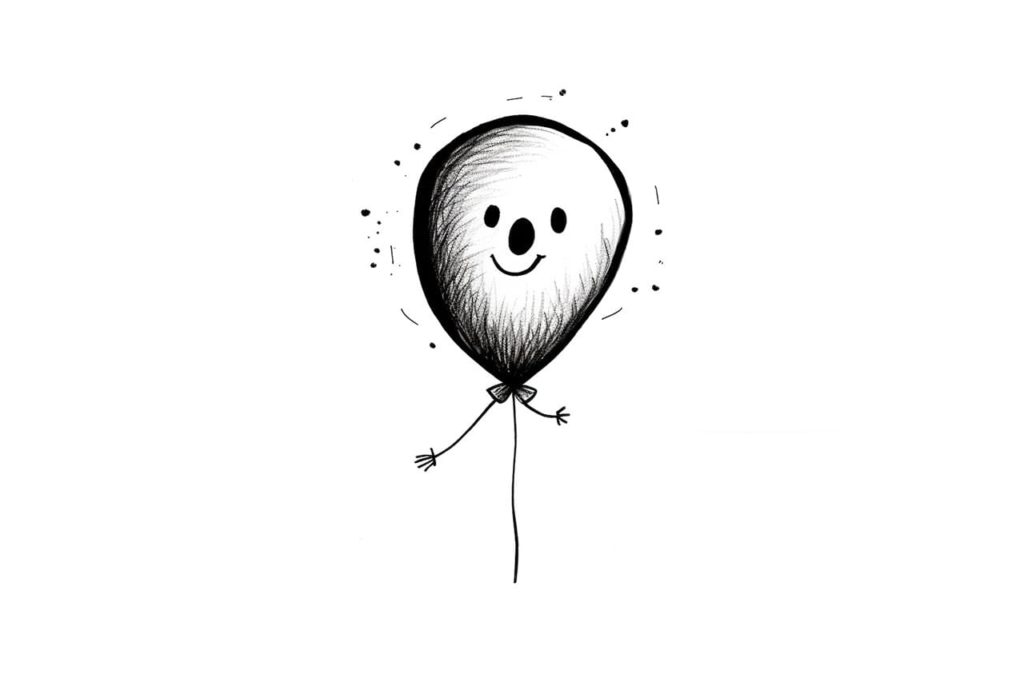
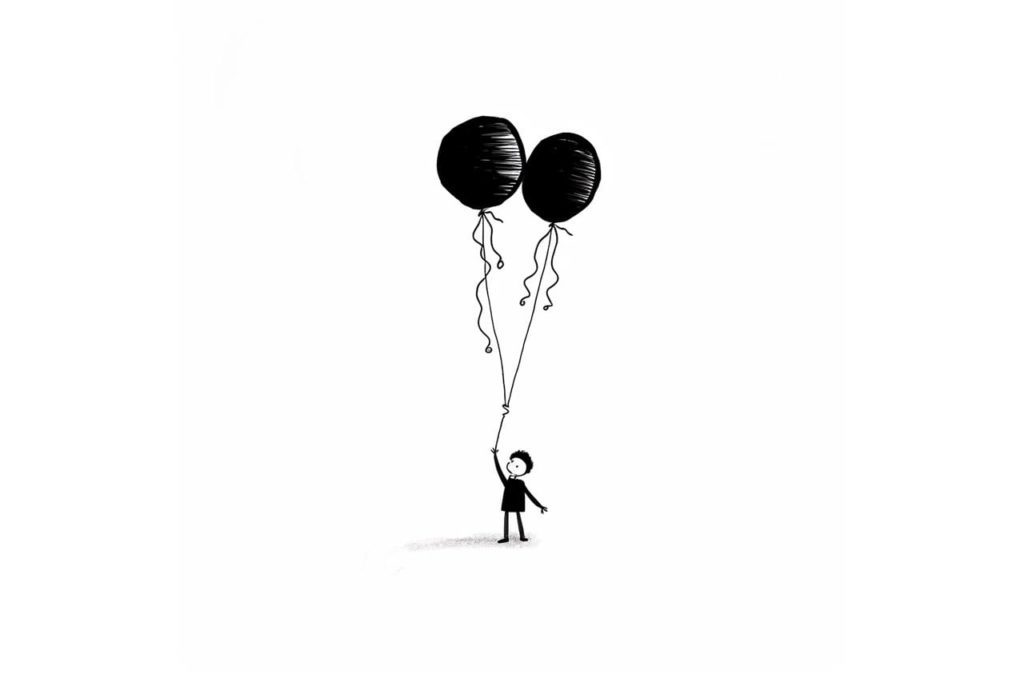
Gallery of Balloon Drawings